
How to Wire an Ignition Coil on a Motorcycle: A Step-by-Step Guide That Actually Works
 Jake Miller
11 min read
Jake Miller
11 min read
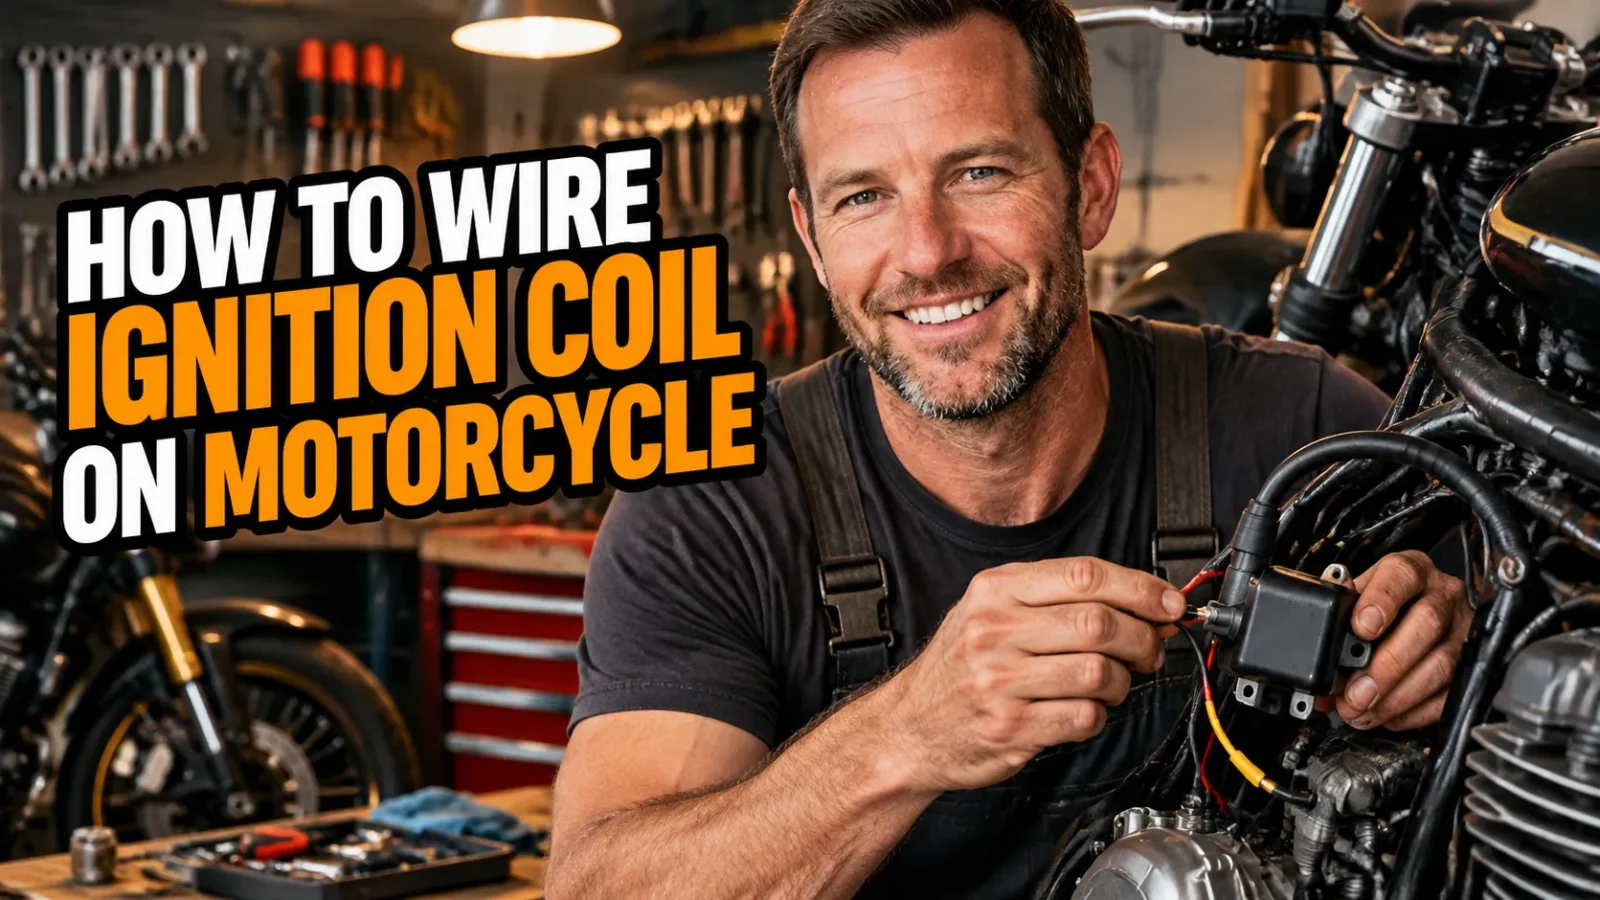
There is a special kind of satisfaction in hearing a bike fire up on the first kick or button press after you’ve wired the ignition yourself. I’ve done it on café-racer builds, vintage restorations, and a few stubborn project bikes, and the coil is always the part where people hesitate. The good news is that it’s far simpler than it looks once you understand what each wire does.
Before you touch a single connector, it helps to know that your coil depends on a healthy electrical supply. If your battery is tired or the wrong type, no amount of clean wiring will save your spark, so take a look at the what are the different types of motorcycle batteries ultimate guide if you’re unsure what’s powering your bike.
In this guide, I’ll walk you through how I approach coil wiring on the three most common setups: points-based, CDI, and coil-on-plug. I’ll also share the mistakes I’ve made so you don’t have to repeat them.
- Identify your ignition type first (points, CDI, or coil-on-plug), because the wiring differs for each.
- Switched power goes to the coil’s positive terminal; the negative terminal goes to the points, CDI, or module.
- Disconnect the battery before you start, and never touch the high-tension lead while the engine cranks.
- Test resistance and spark before you close everything up.
Why Coil Wiring Matters More Than You Think
The coil is basically a small transformer. It takes the low voltage from your battery or charging system and steps it up to tens of thousands of volts so the spark plug can jump its gap. If you want a deeper look at the physics, my explainer on how does a motorcycle ignition coil work covers it nicely.
What matters for wiring is this: the coil has a primary circuit (low voltage) and a secondary circuit (high voltage). You are only ever wiring the primary side. The secondary side is the thick, insulated spark plug lead, and it simply connects the coil to the plug.
A wiring mistake on the primary side can cause no spark, a weak spark, or even a fried ignition module. That’s why I always slow down here, even when I’m eager to hear the engine run.
Tools and Materials I Keep on the Bench
You don’t need a fancy workshop for this job. Here’s what I reach for every time:
- A digital multimeter
- Wire strippers and a quality crimping tool
- Heat-shrink butt connectors or soldering gear
- Ring and spade terminals that match your coil posts
- Automotive-grade wire (typically 16 to 18 gauge for the primary circuit)
- Your bike’s wiring diagram or service manual
- Dielectric grease for connectors
I’m a big believer in the wiring diagram. Colors vary wildly between manufacturers, and a ten-minute read can save you an afternoon of guessing.
Safety First: Don’t Skip This Part
Ignition systems carry surprisingly high voltage on the secondary side. It won’t usually hurt you badly, but a jolt from a hot lead is unpleasant and can make you jerk into something sharp or hot.
Here is my routine before starting:
- Turn the ignition switch off and remove the key.
- Disconnect the negative battery terminal.
- Let the engine cool if you’ve recently run it.
- Keep fuel and fuel vapors well away from your work area.
Also, never crank the engine with the spark plug lead disconnected and the coil ungrounded. The coil can arc internally looking for a path to ground, which can damage it.
First, Figure Out Which Ignition System You Have
This is the step most guides gloss over, and it’s the one that determines everything else. Wiring a points coil like a CDI coil will leave you staring at a silent engine.
Points and Condenser Systems
Common on vintage bikes, these use mechanical breaker points to interrupt current to the coil. You’ll typically see two small primary terminals on the coil and a condenser (capacitor) near the points.
CDI (Capacitor Discharge Ignition)
Found on many dirt bikes, scooters, and small-displacement machines, CDI systems store a charge in a capacitor and release it to the coil on command. The coil is often a simple unit with one primary wire and a ground.
Transistorized or Coil-on-Plug Systems
Most modern motorcycles use an ECU or ignition module that triggers each coil directly. These “pencil” coils sit right on top of the spark plug and usually have a 2-, 3-, or 4-pin connector.
If you can’t tell which one you have, check the service manual or look for points under the side cover. No points and no obvious CDI box usually points to a modern electronic system.
Wiring a Points-Based Coil, Step by Step
This is the classic setup, and honestly my favorite to work on because everything is visible and logical.
Step 1: Identify the Terminals
Look at the two small posts on the coil. One is labeled + (or 15), and the other is – (or 1). If there are no markings, use the multimeter to check primary resistance and consult the manual for polarity.
Step 2: Connect Switched Power to the Positive Terminal
Run a wire from your ignition switch output to the coil’s positive terminal. This must be switched power, meaning it’s only live when the key is on. Wiring to constant battery power will drain your battery and can burn the points.
Step 3: Connect the Negative Terminal to the Points
The negative terminal connects to the points and condenser. When the points close, current flows through the primary winding and builds a magnetic field. When they open, the field collapses and fires the plug.
Step 4: Wire the Condenser
The condenser connects across the points, typically with one side to the points feed wire and the other to ground. It absorbs the arc that would otherwise burn the contact surfaces.
Step 5: Consider a Ballast Resistor
Some points systems use a ballast resistor between the switch and the coil. This reduces voltage during normal running to protect the points, and often gets bypassed during cranking for a stronger start. If your coil is rated for 6V on a 12V system, you must use one.
Step 6: Attach the Spark Plug Lead
Push the high-tension lead firmly into the coil tower, then connect the other end to the spark plug cap. Make sure the connection is tight and the rubber boot seals out moisture.
Wiring a CDI Coil Setup
CDI wiring is usually more straightforward, though it can feel confusing because the coil itself looks so minimal.
In a typical CDI system, the CDI box sends a pulse to the coil’s primary winding through a single wire. The other side of the primary connects to ground, often through the coil mounting or a dedicated ground lead.
Here’s the sequence I follow:
- Connect the CDI output wire (check your diagram for color) to the coil’s primary terminal.
- Ensure the coil has a solid ground, either through its mounting bracket or a dedicated ground wire.
- Connect the CDI box to the stator trigger and to switched power as your manual specifies.
- Wire your kill switch so it grounds the CDI’s kill input, not the coil directly.
- Attach the plug lead and cap.
One thing I’ve learned the hard way: a rusty or painted mounting point can ruin your ground. Scrape the contact area down to bare metal, and use a star washer for a reliable connection.
Wiring Coil-on-Plug and Pencil Coils
Modern coils are the easiest physically but the most dependent on a correct pinout. Most have these functions, though not always in the same order:
- Switched 12V power from the ignition relay or fuse
- Trigger signal from the ECU or ignition module
- Ground, sometimes shared with the housing
Use the multimeter to confirm which pin has voltage with the key on, and which pin is ground. The trigger wire will usually show a pulsing signal only while cranking. Never guess on these, because sending 12V to a trigger pin can damage the ECU.
If you’re replacing a pencil coil rather than wiring from scratch, my walkthrough on how to change ignition coil motorcycle goes through the removal and installation process in detail.
Choosing the Right Coil Before You Wire It
Wiring skill only goes so far if the coil itself is a poor match. Primary resistance, voltage rating, and spark energy all need to suit your engine and ignition type.
If you’re upgrading or replacing a worn unit, I’d suggest reading my breakdown of the best ignition coil for motorcycle options. A quality coil is one of the cheapest reliability upgrades you can make.
As a rule of thumb, I match the new coil’s primary resistance to the original within a reasonable margin. A low-resistance coil on a points system, for example, can overheat the points quickly without a ballast resistor.
Testing Your Work Before You Close Everything Up
I never reassemble anything until I’ve verified the circuit. It takes about fifteen minutes and has saved me from countless “why won’t it start” moments later.
Check Resistance with a Multimeter
Measure the primary winding across the two small terminals, and the secondary winding between a primary terminal and the HT lead. Typical primary values run from under 1 ohm to around 4 ohms, and secondary readings often sit in the thousands of ohms, but always compare against your manual.
For a full walkthrough, see my guide on how to check motorcycle ignition coil with multimeter.
Confirm Voltage at the Coil
Reconnect the battery, turn the key on, and check for 12V at the coil’s positive terminal (or power pin). If you see nothing, trace the wiring back through the kill switch, fuse, and ignition switch.
Do a Spark Test
Remove the spark plug, reconnect it to the cap, and rest the threaded body firmly against the engine for a ground. Crank the engine and look for a bright blue-white spark. A weak orange spark means something is off, whether it’s low voltage, a bad ground, or a failing coil.
If the results look suspicious, I’d follow up with my guide on how to test ignition coil on motorcycle for deeper diagnostics.
Common Mistakes I See (and Have Made Myself)
Reversed Polarity
Swapping the positive and negative primary leads can produce a weaker spark and misfires at higher RPM. It may still run, which makes it a sneaky problem to diagnose.
Using Constant Power Instead of Switched Power
If the coil is powered all the time, you may drain the battery or cook the points. Always route coil power through the ignition switch.
Poor Grounding
Bad grounds cause more ignition headaches than bad coils. Clean the contact points, tighten the fasteners, and add a dedicated ground wire if needed.
Skipping the Ballast Resistor
Running a 6V-rated coil directly on 12V will overheat it quickly. Check the coil’s rating before you connect anything.
Cheap Connectors and Loose Crimps
Vibration is brutal on a motorcycle. I use heat-shrink connectors, add a dab of dielectric grease, and give every crimp a firm tug test.
Troubleshooting When It Still Won’t Spark
If you’ve followed the steps and still have no spark, don’t panic. Work through the system methodically rather than replacing parts at random.
- Verify the battery is fully charged and the connections are clean.
- Check the fuse and kill switch for continuity.
- Confirm switched power reaches the coil.
- Inspect the points gap, or the CDI and trigger connections.
- Test the coil’s primary and secondary resistance.
- Swap in a known-good coil if you have one.
In my experience, the culprit is nearly always a ground, a connector, or a switch. The coil itself fails less often than people assume.
Final Thoughts From My Garage
Wiring an ignition coil is one of those jobs that feels intimidating until you do it once. After that, you start to see the logic: power in, a switching device to control it, a ground, and a high-tension lead out to the plug.
My advice is to take your time, trust your wiring diagram, and test every step with a multimeter. Keep your connections tight and your grounds clean, and you’ll be rewarded with a crisp, reliable spark and a bike that starts when you ask it to.
If you hit a snag, revisit the testing section, double-check your ignition type, and remember that methodical troubleshooting beats guesswork every time. Happy wrenching, and ride safe out there.
Frequently Asked Questions
Does it matter which wire goes to which terminal on a motorcycle ignition coil?
On most coils with a conventional primary winding, yes, polarity matters. The positive terminal (marked + or 15) takes switched power, and the negative terminal (marked – or 1) goes to the points, CDI, or ignition module. Reversed polarity can weaken the spark and cause misfires, especially at higher RPM.
Do I need a ballast resistor when wiring a motorcycle ignition coil?
Only if your coil is designed for a lower voltage than your system supplies. Many older points-based setups use a 6V or low-resistance coil with a ballast resistor to protect the points. If you use a modern 12V coil with the correct primary resistance, you usually do not need one.
How do I know if my ignition coil is wired correctly?
Check for a strong blue-white spark when you crank the engine with the plug grounded, and confirm the engine starts and idles smoothly. You can also verify primary and secondary resistance with a multimeter and confirm you have switched 12V at the positive terminal with the key on.
Can I wire a different ignition coil to my motorcycle than the original?
Often yes, but the replacement must match your ignition type (points, CDI, or transistorized) and the primary resistance your system expects. A mismatched coil can overload the ignition module or produce a weak spark, so always compare specifications before swapping.

Related Articles

How to Fix a Short Circuit on a Motorcycle: A Rider’s Step-by-Step Guide
Learn how to find and repair a motorcycle short circuit step by step, from blown fuses to chafed wires, with…
Jake Miller
11 min read

What Does a CDI Unit Do on a Motorcycle? Purpose, Symptoms and Fixes
Wondering what a CDI does on your bike? I explain how the capacitor discharge ignition works, signs of failure, testing…
Jake Miller
10 min read

How to Test a 6 Volt Motorcycle Battery and Charging System (Step-by-Step)
Learn how to test a 6 volt motorcycle battery and charging system step by step, with multimeter readings, load tests,…
Jake Miller
10 min read