
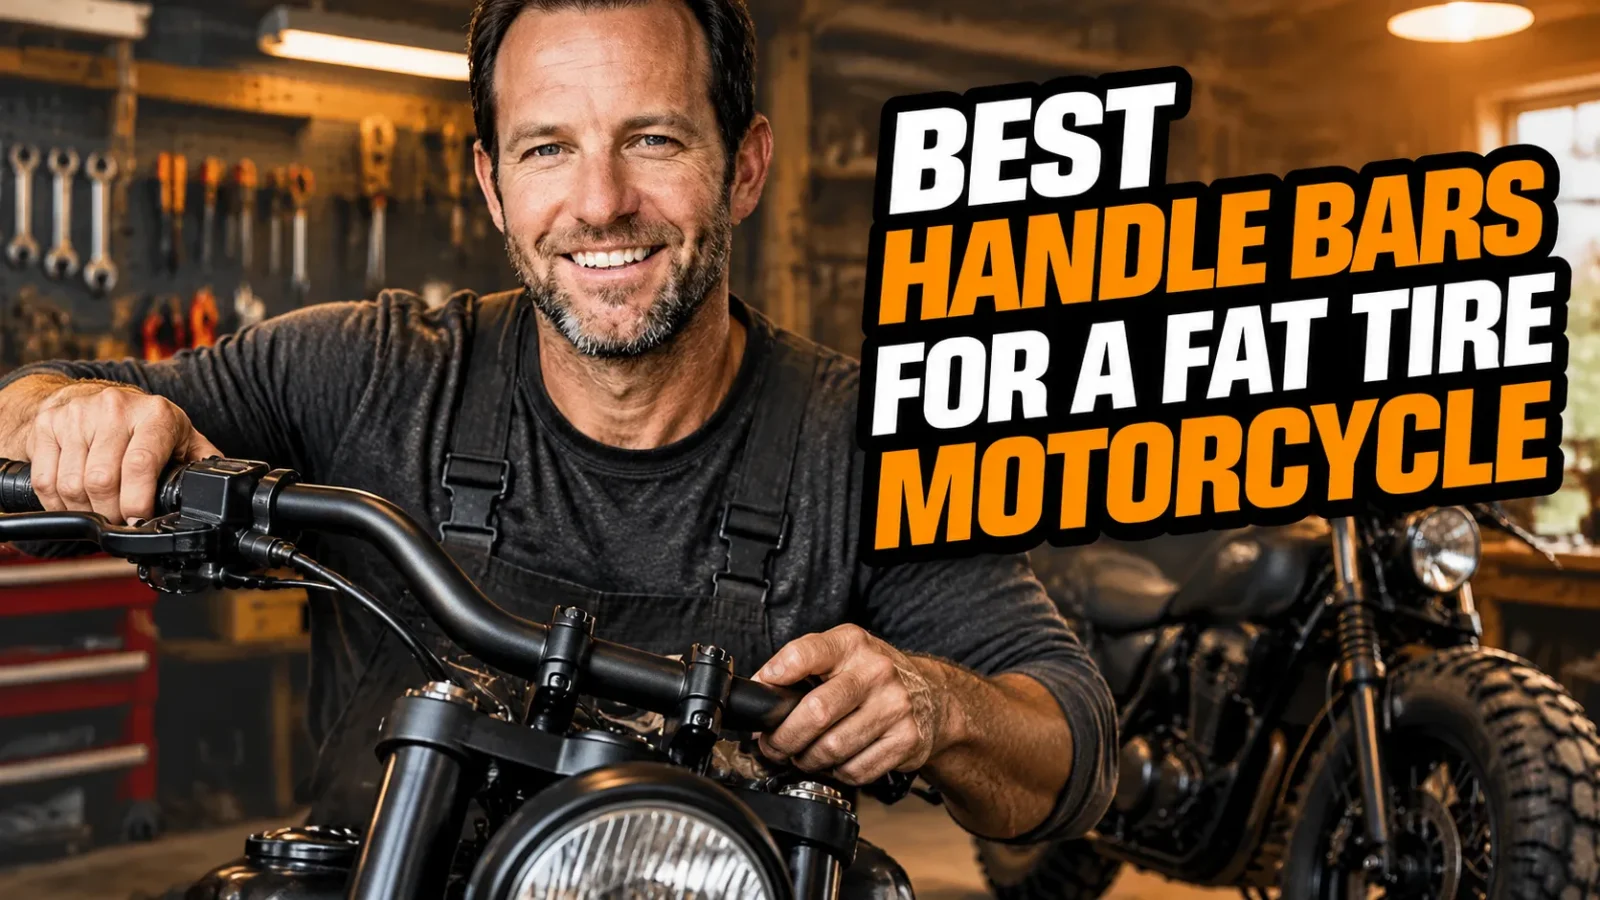
I still remember the first time I swapped bars on my Fat Boy. I thought I was just chasing a look, a wider stance up front to match that massive front tire. Two miles into the first ride I realized I had accidentally fixed the steering, the wrist angle, and my lower back all at once. That is the thing about fat tire motorcycles — the bars are not decoration, they are the control surface for a bike that steers heavier than anything else in the garage.
Since then I have run 1.25-inch and 1.5-inch bars on Softails, a Victory Hammer, a Yamaha Raider, and a friend’s Suzuki M109R. I have made every mistake you can make: too much pullback, not enough cable length, cheap chrome that pitted in one winter. What follows is the shortlist I actually recommend now.
One thing I tell everyone before they spend a dime on bars: fix the contact points together. Bars, grips, and the best motorcycle seat you can afford are a package deal. Change one without the others and you will be back in the garage in a month.
- My overall pick is the KST Kustoms Spearhead 1.5-inch — stiff, made in the USA, and built for heavy front ends.
- Stay at 1.25 inches minimum; 1.5-inch bars transform how a fat tire bike steers and looks.
- Anything over 2 inches taller than stock means new cables, brake lines, and wiring.
- Pullback matters more than rise on wide-front cruisers — it decides whether your shoulders ache at hour three.
- Budget $250 to $700 for the bars alone, then add risers, grips, and labor.
1. KST Kustoms Spearhead 1.5-Inch Bars — Best Overall
If you only want to read one entry on this list, make it this one. The KST Kustoms Spearhead is a 1.5-inch diameter bar made in the USA from stainless steel, TIG welded, and finished in chrome, gloss black, or a satin black that has held up better than anything else I have run through a salty winter.
What sold me was the rigidity. A fat front tire puts load through the forks in a way a skinny 21-inch wheel never does, and thin bars flex under that. The Spearhead does not. Braking hard into a corner, the front end felt planted instead of vague.
It comes in 12, 14, and 16-inch rise options with a modest pullback, which suits a wide-shouldered rider without cranking your wrists inward. Expect to pay somewhere in the $550 to $700 range depending on finish. It is not cheap, and I do not care — it is the bar I keep coming back to.
Fitment notes
The Spearhead is designed around touring and bagger top clamps, so on a Softail you will likely need adapter risers. Measure your stock bar diameter before ordering, because plenty of fat tire cruisers left the factory with 1.25-inch bars and a clamp to match.
2. Factory 47 Assault 1.5-Inch Bars — Best for Baggers and Heavy Tourers
Factory 47 builds the Assault out of 1.5-inch seamless DOM steel, and you can feel the difference the moment you pick one up. It is a genuinely heavy piece of hardware, which is exactly what I want on a bike that already weighs north of 800 pounds with a fat rear tire out back.
The Assault is available in 12, 14, and 16-inch heights with chrome, gloss black, and satin black finishes. The bends are clean and symmetrical, which sounds like a small thing until you ride a bike with a bar that is two degrees off and spend every mile fighting it.
This is the bar I recommend to anyone doing long days on a touring chassis. Pair it with a proper long-haul saddle — I have written about the best motorcycle seat for Harley touring — and you have a cockpit you can genuinely live in for 500 miles.
3. Paul Yaffe Originals Bagger Monkey Bars — Best Ape Hanger
Apes get a bad reputation, and most of it is deserved when people buy them too tall and too narrow. Paul Yaffe’s Monkey Bars avoid that trap because the width is generous, so your arms stay open instead of pinching in toward your chest.
These are 1.5-inch bars with 10, 12, and 14-inch rise options, and the pullback is dialed in for riders who are taller than average. At 6’1″, I found the 14-inch version put my hands exactly where I wanted them without leaning forward or slouching back.
Finish quality is excellent, and Yaffe has been doing this long enough that the geometry is proven rather than experimental. Expect roughly $600 to $750. If you are tall and have been fighting a cramped cockpit, read my notes on the best motorcycle seat for tall riders as well — the two upgrades work together.
4. Carlini Design Pistolero 1.5-Inch Bars — Best Hand-Finished Look
Carlini Design is a small American shop, and it shows in the finish. The Pistolero is hand-polished before plating, and the chrome has a depth to it that mass-produced bars simply do not match. I have had mine on a bike for three seasons with no clouding.
It is a 1.5-inch bar with a moderate rise and a slightly wider grip position than stock, which I found surprisingly comfortable on a wide-front cruiser. The tube is thick-walled, so there is no noticeable flex when you load the front end hard.
Availability can be spotty because everything is made in small batches, and pricing runs $400 to $700. If you want your bike to look like it was built rather than assembled, this is the one.
5. LA Choppers Twin Peaks 1.5-Inch Bars — Best Value in a Big Bar
LA Choppers has been making the Twin Peaks for years, and it remains one of the smartest buys in the 1.5-inch category. You get the same diameter and stiffness as bars costing twice as much, in chrome or black, for around $400 to $500.
The bend is a traditional sweep that works well on baggers and Softails alike, and it is available in multiple rise heights. Fitment coverage is broad, which means less time hunting for adapter risers.
The trade-off is finish longevity. My chrome Twin Peaks showed a little pitting after two winters near the coast, while the more expensive bars did not. If you ride in a salt environment, get the black powder coat instead.
Who it suits
If you are shorter in the inseam and worried about reach, this bar’s narrower grip spacing helps. Combine it with a lower seat — the best motorcycle seat for short riders is a good place to start — and you can get your feet flat and your hands comfortable at the same time.
6. Arlen Ness Modular Handlebar — Best Adjustable Setup
Arlen Ness took a completely different approach with the Modular Handlebar. Instead of one welded shape, you get separate backbone and grip sections that bolt together, so you can adjust rise, pullback, and wrist angle after installation.
For anyone who has ever bought a bar, installed it, hated the wrist angle, and sold it at a loss, that adjustability is worth real money. It is a 1.25-inch diameter bar, so it is the right call if you want to keep stock controls and risers.
Pricing lands around $400 to $500. It is not the stiffest option here, and on a genuinely heavy fat tire bike I would still lean toward a welded 1.5-inch bar. But if you are still figuring out your ideal riding position, nothing else on this list lets you experiment this cheaply.
7. Khrome Werks 1.25-Inch Fat Ape Hanger — Best Budget Pick
Khrome Werks has been making handlebars for decades, and the Fat Ape Hanger is the entry point I recommend when someone wants a big-bike look without a big-bike price. It runs roughly $200 to $300 in chrome.
At 1.25 inches it is the same diameter as most factory bars on fat tire cruisers, so you can usually reuse your stock risers and clamps. That alone can save you a couple hundred dollars and an afternoon of swearing.
It is not as stiff as a 1.5-inch bar, and I can feel a little flex under hard braking on my heaviest bike. But for a rider on a budget, or someone who is not sure they want to commit to a big bar, this is the smart first step.
8. Todd’s Cycle 1.5-Inch Strip Bar — Best for the Wide-Front Custom Look
Todd’s Cycle builds the Strip Bar in the USA with 1.5-inch tubing and a low, flat profile that makes a fat front tire look even more aggressive. It is the bar I would put on a bike that is more show than tour.
The geometry is flatter and wider than a traditional sweep, so your arms sit further apart. On a bike with a 130-series front tire, that stance reads as deliberate rather than accidental, and steering input feels more direct.
Pricing is around $450 to $600 depending on finish and options. It is not the most comfortable choice for a 400-mile day, and I would not pretend otherwise.
A quick note on other platforms
Bar swaps are not universal, and the geometry that fixes a fat tire cruiser will not necessarily fix anything else. A buddy of mine runs a Forty-Eight, and swapping to a narrower bar with less pullback transformed it — he paired it with the best seat for Harley Sportster and stopped complaining about his tailbone entirely. Another friend on a dual sport had the opposite problem: his cockpit was fine, but the saddle was torture, so I pointed him at the best motorcycle seats for Kawasaki KLX250 instead. Match the fix to the actual problem.
What Actually Matters When You Swap Bars on a Fat Tire Bike
I have made enough expensive mistakes to have opinions here. These are the four things that decide whether a bar swap feels like an upgrade or a regret.
Rise and pullback
Rise gets all the attention, but pullback is what your shoulders care about. On a wide-front cruiser, too much pullback rotates your wrists inward and your elbows out, and by mile 100 you will feel it between your shoulder blades. Sit on the bike with your hands where you want them, then measure.
Diameter and stiffness
A fat front tire loads the steering in a way that rewards a stiffer bar. Going from 1-inch to 1.25-inch is a real improvement; going to 1.5-inch is transformative on a heavy bike. The visual match with a wide tire is a bonus, not the point.
Cables, lines, and wiring
Anything more than about 2 inches taller than stock will need longer throttle cables, brake lines, and clutch cable, plus extended wiring for the switches. Add that to your budget before you order the bars, not after they arrive.
Grips and controls
Stock controls do not fit 1.5-inch tubing, so plan on adapters or aftermarket housings. Grips need to match the new diameter too. It is a small line item that catches a lot of people off guard.
My Final Take
If I were building one fat tire bike tomorrow, I would order the KST Kustoms Spearhead in satin black, add 1.5-inch risers, and spend the rest of the budget on a seat. That combination has never let me down.
If the budget is tighter, the LA Choppers Twin Peaks gets you 90 percent of the experience for half the money, and the Khrome Werks Fat Ape Hanger is a perfectly respectable starting point while you figure out what you actually like.
What I would not do is buy a cheap no-name bar to save $150. On a motorcycle that steers this heavily, the bars are not the place to economize. Get the geometry right, get the stiffness right, and the rest of the bike finally makes sense.
Frequently Asked Questions
What diameter handlebars do I need for a fat tire motorcycle?
Most fat tire cruisers ship with 1.25 inch bars, and that is the minimum I would run. Stepping up to 1.5 inch tubing stiffens the front end noticeably and visually matches a wide front tire.
Can I install taller bars without changing cables?
Usually no. Anything more than about 2 inches taller than stock almost always needs longer throttle, brake, and clutch lines plus extended wiring. Measure your current rise and pullback before ordering.
Do 1.5 inch bars work with stock controls?
Not directly. You will need adapters or aftermarket controls machined for 1.5 inch tubing, matching 1.5 inch risers, and grips sized to the new diameter. Budget for those parts up front.
Should I change my seat when I change handlebars?
Often yes. New rise and pullback shift your hips and shoulders, so a seat that felt fine can suddenly feel wrong. I always sort bars and seat together.

Related Articles

Rusty Bolt Rescue: How I Remove Rust from Motorcycle Bolts Without Snapping Them
Rusty motorcycle bolts? Here's how I remove rust from motorcycle bolts safely, from penetrating oil soaks to vinegar baths, plus…
 Jake Miller
11 min read
Jake Miller
11 min read

How to Properly Tie Down a Motorcycle: A Rider’s Field Guide to Straps, Anchors, and Zero Regrets
Learn how to properly tie down a motorcycle from a rider who has done it hundreds of times. Straps, anchor…
Jake Miller
10 min read

Basic Motorcycle Maintenance: My Honest Daily, Weekly, and Monthly Routine
I've spent years wrenching in my own garage. Here's my honest, no-nonsense guide to basic motorcycle maintenance, from daily checks…
Jake Miller
8 min read