
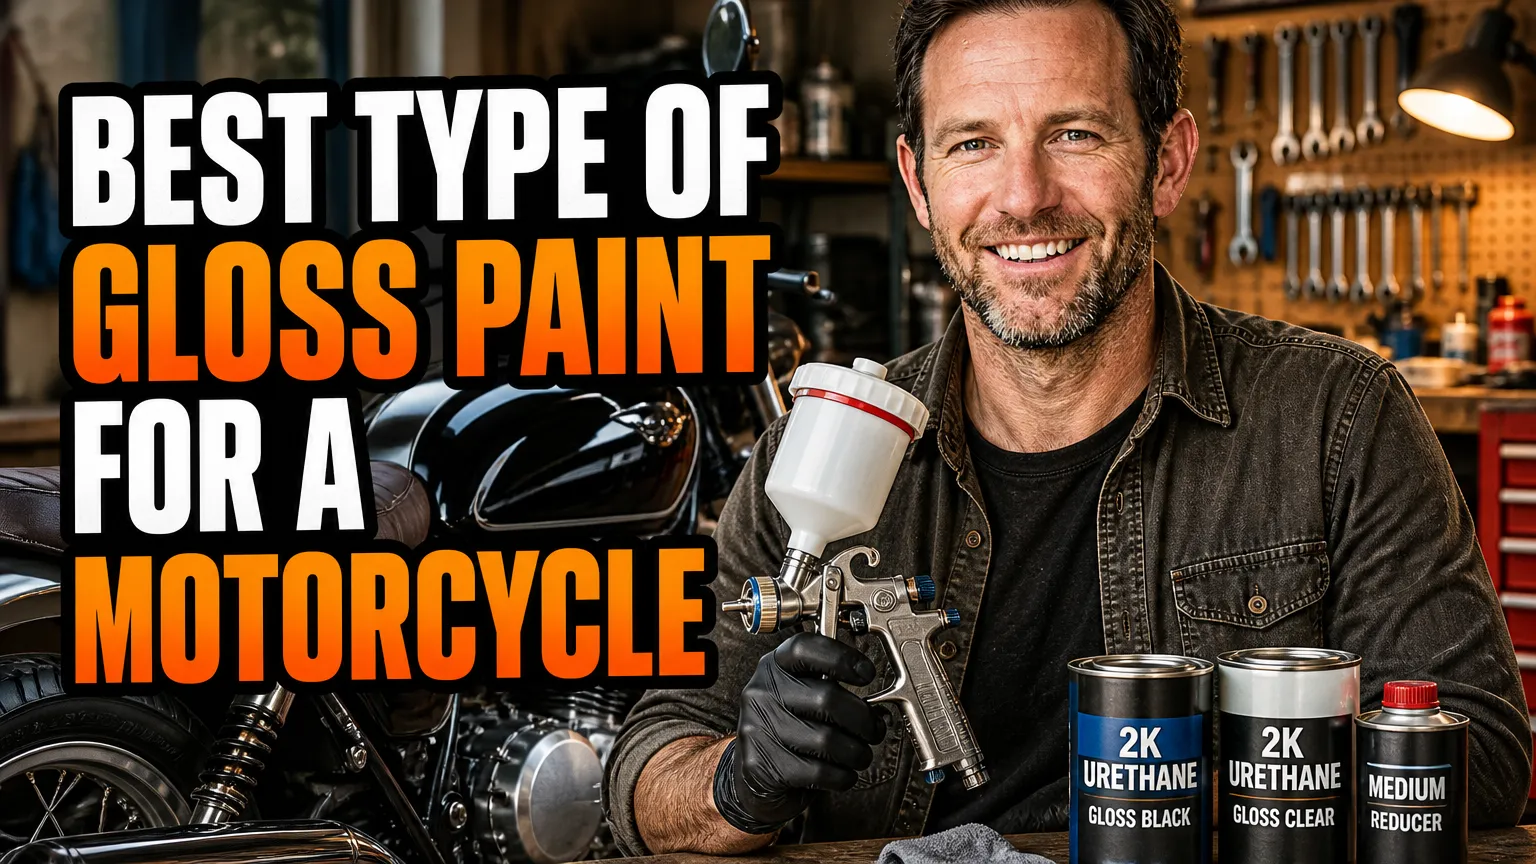
When I repaint a motorcycle, I think of gloss as a whole finish system, not just a shiny can of paint. The right primer, color coat, clear coat, surface preparation, and curing conditions all affect how deep the shine looks and how well it holds up to weather and road grime. For a broader look at color coats and paint formats, I also recommend my guide to best spray paint for motorcycle.
Disclosure: some links in this article are affiliate links. As an Amazon Associate I earn from qualifying purchases, and I may also earn a commission from RevZilla at no extra cost to you.
Below, I’ve picked real products I’d consider for different parts and budgets. Some are clear coats that add gloss over a compatible color coat; others are gloss-black paints intended for specific jobs. I always check the product label and technical data sheet before mixing brands or painting a particular motorcycle part.
- I favor a compatible 2K clear coat when I want a deep, durable gloss.
- Dupli-Color MC200 is a convenient clear-coat option made for motorcycle and ATV paint projects.
- I choose specialty chassis paint for frames and gloss-black trim, not as a substitute for bodywork paint.
- Preparation, compatibility, curing, and safe spraying matter as much as the product I choose.
1. SprayMax 2K Glamour High Gloss Clear Coat — My All-Around Clear-Coat Pick

When I want a deep, polished-looking finish over a compatible color coat, SprayMax 2K Glamour High Gloss Clear Coat is one of the first products I consider. It’s a two-component aerosol: activating the can combines the clear coat and hardener, so I can apply a 2K finish without mixing a conventional spray-gun batch.
I like the convenience, but I don’t mistake an aerosol for a beginner-safe product. Once activated, the can has a limited usable life, and its 2K chemistry demands strict attention to the label and safety data sheet. I generally see it priced around $25–$40 per can, with prices varying by seller and region.
Where I’d use it
I’d use SprayMax 2K Glamour over a basecoat that its manufacturer or the paint supplier confirms is compatible. Its glossy clear layer can help give a color coat more depth and protection, but I wouldn’t apply it over an unknown finish and hope the layers bond properly. I also avoid assuming that “high gloss” means “fuelproof.”
For a tank or body panel, I plan the entire coating system before I spray. I read the recoat windows, do a test panel when practical, and let the finish cure as directed. If I’m spraying at home, I pay particular attention to the product’s isocyanate warnings and required protective equipment.
2. Dupli-Color MC200 Clear Coat — My Convenient Motorcycle-Specific Option
Dupli-Color MC200 Clear Coat is part of the brand’s Motorcycle & ATV paint range, which makes it an appealing option when I want an aerosol product marketed for powersports repainting. It’s a clear coat rather than a colored gloss paint, so I use it over a suitable color layer when I want to add shine and a protective topcoat.
I usually find MC200 in the approximate $15–$25 range, depending on the retailer and availability. I appreciate that I can buy a product associated with a motorcycle-and-ATV line, but I still follow the product directions closely and confirm compatibility with the color coat underneath.
Why I’d choose it
I’d consider Dupli-Color MC200 for a smaller DIY project where I want a familiar aerosol format and don’t need a custom professional paint system. I wouldn’t assume it has the same chemical resistance or durability as every 2K clear coat on this list. For a fuel tank, I verify fuel resistance and curing requirements rather than judging suitability by gloss alone.
That distinction matters on tanks because spilled gasoline can damage a finish that looks excellent when freshly painted. When I’m planning that job, I review guidance on the best paint for motorcycle gas tank and the best spray paint for motorcycle tank before choosing a coating system.
3. Eastwood 2K AeroSpray High Gloss Clear — My Aerosol Pick for a More Refined Finish
Eastwood 2K AeroSpray High Gloss Clear is another two-component aerosol clear coat I’d look at when I want a glossy finish without conventional spray equipment. Eastwood positions its 2K AeroSpray products as a way to get a catalyzed coating from an aerosol can. That makes it handy for certain projects, though it doesn’t remove the need for careful surface preparation or safe application.
I’d budget roughly $35–$50 for a can, with the actual price depending on the seller. I treat the activated can as a one-project product: I prepare the parts, mask carefully, and have a plan before I trigger the hardener. That helps me avoid wasting a can while I’m still sanding or figuring out the spray pattern.
My practical notes
I’d use this clear over an approved basecoat on a side cover, fender, or other painted part. I check the coating system’s recoat guidance and test the combination on a scrap piece first, because solvent strength and timing can affect how layers behave. If I need a very large panel painted evenly, I’d consider hiring a paint shop rather than trying to stretch one aerosol beyond its practical coverage.
Like other 2K aerosols, Eastwood 2K AeroSpray isn’t a casual indoor spray-paint choice. I follow the safety data sheet and use suitable professional-level respiratory and skin protection in an appropriate spray area. If I can’t meet those requirements, I choose a safer product or leave the spraying to a qualified painter.
4. U-POL S2082 High Gloss Clearcoat — My Shop-Style Option
U-POL S2082 High Gloss Clearcoat is a 2K clear-coat product used in automotive refinishing. I consider it when I’m planning a more complete paint system and have the equipment, mixing information, and suitable spray environment for a catalyzed coating. Depending on the package and seller, it may be offered as part of a professional-style system rather than as a simple one-use aerosol.
Prices vary with the size, hardener, and retailer, so I check what’s included before comparing costs. A kit or larger quantity can cost more upfront than an aerosol, but it may make better sense if I’m painting several parts. I follow U-POL’s instructions for mixing, application, and recoat timing rather than borrowing ratios or settings from another clear coat.
When I’d pick it
I’d choose U-POL S2082 when I want to work within a compatible refinishing system and can spray it correctly. I wouldn’t buy it just because the words “high gloss” sound impressive; clear-coat performance also depends on correct film thickness, clean air, temperature, and curing. A rushed or contaminated application can leave me with runs, dull patches, or dirt trapped in the finish.
For a single small part, a professional-style product may be more work than I need. I weigh its potential finish quality against the cost of the coating, hardener, spray equipment, and safety setup before deciding whether it makes sense for my project.
5. KBS Coatings DiamondFinish Clear Coat — My One-Part Clear for Selected Projects

KBS Coatings DiamondFinish Clear Coat is a clear protective coating that the manufacturer describes as a moisture-cured, one-part product. I find that format worth considering when I want a clear coat without mixing a separate hardener. It is sold in different sizes, and typical pricing can range from roughly $35 to $60 or more depending on size and supplier.
I’m careful not to treat “one-part” as a promise that it will work over every paint or on every motorcycle component. I check the manufacturer’s application instructions, compatibility notes, and cure requirements before putting it over another coating. I also pay attention to how the product should be applied, since a brush-on or spray-ready coating may suit different jobs.
My best-use advice
I’d consider DiamondFinish Clear for a suitable project where its stated application method and compatibility fit what I’m painting. I wouldn’t use it to top an untested basecoat or expect it to fix scratches and poor preparation. The clear layer can only look as good as the surface beneath it.
For a tank, I also confirm that the chosen product and complete paint system can handle the fuel exposure the part may encounter. When a tank needs sealing on the inside, that is a separate task from adding a shiny exterior finish. I compare specialist guidance on the best paint for motorcycle tank sealer before I treat those jobs as one.
6. VHT Roll Bar & Chassis Paint SP671 Gloss Black — My Pick for Frames and Chassis Parts

VHT Roll Bar & Chassis Paint SP671 in Gloss Black is a specialty gloss-black coating intended for roll bars and chassis applications. I like it for the right structural or chassis part because it’s made for that type of use, rather than being an ordinary decorative body-panel paint. A can commonly costs around $12–$20, although local pricing varies.
I wouldn’t confuse chassis paint with a glossy color-and-clear system for a fuel tank or a show-quality body panel. Its purpose is different, and the application instructions matter. I clean and prepare the metal as directed, check whether a primer is recommended, and make sure I’m not coating bearings, threads, electrical grounds, or other surfaces that need to remain bare.
Where it earns a place in my garage
I’d reach for VHT SP671 when I’m refreshing an appropriate chassis or roll-bar-style component in gloss black. For a motorcycle frame, I first verify that the coating suits the frame material and intended conditions. I also compare it with products specifically recommended for that job in my guide to the best paint for motorcycle frame.
For bodywork, I’d use a paint system made for the panel and finish I want. If I’m choosing between gloss and a low-sheen look for trim, I also consider whether the best type of matte black paint for motorcycle is a better match for the style of the bike.
7. Rust-Oleum Automotive Acrylic Enamel Clear Coat — My Budget-Friendly Aerosol for Simpler Jobs

Rust-Oleum Automotive Acrylic Enamel Clear Coat is an accessible aerosol option for projects where I want a straightforward clear finish. It is generally less expensive than many catalyzed 2K clears, with cans often available in the approximate $10–$20 range. I consider it for modest DIY work, but I don’t assume a budget-friendly clear will match a professional 2K system in chemical resistance or long-term toughness.
I use it only over a compatible surface and according to the label’s preparation and application directions. I pay attention to the recoat window, because applying another layer too early or too late can affect the result. I also avoid using it on surfaces that face demanding heat, chemicals, or fuel unless the manufacturer specifically approves that application.
How I keep expectations realistic
I’d choose this clear when ease of purchase and a lower initial cost matter more than maximum durability. I wouldn’t select it for a high-value restoration simply because the wet paint looks shiny in the can. A glossy finish has to survive its actual environment, and that depends on more than appearance immediately after spraying.
For a small cover or accessory, I’d test the complete system on scrap material first. If the color coat wrinkles, stays soft, or loses adhesion under the clear, I stop and rethink the products rather than applying more layers and hoping the problem disappears.
How I Choose the Right Gloss Finish for a Motorcycle
Before I buy paint, I decide what the part needs to withstand. A side cover, a frame, and a fuel tank face different conditions, so I don’t expect one can to be ideal for all three. I consider fuel exposure, heat, stone chips, sunlight, flexibility, and whether I need a single-stage gloss or a basecoat-and-clear system.
I match the paint to the part
For painted bodywork, I often prefer a compatible color basecoat and clear coat when the finish system calls for it. For a frame, I use a coating intended for chassis or frame applications. For a tank, I confirm the complete system’s suitability for fuel contact and follow the cure schedule before putting the motorcycle back into service.
I prepare the surface before chasing shine
I start by removing dirt, wax, oil, and failing paint, then I sand and prime as the coating instructions require. I mask carefully and keep dust away from the work area. Gloss magnifies surface flaws, so I don’t expect a shiny topcoat to hide scratches, dents, or uneven primer.
I take safety and curing seriously
I read the safety data sheet before spraying, especially for 2K products. Some contain hazardous isocyanates, and a common disposable dust mask is not suitable protection. If I can’t provide the protective equipment and controlled spray conditions the manufacturer specifies, I use a professional shop instead.
After spraying, I give the paint the full recommended cure time before reassembly, polishing, fuel exposure, or riding. I’ve learned that patience is cheaper than fingerprints, soft paint, or a ruined tank. For me, the best type of gloss paint is the one that suits the part, works with the rest of the coating system, and can be applied and cured safely.
Frequently Asked Questions
What type of gloss paint works best on a motorcycle?
For a durable, high-gloss finish, I usually choose a compatible basecoat topped with a quality 2K clear coat. I match the products to the part and follow their technical data sheets.
Is 2K clear coat safe to spray at home?
I treat 2K coatings as hazardous because many contain isocyanates. I only spray them with the protective equipment and controlled conditions specified by the product safety data sheet; otherwise, I use a professional painter.
Can I use gloss paint on a motorcycle fuel tank?
Yes, but I use a coating system compatible with the tank material and fuel exposure, and I allow the finish to cure fully. I never assume ordinary gloss paint resists gasoline.
Do I need clear coat for a glossy motorcycle finish?
Not always. Some paints are single-stage gloss, while basecoats need a compatible clear coat for shine and protection. I check the product instructions before combining coatings.

Related Articles

6 Best Motorcycle Fork Paints for a Durable, Clean Finish
I compare six paints for motorcycle fork lowers, with practical notes on durability, finish, prep, cost, and the fork surfaces…
 Jake Miller
12 min read

Remove Motorcycle Tank Badges Safely: A Rider’s Paint-Protecting Guide
Learn how I safely remove motorcycle tank emblems, loosen stubborn adhesive, protect paint, clean residue, and spot when pins or…
Jake Miller
11 min read

How I Remove Motorcycle Tank Stickers Without Damaging the Paint
Learn how I safely remove decals and sticky residue from a motorcycle tank without damaging paint, with tools, step-by-step tips,…
Jake Miller
11 min read