
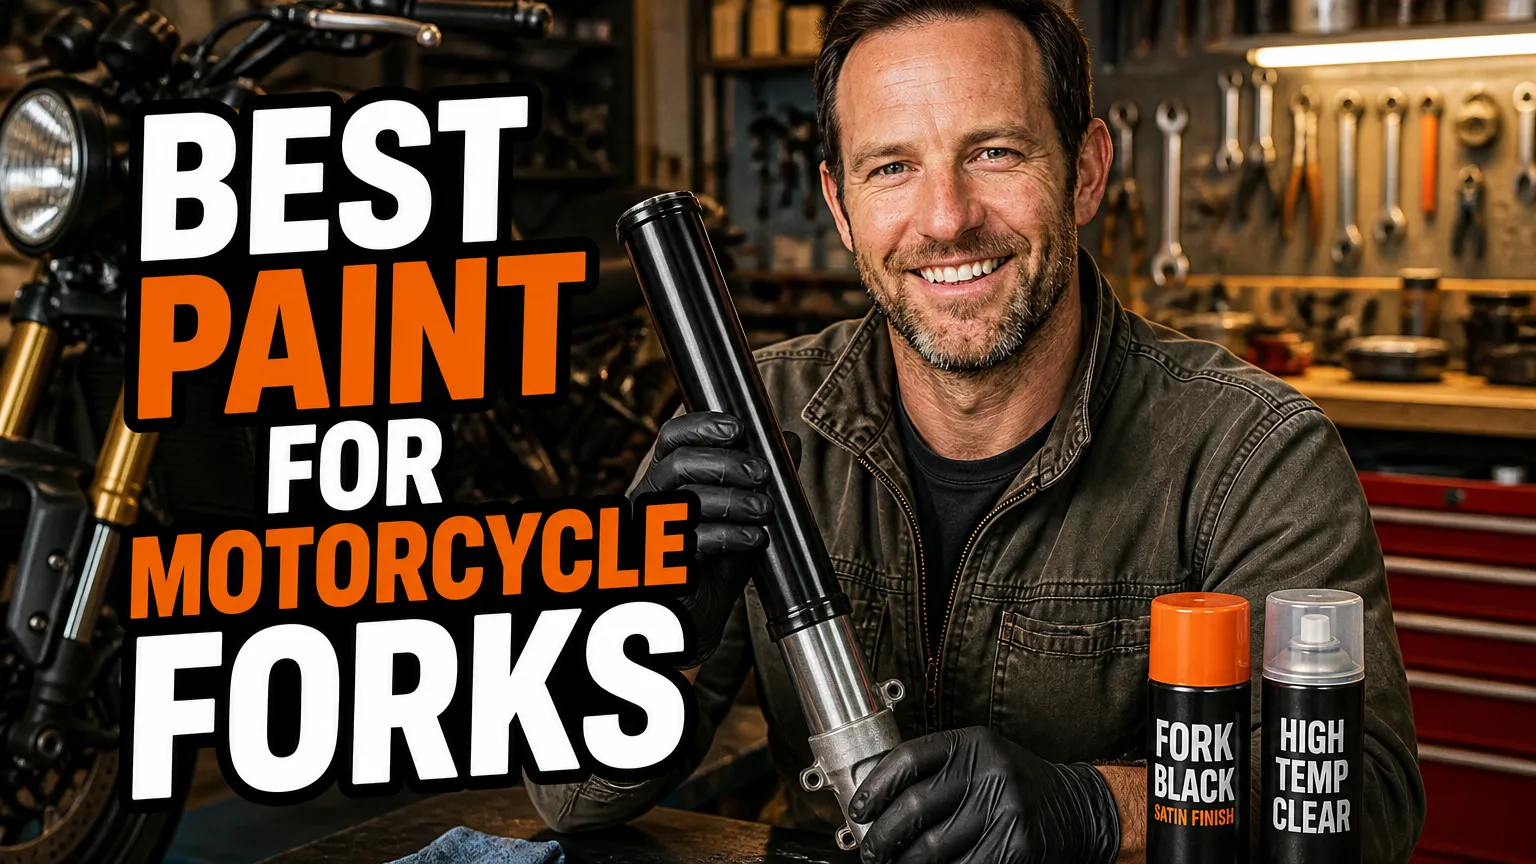
When I refresh motorcycle forks, I’m careful to separate a cosmetic job from a suspension repair. The right coating can make fork lowers look sharp and help them stand up to road grit, but paint belongs only on suitable exterior surfaces. I never coat the inner tubes that slide through the fork seals.
Disclosure: some links in this article are affiliate links. As an Amazon Associate I earn from qualifying purchases, and I may also earn a commission from RevZilla at no extra cost to you.
When I’m comparing the best paint for motorcycle forks, I look at the fork material, the finish I want, and how much preparation I’m willing to do. I also use my wider guide to the best spray paint for motorcycle projects when I’m planning a larger repaint. Below, I’ve picked six real products I’d consider for fork lowers, with the important caveat that I always follow the label for compatibility and curing.
- I’d start with PJ1 or VHT for a practical, durable black finish on properly prepared fork lowers.
- I match the coating to the fork material and the product’s directions, rather than assuming every paint sticks to every finish.
- I mask inner tubes, seals, axle bores, threads, brake mounts, and other precision surfaces completely.
- I treat cure time as seriously as surface prep, and give fresh paint time to harden before riding.
1. PJ1 16-GL Gloss Black Epoxy Paint — My Motorcycle-Focused Pick

When I want a straightforward black finish from a product made for motorcycle refinishing, PJ1 16-GL Gloss Black Epoxy Paint is one of my first options to investigate. PJ1 markets its epoxy paints for motorcycle frames and related parts, which makes this a more natural starting point for fork lowers than a general-purpose household spray.
Why I’d consider it for fork lowers
I like the gloss-black appearance when I’m trying to bring a tired front end closer to a clean, factory-style look. A spray can also reach curved outer surfaces conveniently, although I still use light, controlled passes rather than trying to get full coverage in one heavy coat.
In my experience, the label matters more than assumptions based on the word “epoxy.” I check whether the current can’s directions allow use on my particular fork material and existing finish, then follow the specified recoat and cure windows. A can commonly costs around $15 to $25, though price and availability vary by seller.
How I’d use it
I’d remove the fork legs where practical, clean them thoroughly, and mask every surface that needs a precise fit or smooth movement. If I’m painting anodized or bare aluminum, I don’t assume the coating can go straight on: I verify the recommended preparation and primer for that surface first.
My take: PJ1 16-GL is my first look for a glossy black fork-lower refresh when I want a motorcycle-oriented product. I wouldn’t use it on the sliding stanchions, seal-contact areas, or any other surface where even a thin paint layer could interfere with function.
2. VHT Roll Bar & Chassis Paint — My Satin Chassis-Style Choice

VHT Roll Bar & Chassis Paint is a well-known coating intended for chassis and underbody components. I consider it when I want a practical satin or chassis-style finish on fork lowers, especially if I’m coordinating the appearance with a frame or other dark hardware.
What stands out to me
Compared with a glossy finish, satin black is less showy and can be forgiving of small visual imperfections. The product is sold in different finish options, so I check the exact can before buying rather than assuming every version has the same sheen or instructions.
VHT Roll Bar & Chassis Paint is often priced around $10 to $20 per can. I think of it as a value-conscious option, not a shortcut around careful preparation: grease, corrosion, and loose old coating can undermine even a promising paint job.
Where I’d be cautious
I wouldn’t treat chassis paint as proof of compatibility with every alloy fork casting. I inspect the product guidance and, if the material or old finish is uncertain, I test a hidden spot or consult the fork manufacturer before committing to the whole part.
My take: I’d choose VHT Roll Bar & Chassis Paint for a subdued black finish when the application directions suit the component. If I’m painting a frame at the same time, I compare it with my guide to the best paint for motorcycle frame projects so I can plan a consistent look and compatible process.
3. Eastwood 2K AeroSpray Chassis Black Satin — My Premium Satin Option

For a more professional-style chassis finish, I’d look at Eastwood 2K AeroSpray Chassis Black Satin. Its two-component aerosol format is designed to mix the coating inside the can before use, so I’d read the activation and use instructions closely and plan the job before I press the button.
Why I’d pay more for it
I like the idea of a dedicated chassis coating when I want a durable satin appearance and I’m already investing time in removing and preparing the fork lowers properly. Eastwood 2K products are typically more expensive than conventional single-component aerosols; I’d budget roughly $25 to $40, depending on the retailer.
The trade-off is that a 2K product has specific handling and pot-life considerations after activation. I’d use the personal protective equipment and ventilation specified on the label, and I wouldn’t buy it for a tiny touch-up if I couldn’t use the can within its stated working window.
My application notes
I’d confirm that the product is suitable for the fork’s material and existing coating, then follow Eastwood’s preparation, application, and curing instructions exactly. I also make sure the fork leg is positioned so the spray reaches the intended outer surfaces without drifting onto machined areas.
My take: Eastwood 2K AeroSpray Chassis Black Satin is the option I’d consider for a carefully planned, higher-effort refresh. It isn’t automatically the best choice for every fork, but its satin chassis look appeals to me when I want the finished part to blend with other refinished components.
4. POR-15 Top Coat Chassis Black — My Option for a Chassis-Matched Finish

POR-15 Top Coat Chassis Black is another product I’d consider when the goal is a black coating for chassis-related parts. I like having a purpose-oriented option to compare against motorcycle paints, but I still verify the current product format and directions before choosing it for fork lowers.
What I like about the approach
When I’m restoring several parts together, matching the fork-lower finish to other chassis components can make the whole bike look more deliberate. I’d check whether the version I’m buying is an aerosol or another format, since the application method and coverage planning depend on the exact product.
Prices vary by size and retailer, so I’d expect to spend somewhere around $20 to $35 for a relevant coating format. I wouldn’t infer that a chassis product is suitable for every aluminum or magnesium part just because it is marketed for chassis use.
My prep priorities
I remove contamination and loose coating, then follow the product instructions for any required primer, surface profile, and temperature conditions. If the fork lower has a factory anodized finish, I first consider whether painting is appropriate at all and whether the manufacturer gives guidance for coating it.
My take: I’d put POR-15 Top Coat Chassis Black on my shortlist for a coordinated chassis refresh, especially when I’m already using it on compatible components. I’d confirm the exact product’s suitability and application requirements rather than treating the brand name as a substitute for checking the label.
5. Dupli-Color Wheel Coating — My Alternative for a Wheel-Style Finish

Dupli-Color Wheel Coating is made for wheels, not specifically for motorcycle forks, but I’d consider it for an exterior fork-lower finish when its label allows the intended surface and the look suits my build. Wheel coatings are designed for exposed parts that face road dirt and routine cleaning, which makes the category worth comparing for this kind of cosmetic job.
Finish and value
I can find Dupli-Color Wheel Coating in different colors and finishes, including black options, so I check the exact variant before buying. It often falls around $12 to $20 per can, making it a relatively accessible product to consider for a small project.
I don’t assume that wheel paint will bond correctly to every fork finish, and I don’t confuse coating durability with structural protection. If the fork has corrosion, damage, or a worn coating, I deal with that underlying issue instead of simply spraying over it.
When I’d choose it
I’d choose Dupli-Color Wheel Coating when I want a wheel-like finish and the manufacturer’s instructions fit the fork-lower material and preparation I have. For a complete cosmetic update, I also plan related painted parts separately; my guides to the best paint for motorcycle gas tank and best spray paint for motorcycle tank cover the different demands of tank finishes.
My take: I see this as a useful alternative, not my automatic first choice. I’d buy it for the finish I want only after confirming it’s compatible with the particular fork surface and following the maker’s prep steps.
6. Dupli-Color Caliper Paint — My Heat-Oriented Specialty Option

Dupli-Color Caliper Paint is formulated for brake calipers, so its heat-oriented purpose makes it an interesting specialty option to compare for fork lowers. I’d consider it when I want a durable-looking black finish and have confirmed that the product instructions permit the intended use on the fork material.
What makes it different
Caliper paint is sold in several colors and finishes, with product claims and temperature guidance that I always verify on the current label. A can is often in the $15 to $25 range, although the exact price depends on the version and seller.
I don’t choose it just because a fork is near a brake. Fork lowers are not brake calipers, and the coating’s intended application doesn’t guarantee adhesion to anodized aluminum or compatibility with every existing finish.
My practical advice
If I use Dupli-Color Caliper Paint, I follow its own surface preparation, application, and cure directions instead of borrowing instructions from another paint. I keep it far away from brake discs, pads, seal lips, and any area where overspray could affect braking or suspension operation.
My take: I’d treat Dupli-Color Caliper Paint as a specialized alternative rather than a default fork coating. It can make sense for the right project, but only after I’ve confirmed compatibility and planned thorough masking.
How I Choose Between These Fork-Lower Coatings
My choice starts with the exact part I’m painting. “Forks” can mean the lower castings, the polished or coated inner tubes, or the complete assembly, but those surfaces don’t have the same job or safe coating options.
For a black finish, I’d compare PJ1 16-GL with VHT Roll Bar & Chassis Paint first, then consider Eastwood 2K AeroSpray Chassis Black Satin if I’m prepared for its extra cost and handling requirements. I’d look at POR-15, Dupli-Color Wheel Coating, or Dupli-Color Caliper Paint only when their particular directions suit my part and the finish I want.
The surfaces I always keep paint-free
I never paint the inner fork tubes where they slide through the seals. I also mask seal lips, dust seals, threads, axle bores, brake-caliper mounting faces, fender mounts, and any other machined surface where added thickness could affect fit or function.
Before spraying, I remove or carefully mask nearby brake components and wiring. If I’m repainting more than the forks, I choose materials for each component rather than assuming one aerosol is ideal for everything; plastic bodywork, for example, has different needs, which I cover in my guide to the best spray paint for motorcycle plastics.
Prep and curing matter more than a flashy label
I start with clean, dry surfaces and remove grease, road film, and loose paint using methods compatible with the fork material. I don’t aggressively sand a part without understanding its finish, and I follow the paint maker’s recommendations for scuffing, primers, cleaners, and temperature.
I apply thin, even coats and respect the stated recoat window. Touch-dry doesn’t necessarily mean fully cured, so I give the finish the time the product instructions call for before reinstalling parts, tightening against painted surfaces, or riding in wet and gritty conditions.
If I’m also repairing or repainting a fuel tank, I keep that job separate from fork refinishing. Fuel exposure and tank-specific prep are different concerns, so I’d consult guidance on best paint for motorcycle tank sealer rather than treating fork paint as a suitable tank solution.
My Final Pick
For most fork-lower refreshes, I’d start by checking PJ1 16-GL Gloss Black Epoxy Paint and VHT Roll Bar & Chassis Paint against the fork manufacturer’s guidance and the coating labels. I’d choose the sheen I prefer, prepare the surface properly, and keep every sliding or precision surface completely unpainted.
If I want a satin chassis finish and have the experience, ventilation, and project size to justify it, Eastwood 2K AeroSpray Chassis Black Satin would be my premium option to investigate. Whichever product I choose, my best results come from careful masking, compatible prep, light coats, and patience during curing.
Frequently Asked Questions
Can I paint motorcycle fork tubes?
I never paint the sliding inner fork tubes or any surface that passes through a fork seal. Paint can damage seals and affect suspension movement.
What paint works best on motorcycle fork lowers?
For a tough black finish, I would start with a motorcycle or chassis coating such as PJ1 16-GL Gloss Black Epoxy Paint or VHT Roll Bar & Chassis Paint, after checking compatibility and preparing the metal.
Do I need primer before painting fork lowers?
I follow the paint maker’s instructions and identify the fork material first. Bare aluminum, anodized aluminum, and previously painted surfaces may need different preparation or primer.
How long should fork paint cure before riding?
I follow the product label’s cure time rather than relying only on touch-dry time. I give the finish extra time before reinstalling parts or exposing it to road grime and washing.

Related Articles

Remove Motorcycle Tank Badges Safely: A Rider’s Paint-Protecting Guide
Learn how I safely remove motorcycle tank emblems, loosen stubborn adhesive, protect paint, clean residue, and spot when pins or…
 Jake Miller
11 min read

How I Remove Motorcycle Tank Stickers Without Damaging the Paint
Learn how I safely remove decals and sticky residue from a motorcycle tank without damaging paint, with tools, step-by-step tips,…
Jake Miller
11 min read

7 Best Motorcycle Gloss Paints for a Deep, Durable Finish
I compare seven real motorcycle gloss paints and clear coats, explain where each works best, and share practical prep, safety,…
Jake Miller
12 min read