
Remove Motorcycle Tank Badges Safely: A Rider’s Paint-Protecting Guide
 Jake Miller
11 min read
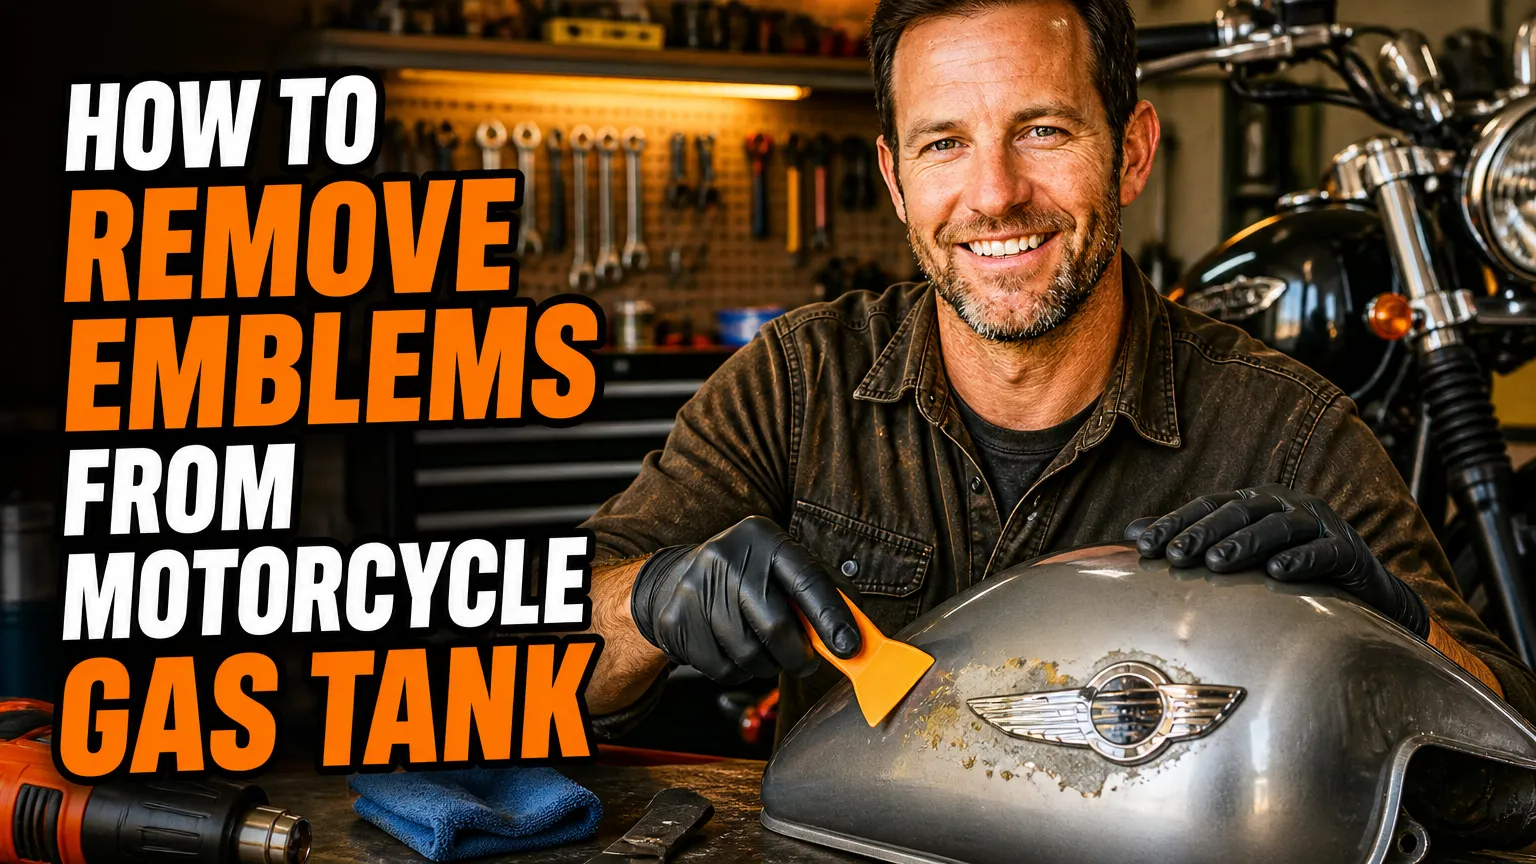
Removing a badge can be a satisfying way to refresh a motorcycle’s look, but I’ve learned that a little patience matters more than brute force. When I’m figuring out how to remove emblems from a motorcycle gas tank, my first priority is protecting the paint and checking whether the emblem is attached with adhesive, pins, or both.
I also plan what comes next. If I’m touching up or changing the finish, I first compare products and preparation advice, including this guide to the best spray paint for motorcycle. For a straightforward badge removal, though, I can often work slowly with a few simple tools and avoid repainting altogether.
- I identify whether the emblem is adhesive-backed or mechanically pinned before I try to lift it.
- I work on a cool, clean tank, away from fuel spills, vapors, flames, and other ignition sources.
- I use gentle line pressure and a plastic tool rather than a metal scraper or aggressive prying.
- I test any adhesive remover on a hidden spot and stop if the paint softens, lifts, or changes color.
Start by identifying how the emblem is attached
I never assume that every motorcycle badge is simply stuck on. Some emblems use foam tape or another adhesive, while others have locating pins, studs, clips, or a combination of adhesive and hardware. Choosing the wrong removal method can turn a quick cosmetic job into a scratched tank or damaged mounting point.
I inspect the badge closely in good light before touching it. If I can see screws, nuts, or obvious mounting points, I treat it as a mechanical attachment rather than trying to peel it away. I also check the service manual or ask a knowledgeable dealer if the badge’s construction isn’t clear.
Clues that suggest adhesive
A badge with no visible fasteners and a thin, even profile is often attached with adhesive. I look for a slight foam edge or a small gap where the emblem meets the paint, but I don’t use a blade to create one. A plastic trim tool or a fingernail is safer for checking whether there’s already a natural edge.
Even when I’m fairly sure it’s tape, I apply only gentle pressure at first. If the emblem flexes slightly and begins to separate evenly, that’s encouraging. If it stays rigid, shifts oddly, or feels firmly anchored at specific points, I stop and reassess instead of forcing it.
Clues that suggest pins or fasteners
Some badges have pins that pass through holes in the tank, even when the visible face appears smooth. A pinned emblem won’t release just because I’ve loosened the adhesive around its edges. Pulling hard can bend the emblem, chip the paint, or damage the tank’s finish near the mounting holes.
If I suspect pins, I look for a parts diagram or model-specific instructions before proceeding. I don’t drill, twist, or lever against the tank to find out how it’s mounted. When I can’t confirm the attachment method, I’d rather get a mechanic or bodywork professional to inspect it than take a guess.
Put safety and paint protection first
A motorcycle tank can contain fuel or fuel vapor, so I take ignition risks seriously. I work with the engine completely cool, outdoors or in a well-ventilated workspace, and away from cigarettes, pilot lights, sparks, and other sources of ignition. If I notice a fuel leak or smell fuel strongly, I stop and deal with that problem before attempting cosmetic work.
I don’t use a heat gun, open flame, or other high-heat tool around a fuel tank. Heat can create an unnecessary fire risk, and I don’t consider a tank “safe to heat” just because it looks empty. I also keep cleaners away from the filler opening, vents, and any spilled fuel.
Before I start, I wash away grit and road grime around the badge. Dirt trapped under a tool or thread can act like sandpaper, so I dry the area with a clean microfiber cloth and keep the cloths and tools I’ll use on the paint free of grit.
Gather a gentle, simple tool kit
For an adhesive-backed emblem, I typically set out these items before I begin:
- Clean microfiber cloths and mild vehicle wash supplies
- Dental floss or fishing line that is strong enough to pull steadily
- A plastic trim tool, if I need light help lifting an edge
- A paint-safe adhesive remover, after checking its label and safety information
- Protective gloves and eye protection appropriate for the products I’m using
I avoid metal picks, utility knives, screwdrivers, abrasive pads, and anything else that can dig into the clear coat. I also don’t reach for gasoline, acetone, or brake cleaner to dissolve adhesive. Those shortcuts can create safety hazards or harm the paint and surrounding finish.
My careful method for an adhesive-backed badge
Once I’ve confirmed that the emblem is adhesive-backed, I take my time and work in small increments. I don’t need to remove the badge in one dramatic pull. A slow, controlled release gives me more chances to notice resistance, protect the paint, and change my approach if something doesn’t feel right.
1. Clean and inspect the area
I wash the tank around the badge, rinse it thoroughly, and let it dry. Then I look over the emblem edges, the paint, and the surrounding clear coat for chips, cracks, or previous repairs. If I see loose paint or a damaged finish, I pause; pulling off an emblem could lift more paint with it.
I also make sure the tank isn’t hot from riding or sitting in direct sun. A cool, clean surface makes it easier to control the work and judge how the adhesive is behaving. I keep my hands clean, too, so I’m not pressing grit into the paint.
2. Work floss or fishing line behind the emblem
I slide a short length of floss or fishing line into an existing gap behind the badge. I hold it with both hands and use a gentle back-and-forth motion to cut through the adhesive, keeping the line close to the emblem’s backing rather than dragging it down against the tank.
I advance a little at a time and keep the pulling pressure even. If the line starts to dig into the paint, slips toward the tank, or meets a hard stop, I stop immediately. I don’t wrap the line around my fingers tightly, and I avoid yanking it toward my body.
3. Lift the badge gradually
As the adhesive releases, I support the emblem so its weight doesn’t suddenly pull on the remaining sticky area. If I need help, I use a plastic trim tool with very light pressure at an edge that has already loosened. I never use the tank itself as a leverage point for a metal tool.
If the badge remains stubborn, I don’t respond by pulling harder. I check again for hidden pins or a more complicated mounting method. Stopping to investigate is much cheaper than repairing a gouge or damaged tank paint.
4. Remove leftover adhesive carefully
After the badge comes off, I first roll any loose adhesive away with my fingertips or a clean microfiber cloth. For residue that remains, I check the adhesive remover’s label to confirm it is suitable for my motorcycle’s paint or clear coat. I test a small amount on a hidden area and wait to see how the finish reacts.
If the test looks good, I apply a small amount to a cloth rather than pouring it onto the tank. I dab or wipe gently, follow the product’s directions, and keep the remover clear of openings, seams, and fuel-related components. I stop if I see discoloration, softening, swelling, or any other change in the finish.
What I do when the glue won’t budge
Some old adhesive has hardened with age, weather, and heat from years of riding. When that happens, I repeat a mild, paint-safe remover application only if its label allows it, giving the product the recommended time to work. I don’t scrape aggressively or mix different solvents in the hope that one will work faster.
If the residue is still firmly bonded, I take the tank or motorcycle to a paint professional. A specialist can assess the finish and choose a removal method that suits that specific paint system. I’d rather pay for careful help than risk turning a small cleanup into a repaint.
What I do differently for pinned emblems
If I confirm the badge is attached with pins or fasteners, I don’t follow the adhesive-only removal steps and try to force the emblem free. I consult model-specific instructions and find out whether access to nuts, clips, or other hardware is needed. The correct approach can vary by motorcycle and emblem design.
Some designs may require access to the inside of the tank or careful handling of the mounting points. Because fuel tanks and fuel systems are safety-critical, I leave that kind of work to a qualified mechanic when I’m uncertain. I never drill through a tank or try to seal mounting holes with an improvised patch.
If the emblem has been removed and the tank has exposed holes or a damaged area, I don’t ride until I know the tank is safe and properly repaired. A cosmetic change isn’t worth risking a fuel leak. I ask a professional to inspect any questionable mounting hole, seal, or tank damage.
Clean up, inspect, and decide whether the paint needs attention
Once the residue is gone, I wipe the area with a clean cloth as directed by the remover’s label. I then inspect the paint from several angles under good light. Adhesive removal can reveal a difference in color where the badge protected the finish from sunlight, so a visible outline doesn’t always mean I’ve damaged the paint.
I don’t immediately polish or coat the area with a new product unless I know it’s compatible with the existing finish. I follow the cleaner or remover instructions and give the surface time to dry. If I see a scratch, lifted clear coat, or exposed primer, I stop and plan a proper repair rather than trying to hide it with a quick wipe.
If I do need to refinish the tank, I choose products made for the job and follow their preparation and curing directions. I compare advice on the best paint for motorcycle gas tank before selecting a coating, since a tank finish needs to suit the surface and its use.
I also consider the finish I want before buying anything. For a low-sheen look, I review options for the best matt paint for motorcycle gas tank. If I’m choosing a spray product for a broader refresh, I compare the best spray paint for motorcycle tank and check that the product is appropriate for my tank and existing finish.
When a project involves corrosion, lining, or tank-sealing work, I don’t treat ordinary paint as a substitute for a proper fuel-tank repair. I look into the best paint for motorcycle tank sealer and follow the manufacturer’s instructions carefully. If I’m also refreshing other parts of the bike, I research a separate coating suited to the best paint for motorcycle frame rather than assuming tank paint will work everywhere.
Common mistakes I avoid
- Pulling before checking the attachment: I confirm whether the badge is glued, pinned, or fastened first.
- Using a sharp metal tool: I choose floss, fishing line, or a plastic tool to reduce the chance of scratching paint.
- Applying heat near a fuel tank: I skip heat guns and open flames because fuel vapors can be dangerous.
- Pouring solvent directly on the tank: I use a small amount on a cloth, test first, and protect openings and seams.
- Forcing a stubborn emblem: I stop and investigate resistance instead of prying harder.
- Using fuel or harsh cleaners as adhesive remover: I choose a product intended for painted surfaces and follow its safety directions.
My final checklist before I call the job done
Before I pack away my tools, I confirm the badge is fully removed without leaving a sharp edge or loose material behind. I check the surface for residue, scratches, and any change in the paint, then clean it only with products that are safe for the finish. If I find a suspected pinhole, leak, or damaged tank, I stop and get a professional inspection.
For me, a clean result comes from restraint: identify the attachment, prepare the area, use gentle pressure, and stop when something feels wrong. That approach takes longer than prying, but it gives me the best chance of enjoying a badge-free tank without turning a small styling change into a costly paint repair.
Frequently Asked Questions
Can I remove a motorcycle tank emblem without damaging the paint?
Usually, yes. I use gentle pressure, a non-marring line or plastic tool, and paint-safe adhesive remover after testing it in a hidden spot.
Can I use a heat gun to remove a tank badge?
I avoid heat guns around motorcycle tanks because heat and fuel vapors are a dangerous combination. I use a cautious, unheated method instead.
How do I know whether my tank emblem is glued or pinned?
I check for visible fasteners or a raised mounting style, and stop if the badge resists gentle lifting. Pinned emblems need a different approach from adhesive badges.
What should I use to remove emblem adhesive?
I start with a paint-safe adhesive remover approved for the tank’s finish, applied sparingly to a cloth. I avoid gasoline, acetone, and abrasive tools.

Related Articles

6 Best Motorcycle Fork Paints for a Durable, Clean Finish
I compare six paints for motorcycle fork lowers, with practical notes on durability, finish, prep, cost, and the fork surfaces…
Jake Miller
12 min read

How I Remove Motorcycle Tank Stickers Without Damaging the Paint
Learn how I safely remove decals and sticky residue from a motorcycle tank without damaging paint, with tools, step-by-step tips,…
Jake Miller
11 min read

7 Best Motorcycle Gloss Paints for a Deep, Durable Finish
I compare seven real motorcycle gloss paints and clear coats, explain where each works best, and share practical prep, safety,…
Jake Miller
12 min read