
How I Remove Motorcycle Tank Stickers Without Damaging the Paint
 Jake Miller
11 min read
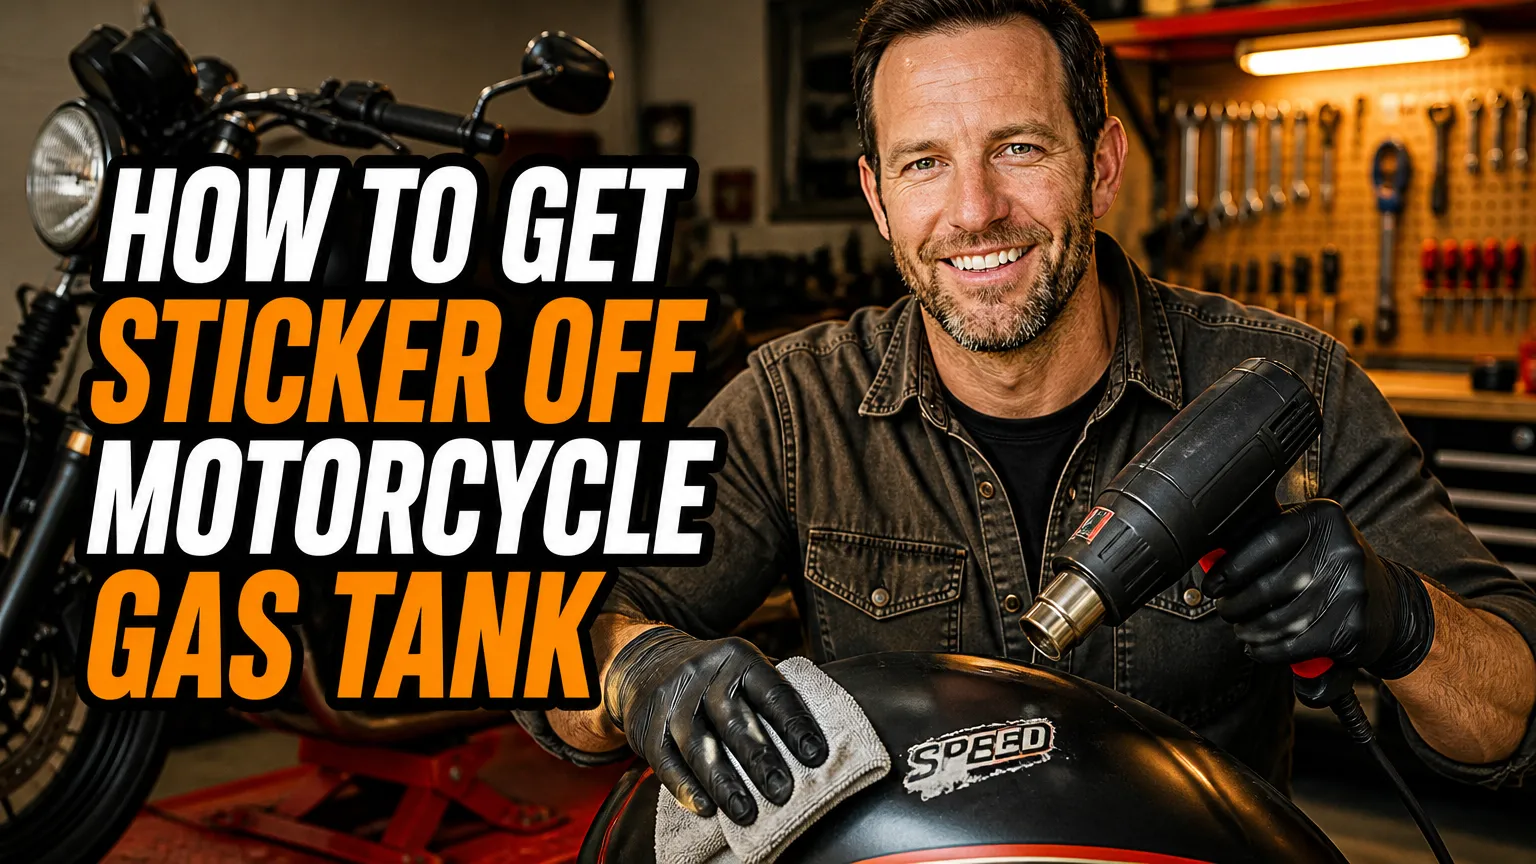
Removing a sticker from a motorcycle tank can be a straightforward cleanup—or a quick way to scratch paint if I rush it. I first check whether the decal sits on top of the clear coat, then soften it gently and work slowly with paint-safe tools. That careful approach has helped me lift stickers and adhesive without turning a small job into a repaint.
If a decal removal leaves me with paint damage or inspires a full refresh, I compare options for the best spray paint for motorcycle before I start refinishing. But in most cases, I can get a surface-mounted sticker off with patience, mild heat, and the right technique. Here’s the method I use, plus the warning signs that tell me to stop.
- I check whether the sticker is on the clear coat or beneath it before removing anything.
- I use gentle, moving heat and lift the decal slowly with my fingers or a plastic scraper.
- I clean leftover adhesive with a paint-safe product after testing it in a hidden spot.
- I avoid metal blades, aggressive solvents, open flames, and excessive heat around the tank.
First, I Check What Kind of Sticker I’m Dealing With
Before I reach for a heat gun or cleaner, I look closely at the sticker’s edges. A surface decal usually has a visible edge that I can catch with my fingernail, and its design sits on top of the tank’s finish. If I can see the decal edge and feel a slight ridge, that’s a good sign I can remove it without disturbing the paint.
A decal that appears beneath a smooth, continuous layer of clear coat is a different story. I don’t try to peel or scrape that type off because it is sealed under the finish. Removing it may mean sanding and refinishing the area, so I leave that job to a motorcycle paint professional unless I’m prepared to repaint the tank.
When I Stop Instead of Pulling
I stop if the clear coat looks cloudy, cracked, lifted, or unusually thin around the sticker. I’m also cautious with old or repainted tanks, since I can’t always tell how well the paint has bonded or which products were used. If the finish already looks fragile, adding heat or solvent could make the damage worse.
For a valuable, custom, or freshly painted tank, I’d rather ask a painter to assess the decal than gamble with the finish. A little patience at this stage can save me from a repair that costs far more than the sticker removal itself.
What I Gather Before I Start
I set up a small work area before touching the decal. That way I’m not searching for a cloth with one hand while holding a softened sticker with the other. My usual kit is simple, and I keep everything clean so grit doesn’t get trapped under a cloth and dragged across the paint.
- Microfiber cloths that are clean and free of grit
- Warm water and a small amount of mild dish soap
- A hair dryer with a low or medium heat setting
- A plastic card or plastic trim tool, if I need extra help lifting an edge
- A paint-safe adhesive remover, tested carefully before use
- Gloves and good ventilation, especially if I use a cleaning product
I don’t use a metal razor blade, screwdriver, kitchen knife, or abrasive pad on painted tankwork. Those tools can leave scratches even when I’m trying to be careful. I also keep cigarettes, sparks, and open flames away from the work area because gasoline vapors are a serious fire hazard.
My Step-by-Step Sticker Removal Method
1. I Wash the Area First
I start by washing the sticker and the surrounding tank with warm soapy water. This lifts road dust and grit that could scratch the paint while I’m rubbing or easing up an edge. I rinse with clean water and pat the area dry with a microfiber cloth rather than scrubbing it.
If the tank is dusty, greasy, or covered in dried bugs, I clean it before applying heat. I don’t want to work tiny particles into the finish while I’m pressing on the decal or wiping away adhesive.
2. I Warm the Sticker Gently
I use a hair dryer on a low or medium setting and keep it moving over the sticker. I warm a small section for several seconds, then check it with my hand. I’m aiming to soften the adhesive, not make the tank hot.
I avoid holding the dryer in one spot and don’t use a heat gun unless I have a very good reason and experience controlling its temperature. A heat gun can get hot quickly and damage paint, plastic parts, nearby trim, or fuel-system components. Gentle warmth is usually enough for the kind of decal I can remove at home.
3. I Lift an Edge Without Scratching the Finish
Once the sticker feels warm, I try lifting a corner with my fingernail. If that doesn’t work, I gently ease the edge up with a plastic card or trim tool. I keep the tool nearly flat against the tank and use light pressure so I’m lifting the sticker rather than digging into the paint.
If the edge won’t move, I don’t force it. I warm the area for a little longer, then try again. A few gentle attempts are safer than one hard scrape that leaves a mark I’ll see every time I walk up to the bike.
4. I Peel Slowly and Keep the Adhesive Warm
When I get a corner started, I pull the sticker back slowly at a low angle, folding it toward itself rather than pulling straight up. I support the nearby area with my other hand and keep the hair dryer moving over the section I’m peeling. If the sticker begins to tear, I pause and warm it again.
I don’t rush across a large decal. Working a little at a time gives me more control and helps prevent the sticker from breaking into small pieces. If I feel the surface becoming hot or notice any change in the finish, I stop and let the tank cool.
5. I Remove Adhesive Residue Carefully
After the sticker comes off, I often find a thin layer of sticky residue. I first try rubbing it gently with a clean microfiber cloth and warm soapy water. Sometimes rolling the softened adhesive with my thumb lifts it without needing any stronger cleaner.
If residue remains, I choose a product labeled safe for automotive paint and follow its directions. I test a tiny amount on a hidden area first, wait, and inspect the finish before using it near the decal. I apply cleaner to the cloth rather than soaking the tank, then wipe lightly and rinse the area when the product instructions call for it.
I avoid reaching automatically for acetone, lacquer thinner, gasoline, brake cleaner, or strong household solvents. These can soften, stain, dull, or strip some paint and clear coats. Even products that are safe on one motorcycle finish may react badly with another, which is why I always test first.
6. I Wash and Inspect the Tank Again
Once the residue is gone, I wash the area with mild soap and clean water to remove any remaining cleaner. I dry it with a fresh microfiber cloth and inspect the tank in good light from several angles. That final look helps me spot adhesive I missed, as well as any change in gloss or color.
If the paint still looks healthy, I may apply a paint-safe wax or protectant according to its label. I wait until the area is fully clean and dry first. I don’t use polishing compound to aggressively chase a mark unless I know the finish can handle it.
Common Mistakes I Avoid
Using Too Much Heat
More heat doesn’t mean faster, safer removal. I use the lowest setting that softens the adhesive and keep the heat source moving. Excessive heat can damage paint and nearby components, and a hot surface is especially risky around a fuel tank.
Scraping with Metal
A metal blade can cut through the sticker, but it can also cut into the clear coat before I realize what’s happening. I stick to a fingernail or a clean plastic tool. If I can’t lift the decal with gentle pressure, I warm it again rather than switching to a sharper tool.
Pulling the Decal Off Quickly
A fast yank can tear the sticker, leave more adhesive behind, or put unnecessary stress on a weak or aged finish. I peel slowly and keep the adhesive warm. If the sticker resists, I treat that as a cue to pause and reassess rather than pull harder.
Trying a Cleaner Without Testing It
I never assume that a cleaner is safe just because it’s advertised for household use or worked on another bike. Motorcycle finishes vary, and older repairs may react differently from factory paint. Testing in an inconspicuous spot gives me a chance to catch a problem before it becomes visible on the tank.
What I Do If the Paint Looks Different Afterward
Sometimes a sticker protects the paint beneath it from sun and weather, leaving a visible outline after removal. That difference may be faded surrounding paint rather than damage caused by peeling. I give the area a proper wash and inspect it in natural light before deciding what to do next.
If I see leftover haze or light marks, I avoid aggressive polishing until I know the type and condition of the finish. A motorcycle detailer or painter can advise whether careful polishing is appropriate. If the decal was under clear coat or the paint is peeling, I stop and get a professional opinion rather than trying to hide the issue with a stronger solvent.
When I’m considering a repaint, I research the best paint for motorcycle gas tank and make sure the product suits the tank’s material and intended use. I also compare finishes if I’m aiming for a low-sheen look, since the best matt paint for motorcycle gas tank may need different care from a glossy finish.
When I’d Refinish the Tank Instead
If the decal is sealed beneath clear coat, the paint is already failing, or I want a completely different look, removal may turn into a refinishing project. I don’t treat ordinary sticker removal as a reason to sand a tank without a plan. Prep, compatible paint, curing time, and a suitable protective finish all matter.
For a full color change, I compare the best spray paint for motorcycle tank and check the manufacturer’s directions before buying. If the inside of a fuel tank also needs attention, I research the best paint for motorcycle tank sealer separately. Exterior paint and interior tank treatments are different products for different jobs, so I don’t substitute one for the other.
I also keep frame paint separate from tank paint when planning a larger makeover. For example, I’d look at the best paint for motorcycle frame before choosing a coating for the frame, rather than assuming the tank product is suitable for every motorcycle surface.
My Final Checklist Before I Call It Done
- I confirmed the sticker was on top of the clear coat, not beneath it.
- I washed away grit before applying heat or rubbing the decal.
- I used gentle heat, kept it moving, and avoided making the tank hot.
- I lifted the sticker with my fingers or a plastic tool instead of metal.
- I tested any adhesive remover in a hidden spot before using it on the tank.
- I cleaned the area afterward and checked the finish in good light.
When I’m patient, removing a surface sticker is usually a manageable garage job. My key rule is to use the mildest method that works and stop as soon as the paint gives me a reason to worry. Slow peeling, gentle warmth, and careful residue cleanup give me the best chance of getting a clean tank without sacrificing its finish.
Frequently Asked Questions
Can I use a hair dryer to remove a sticker from a motorcycle tank?
Yes. I use low, gentle heat to soften the adhesive, keep the dryer moving, and stop if the paint or tank becomes hot.
What removes sticker residue from a motorcycle gas tank?
I start with warm soapy water and a microfiber cloth, then try a paint-safe adhesive remover in a hidden spot if residue remains.
Can I use a razor blade to remove a motorcycle tank decal?
I avoid metal blades because they can scratch paint. I use a fingernail or plastic scraper instead.
What if the sticker is under the clear coat?
I stop trying to peel it off. Removing a decal beneath clear coat usually requires refinishing, so I consult a motorcycle paint professional.

Related Articles

6 Best Motorcycle Fork Paints for a Durable, Clean Finish
I compare six paints for motorcycle fork lowers, with practical notes on durability, finish, prep, cost, and the fork surfaces…
Jake Miller
12 min read

Remove Motorcycle Tank Badges Safely: A Rider’s Paint-Protecting Guide
Learn how I safely remove motorcycle tank emblems, loosen stubborn adhesive, protect paint, clean residue, and spot when pins or…
Jake Miller
11 min read

7 Best Motorcycle Gloss Paints for a Deep, Durable Finish
I compare seven real motorcycle gloss paints and clear coats, explain where each works best, and share practical prep, safety,…
Jake Miller
12 min read