
7 Best Paints for Motorcycle Brake Calipers That Actually Survive the Heat
 Jake Miller
10 min read
Jake Miller
10 min read
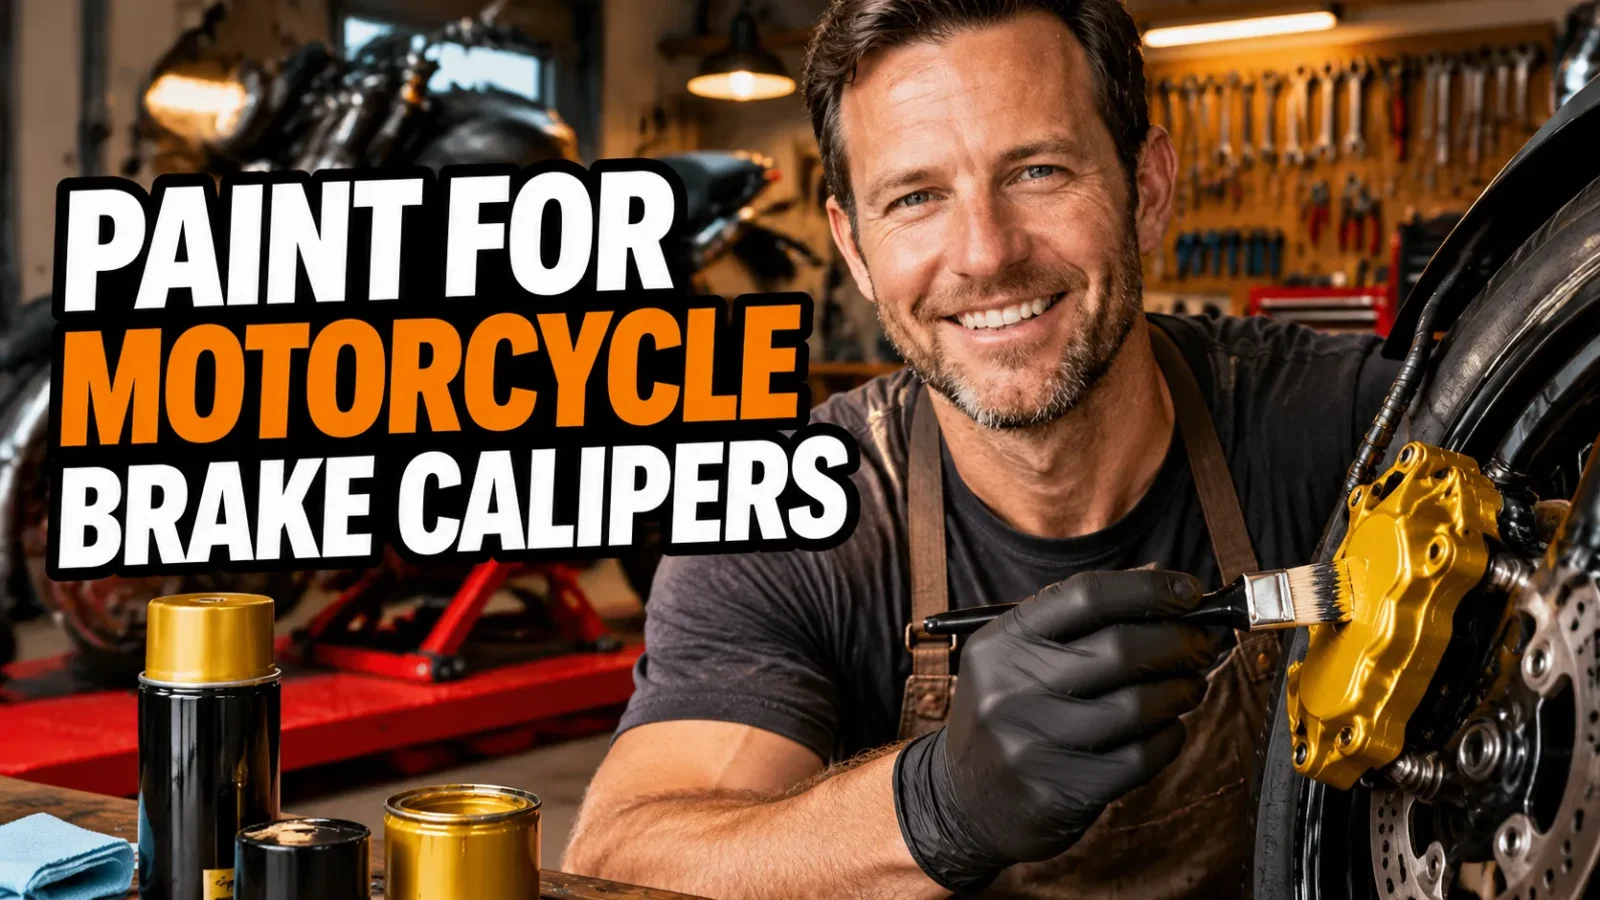
Brake calipers are one of those parts nobody notices until they look terrible. Mine were faded, chalky, and stained with a decade of brake dust, and every time I walked past the bike I felt a little guilty. So I did what any reasonable person does: I bought six different paints, prepped four spare calipers, and spent a month figuring out which ones actually hold up.
Here’s what I learned. Caliper paint isn’t magic — it’s chemistry. Brake calipers run hot, get sprayed with water and road salt, and take direct hits from gravel. The what are the different types of motorcycle batteries ultimate guide taught me that picking the right product for the environment matters more than brand loyalty, and the same logic applies here. If you understand what your caliper endures, you’ll pick the right can off the shelf.
- VHT Caliper Paint is my overall pick — cheap, heat-rated to 900°F, and easy to find locally.
- POR-15 Caliper Paint Kit is the toughest brush-on option if you’re not removing the calipers.
- Preparation and curing matter more than the brand — a $12 can applied properly beats a $40 can sprayed over grease.
- Skip regular rattle can paint. It will fail within a season.
1. VHT SP731 Caliper Paint — Best Overall Pick
I’ve used VHT’s caliper paint on three different bikes now, and it keeps earning the top spot. The SP731 is a ceramic-based aerosol rated to 900°F, which is well above anything a street caliper will ever see.
The finish is a satin semi-gloss that looks factory-adjacent — not plasticky, not overly glossy. I sprayed it on a set of tired Tokico calipers and they looked genuinely new after curing.
What I like most is the cure process. VHT gives you a clear heat-cure window: let it air dry for an hour, then bake it in stages. I used a heat gun on low and cycled the calipers up to temperature in three passes, and the finish hardened into something that shrugged off brake fluid drips.
At roughly $12 to $15 a can, one can does two calipers with a couple of coats each. That’s absurd value for the durability you get.
My only gripe: the color range is limited. You get red, black, silver, and gold, so if you want something wild, look elsewhere.
Real-World Durability
After two full seasons and about 9,000 miles, including a winter of salted roads, my VHT-coated calipers still clean up with brake cleaner and a rag. No flaking at the pad edges, no fading on the front calipers where the heat is worst. That’s the test that matters.
2. Dupli-Color BCP102 Caliper Paint Kit — Best Brush-On Kit
If you don’t want to remove your calipers — and honestly, on some bikes that’s a nightmare — the Dupli-Color brush-on kit is the answer. It comes with a can of paint, a can of aerosol cleaner, a stir stick, a brush, and masking tape.
The paint is an epoxy-style coating that cures chemically rather than purely by solvent evaporation, which makes it noticeably thicker and more chip-resistant than a thin aerosol coat.
I used this on my wife’s SV650 because I didn’t want to crack the brake lines. Taping everything off took about 45 minutes, and two coats took another hour. The result was a smooth, glossy red that has held up for two years.
One thing to know: the brush-on texture shows if you’re sloppy. I applied thin coats and it leveled out nicely, but my first attempt on a test piece was lumpy because I over-brushed it.
The kit runs about $25 to $30 and covers two calipers comfortably. Worth every dollar if you’re doing this in a driveway.
3. POR-15 Caliper Paint Kit — Toughest Long-Term Finish
POR-15 has a reputation in restoration circles that borders on religious, and their caliper kit lives up to it. This is a moisture-curing urethane that bonds to metal at a near-adhesive level.
I’ll be honest: it’s fussier than the aerosols. The surface has to be spotless, and POR-15 sells a separate metal prep and degreaser that you really should use. If there’s any oil residue, the paint will lift.
But when you get it right, nothing else in this list comes close for abrasion resistance. I’ve hit it with a wire brush out of curiosity and it barely scuffed.
The kit is around $40 to $50 and includes cleaner, prep, and paint. It’s overkill for a daily commuter, but if you’re restoring a classic or building something you want to keep for 20 years, this is the one.
Where It Fits in a Full Build
If you’re already refinishing other parts of the bike, POR-15 pairs well with the same approach people use for the best paint for motorcycle engine case — same prep discipline, same reward. Do the prep once, do it right, and the whole bike looks coherent.
4. Eastwood Brake Caliper Paint — Best Aerosol for a Factory Look
Eastwood’s caliper paint is what I reach for when I want the finish to look like it came from the factory rather than a spray can. The aerosol atomizes beautifully and lays down a thin, even coat with very little orange peel.
It’s rated for 500°F, which is lower than VHT’s claim but still plenty for street use. I’d be cautious using it on a track bike that sees repeated hard laps, but for a canyon carver it’s more than enough.
The color selection is the best in this list — Eastwood offers a proper cadmium-like gold, a deep gloss black, and a red that matches Brembo’s factory shade almost perfectly.
A can costs about $20. Less paint per can than VHT, so budget two cans for a four-caliper bike.
Fair warning: Eastwood products are usually mail-order only, so plan ahead instead of expecting to grab one at the local parts store.
5. Rust-Oleum High Heat Ultra — Best Budget Option
I know this isn’t marketed as caliper paint, but I’ve used Rust-Oleum’s High Heat Ultra on calipers for years with genuinely good results. It’s rated to 1,200°F and costs about $9.
The trade-off is that it’s a thinner enamel. It doesn’t build thickness the way the epoxy kits do, so it’s more prone to chipping if you’re careless with a tire iron.
But here’s the thing: if you prep properly and apply three light coats, it holds up surprisingly well. I ran this on my track-day beater for a full season and it was still intact when I sold the bike.
The color range is also decent — flat black, gloss black, silver, and a couple of metallics.
If you’re on a tight budget or painting a bike you don’t plan to keep forever, this is a smart, honest choice. The same logic applies to the best black engine paint for motorcycle crowd — sometimes the cheap option is the right one when the prep is good.
6. KBS Coatings DiamondFinish — Best Clear Coat Over Color
Sometimes you don’t want to change the color — you just want to protect what’s there. That’s where KBS DiamondFinish comes in.
This is a moisture-cured clear that goes on over bare metal or over an existing painted finish. I used it over a set of anodized-look calipers that were starting to chalk, and it brought them back to life without hiding the original color.
Cure time is the downside. DiamondFinish needs proper humidity to crosslink, so I ran a humidifier in my garage for two days. Once cured, though, it’s rock hard.
It costs about $25 for a small can, which is plenty for four calipers with two coats each.
One warning: do not apply this over a finish that isn’t fully cured itself. I made that mistake once, and the solvent in the clear lifted the paint underneath. Wait a week minimum.
7. VHT FlameProof — Best for Extreme Heat Applications
If you’re running a track bike, a heavy touring bike with undersized brakes, or anything that genuinely cooks its calipers, VHT’s FlameProof line is the nuclear option.
It’s rated to 2,000°F, which is far beyond what any caliper should reach, but the extra headroom means it flat refuses to fade. The catch is that FlameProof requires a proper three-stage heat cure to reach full strength — 250°F, 400°F, then 600°F, each for a set period.
I cured a set in a powder coating oven at a friend’s shop, and the result was a matte ceramic finish that felt like a factory powder coat.
At about $14 a can, it’s cheap. The hassle is the curing, so only go this route if you have access to an oven or a very patient heat-gun process.
How It Compares to Engine and Radiator Paints
People ask me whether they can just use leftover engine paint on calipers. Sometimes, yes — but the temperature profiles are different. The best paint for motorcycle radiators is formulated for sustained moderate heat, and the best paint for motorcycle exhaust pipes is built for extreme dry heat. Calipers are somewhere in between, with lots of thermal cycling and water exposure.
Similarly, the best paint for aluminum motorcycle engine has to grip a different substrate than cast iron or aluminum caliper bodies. When in doubt, buy a product that’s actually designed for brakes — it’s a few dollars more and it saves you a redo.
How I Prep Calipers Before Painting (This Matters More Than the Paint)
Honestly, I’ve seen a $40 paint job fail in a month and a $9 paint job last three years, and the difference was always preparation. Here’s my process.
Step 1: Remove and Disassemble
Pull the caliper off the bike and, if you’re comfortable doing it, split it or at least remove the pads and the anti-rattle clips. Mask the piston bores and the brake line fitting with tape and plugs.
If you’re not comfortable going that far, leave the caliper bolted on, but mask the rotor, the pads, the brake line, and the banjo bolt with serious care. Overspray on a rotor is a safety issue, not a cosmetic one.
Step 2: Degrease Like You Mean It
Brake dust and old fluid are the enemy. I scrub with a stiff nylon brush and a proper water-based degreaser, then do a second pass with brake cleaner, then a third pass with hot soapy water.
Dry it completely with compressed air, paying attention to the bolt holes and the gap between the caliper halves.
Step 3: Scuff the Surface
I hit the caliper with 320-grit wet sandpaper or a fine scuff pad. The goal isn’t to strip it to bare metal — it’s to give the new paint a mechanical tooth to grab.
Wipe off the dust with a tack cloth, then wipe once more with a lint-free cloth and isopropyl alcohol.
Step 4: Tape and Spray
Multiple thin coats always beat one heavy coat. I do four or five light passes, waiting 10 to 15 minutes between each. It feels slow. It’s worth it.
Step 5: Cure Properly
This is where most people cut corners. If the product offers a heat cure, do it. If it doesn’t, give it a full week before hard braking. The paint is still crosslinking long after it feels dry.
Final Thoughts
If you want one answer, get the VHT SP731 Caliper Paint. It’s cheap, it’s heat-rated, it’s available locally, and in my experience it delivers a finish that still looks good after multiple seasons.
If you can’t remove your calipers, grab the Dupli-Color brush-on kit. If you want the toughest possible finish and don’t mind the fuss, POR-15 is in a class of its own.
Whatever you choose, remember that the paint is maybe 30 percent of the result and the prep is the other 70 percent. Degrease, scuff, tape, spray thin, and cure patiently — and your calipers will look sharp for years instead of months.
Frequently Asked Questions
Can I use regular spray paint on motorcycle brake calipers?
No. Standard rattle can paint is not formulated to handle the 300 to 500 degree Fahrenheit spikes a caliper sees during hard braking. It will blister, fade, and flake within weeks. Use a high-temperature caliper, engine enamel, or ceramic paint rated for at least 500°F.
Do I need to remove the caliper to paint it?
You don’t have to, but I strongly recommend it. Removing the caliper lets you degrease every crevice, mask the piston and seals properly, and cure the paint evenly. Rattle can overspray on your rotor, pads, and brake lines is a real risk if you leave everything bolted up.
How long should caliper paint cure before I ride?
Most rattle can products are dry to the touch in about an hour and ready to handle in 24 hours, but full chemical and heat cure takes longer. I wait at least 7 days before hard riding, and if the product allows oven or heat-gun curing, I do that instead. It makes the finish dramatically more durable.
Is powder coating better than paint for calipers?
Powder coating is tougher and more chip resistant, but it requires disassembly, media blasting, and an oven large enough for the caliper. For most home mechanics, a quality high-heat ceramic paint applied properly gets you 90 percent of the durability for a fraction of the cost and hassle.

Related Articles

7 Best Disc Brake Locks for Motorcycles: My Real-World Picks After Years of Testing
I've tested disc brake locks on my own bikes for years. Here are 7 real, ride-proven picks, from the ABUS…
Jake Miller
10 min read

7 Best Incandescent Brake Light Bulbs for Motorcycles: My Real-World Picks
I tested and ranked the 7 best incandescent brake light bulbs for motorcycles, from the Philips 1157 to the Osram…
Jake Miller
11 min read

7 Best Brake Pads for Touring Motorcycles: My Real-World Picks After Thousands of Miles
I tested the top brake pads for touring motorcycles. From EBC to Brembo, here are my honest picks for stopping…
Jake Miller
9 min read