
11 Best Tools for Replacing a Motorcycle Chain (Rider Tested Picks)
 Jake Miller
11 min read
Jake Miller
11 min read
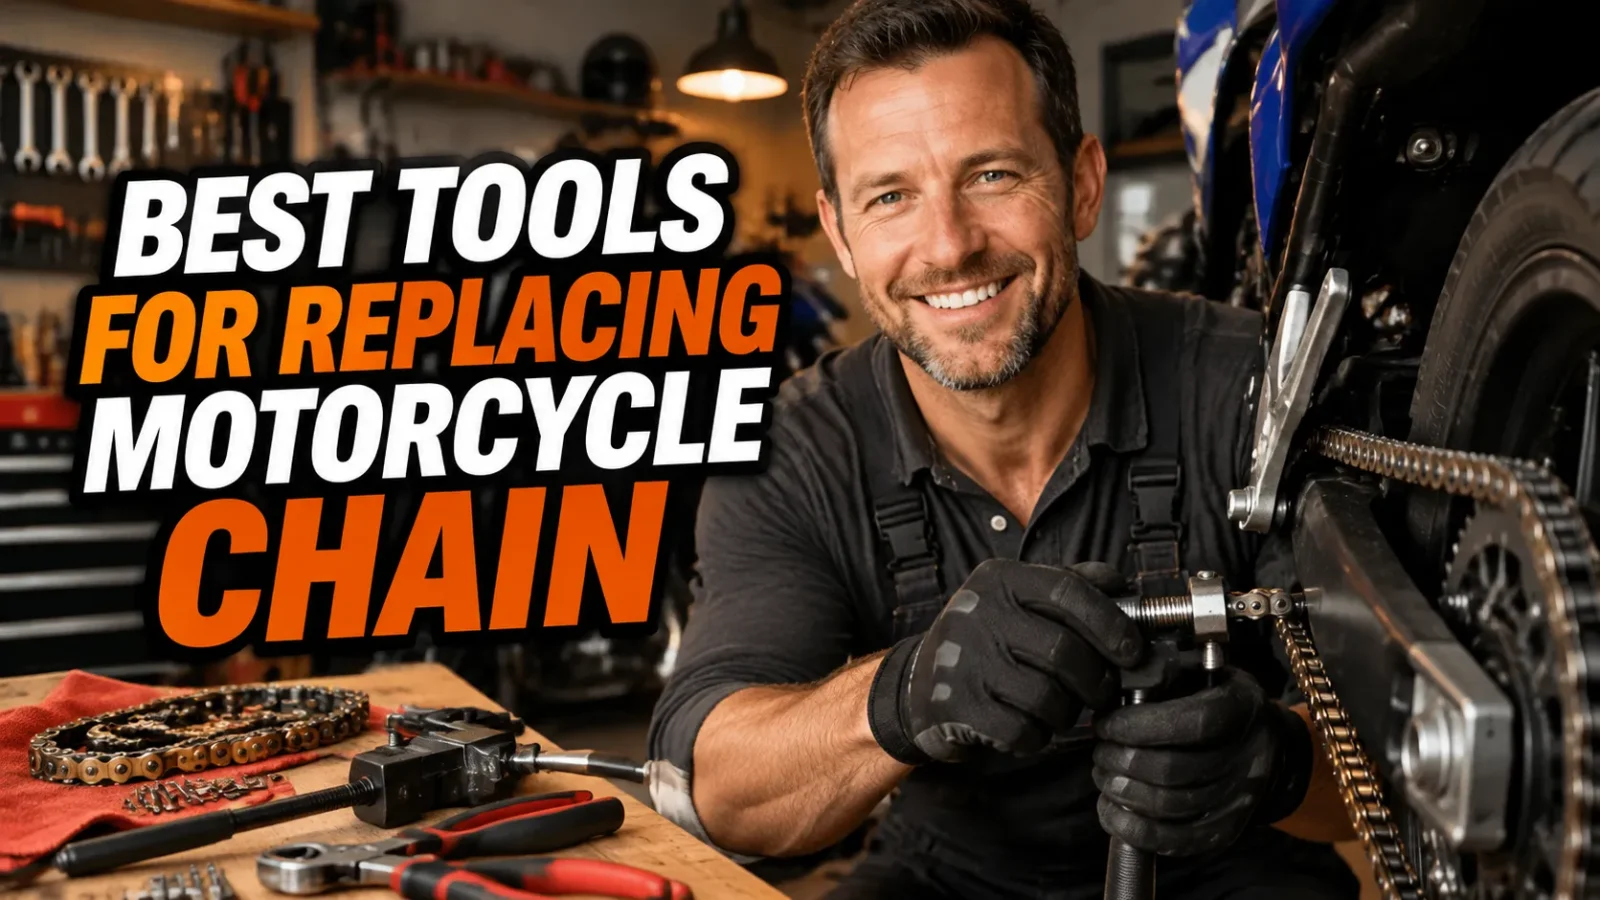
I still remember the first motorcycle chain I ever replaced. I had a bargain breaker tool that bent on the second pin, a master link clip that launched itself into the gravel never to be seen again, and a rear wheel that ended up about as straight as a dog’s hind leg. Two hours of swearing later the bike was rideable, but I promised myself I would buy proper tools before the next swap.
Since then I have replaced chains on everything from a 250 dual sport to a big-inch V-twin, and I have learned that the gap between a 40-minute job and a four-hour ordeal comes down almost entirely to what is sitting on your bench. A real breaker tool, a decent alignment gauge, and a torque wrench you actually trust will save you more money than they cost.
Everything below is a real, currently available product I have either bought, borrowed, or watched a friend use successfully. No vague “chain tool kit” filler. Here is what I reach for, in roughly the order I use it.
- My overall pick is the Motion Pro PBR Chain Tool because it presses, breaks, and rivets in one unit.
- Budget riders can get the job done with the Tusk Chain Breaker & Riveting Tool for around $45.
- Do not skip the angle grinder step. Grinding the rivet head is what stops you snapping pins.
- An alignment tool and a torque wrench matter as much as the breaker itself.
- Replace sprockets at the same time, every single time.
1. Motion Pro PBR Chain Tool (08-0587) — Best Overall
The PBR stands for Press, Break, Rivet, and that is exactly what it does. Instead of buying three separate tools, you get one compact steel body with a threaded screw that presses side plates on, pushes the old pin out, and flares the new rivet when you swap the tip.
It covers 520, 525, and 530 chains, which is basically everything short of a big adventure bike running a 630. I have used mine on an X-ring 520 and a heavy 530 without drama. The hardened pin has survived roughly fifteen chains so far.
The catch is technique, not the tool. If you try to push out a rivet without grinding the head off first, you will snap a pin. Motion Pro sells replacement pins cheaply, but it is still an annoying lesson.
Why it lives in my road trip kit
At roughly the size of a large flashlight, the PBR fits under a seat or in a tail bag. On a long trip, a broken chain is a ride-ending event. Being able to press on a new master link at the side of a highway is worth every gram.
One more thing worth understanding: a worn, sloppy chain sends shock loads straight through the countershaft and into the gearbox. If you want to know how that load path behaves on most modern bikes, it is worth reading up on how does a wet clutch work, because that cushioning effect is part of why your transmission survives as long as it does.
2. D.I.D KM500R Chain Cut and Rivet Tool — Best Riveting Precision
D.I.D makes chains, so it should be no surprise that their tool is dialled in specifically for their master links. The KM500R cuts and rivets 520 through 530 chains, and the machined body feels like something you would inherit from your dad.
What I like most is the rivet flare gauge. After you press the link, you check the flared head diameter against the spec rather than eyeballing it. That single step has saved me from at least one “did I flare this enough?” sleepless night.
It runs around $140 to $170 depending on where you shop, so it is not the budget pick. But if you run D.I.D chains and you want a tool that will outlast three bikes, this is the one I would hand to a friend without hesitation.
3. RK UCT2100 Universal Chain Tool — Best Pro-Grade Alternative
RK, the same company behind RK Excel chains, builds this universal tool with a cutting pin, a press plate, and a riveting pin all in a chunky machined frame. It handles 520 to 530 chains out of the box and the leverage is excellent.
Where it shines is repeat use. I borrowed one from a shop that had been running it for years on customer bikes, and aside from a slightly worn pin it felt tight. The threading on cheaper tools tends to develop slop after a dozen jobs. This one does not.
Expect to pay somewhere in the $120 to $150 range. It is a bit bulkier than the Motion Pro, so I would not call it a travel tool, but for a home garage that sees steady work it is a fantastic buy.
4. Tusk Chain Breaker & Riveting Tool — Best Budget Pick
If you replace a chain once every two or three years, the Tusk tool is the smart buy. It sells for around $45, includes a breaker pin, a rivet pin, and press plates, and it works on 520 to 530 chains.
I keep one in my track box as a backup. It is not as refined as the Motion Pro, the pins wear faster, and the threads are not as smooth. But it has never failed to get a chain off and a new one on.
Two honest caveats. Buy a spare pin set when you order it, and grind your rivet heads properly. Treat it well and it will do a decade of occasional service.
5. BikeMaster Chain Breaker & Riveting Tool — Best Mid-Range Value
BikeMaster’s version sits right in the middle at roughly $60 to $70 and it is a genuine step up from the bargain tier. The body is machined steel rather than cast, and the hardened pins hold their edge noticeably longer.
It handles 520 through 530 chains, breaks and rivets, and comes with a spare pin in the box, which I appreciate. The handle is a bit short for stubborn links, so I sometimes slip a length of pipe over it for extra leverage.
If you want something between “cheap and cheerful” and “buy once, cry once,” this is where I would land.
6. Makita 9557PB 4-1/2″ Angle Grinder — Best for Grinding Rivet Heads
This is the tool people skip, and it is the one that saves your chain tool’s pins. The Makita 9557PB is a 7.5 amp, 11,000 RPM grinder that will take the head off a rivet in about four seconds.
I run a thin cut-off wheel for rivet heads and a flap disc for cleaning up the swingarm area while I am in there. The 9557PB has a nice slim barrel, so it fits between a swingarm and a rear sprocket without much fuss.
Around $100 gets you the grinder. DeWalt’s DWE4120 is a fine alternative with a bit more power, but for occasional chain work the Makita is plenty. Wear eye protection every single time, because those rivet heads turn into tiny shrapnel.
7. Motion Pro Chain Alignment Tool (08-0048) — Best Alignment Tool
A crooked rear wheel eats chains and sprockets and makes the bike feel like it is crabbing down the road. The Motion Pro alignment tool is a simple rod that clamps to the rear sprocket and runs parallel to the chain. If the rod and chain do not line up, your wheel is off.
It costs around $25 and takes ten seconds to check. Compare that to the string-and-straightedge method I used for years and it is not even close.
If you want something fancier, the Profi CAT clamp-on tool does a similar job with a more rigid arm. But the Motion Pro has never let me down, and it lives in my toolbox permanently.
8. Motion Pro Slack Setter — Best for Consistent Chain Slack
Here is a problem I ran into constantly: you set the chain slack, torque the axle nut, and the chain tightens up because the adjuster blocks shifted. Then you loosen everything and start again. The Slack Setter holds the chain at your target slack while you torque.
It is a simple bar that sits between the chain and the swingarm, and it costs roughly $35 to $45. On bikes with fiddly two-bolt axle blocks it has cut my adjustment time in half.
Some riders will look at this and think it is a gimmick. I thought the same thing until I used one on a bike with a notorious axle setup. Now I do not adjust a chain without it.
9. Tekton 24335 1/2″ Drive Click Torque Wrench — Best Torque Wrench
Axle nuts and front sprocket nuts have torque specs for a reason, and “tight plus a bit” is how people strip threads or crack sprocket carriers. The Tekton 24335 covers 10 to 150 ft-lbs with a claimed accuracy of plus or minus 4 percent.
At around $45 to $55 it is one of the best value tools in my entire garage. It clicks clearly, the scale is easy to read, and it has survived being dropped on concrete more than once.
Two habits I would pass on: always dial it back to the lowest setting before storing it, and check it against a known-good wrench every year or so. A torque wrench that has drifted out of spec is worse than no torque wrench at all.
10. Milwaukee M18 FUEL 1/2″ High Torque Impact Wrench (2767-20) — Best for Stubborn Sprocket Nuts
Front sprocket nuts are frequently installed with thread locker and torqued north of 100 ft-lbs. On a V-twin with a big countershaft nut, a breaker bar and a prayer is a recipe for a rounded fastener.
The Milwaukee 2767-20 delivers around 1,000 ft-lbs of fastening torque and up to 1,400 ft-lbs of breakaway torque. It walks countershaft nuts off like they were finger tight. Expect to pay roughly $250 for the bare tool if you already own M18 batteries.
This is also where drivetrain wear really shows up. A flogging chain and worn sprockets hammer the output bearing and gearbox, and I have seen riders chasing harley davidson transmission problems when the real culprit was a stretched chain nobody had replaced in 30,000 miles.
While you have the primary open for sprocket access, it is a sensible moment to check your clutch adjustment on harley davidson models. Two jobs, one teardown.
11. Mitutoyo 500-196-30 Digital Caliper — Best for Measuring Chain Wear
Before you buy a new chain, you should know whether you actually need one. This 0 to 6 inch caliper reads to 0.0005 inches, which is far more precision than you need, but that is exactly why I trust it for checking roller diameter against the factory spec.
It runs about $120 to $160 depending on the seller, and yes, that is real money for a measuring tool. But a cheap caliper that drifts by a few thousandths is useless for this job.
You can also skip the caliper entirely and measure a 20-link span with a steel rule against your manual. Both methods work. I just prefer the caliper because it also comes in handy for shims, brake discs, and valve clearances.
How I Sequence the Job
Tools only help if you use them in the right order. Here is the routine I follow now, and it has kept me out of trouble for years.
Prep and measure
I put the bike on a stand, clean the chain area with a brush and a proper degreaser, and check stretch with the caliper. Then I loosen the axle nut and the adjuster lock nuts while everything is still on the ground.
Break and install
Grind the old rivet head, push the pin out with the breaker, and pull the old chain off. Then I feed the new chain through, press the side plate on, and flare the rivet with the same tool. Slack Setter in, alignment tool on the sprocket, axle torqued to spec.
Finish and lube
I clean the new chain to remove the factory packing grease, then hit it with something like Motul Chain Clean followed by Maxima Chain Wax. Fresh sprockets go on at the same time, always. Then a slow five-minute ride and a re-check of the slack once everything has settled.
A Few Final Thoughts From My Garage
If you only buy one thing from this list, make it a proper chain tool. If you buy two, add the angle grinder. Everything else makes the job faster, straighter, and safer, but those two are the difference between a clean swap and a mangled master link.
My own setup today is the Motion Pro PBR, a cheap Makita grinder, the alignment tool, and the Tekton torque wrench. That combination has handled every bike I own and several belonging to friends who owe me beer.
Buy the tools once, keep your sprockets fresh, and your chain will outlast your enthusiasm for the job. Which, honestly, is the goal.
Frequently Asked Questions
Do I really need a dedicated chain tool to replace a motorcycle chain?
Yes, if your new chain uses a rivet-style master link. You need a tool that can break the old chain and flare the new rivet. A Motion Pro PBR or D.I.D KM500R handles both jobs in one unit. A hammer and punch will chew up the rivet and leave you with a link you cannot trust.
Can I use an angle grinder instead of a chain breaker?
You can use an angle grinder to grind the head off the old rivet, and honestly you should. But an angle grinder cannot press a new side plate on or flare a rivet. So it replaces the cutting half of the job only, not the whole chain tool.
How do I know when my chain actually needs replacing?
Measure a 20-link span against your manual spec, or check roller diameter with a digital caliper. Most manufacturers call it done at around 1 to 1.5 percent stretch. If you can pull the chain off the back of the rear sprocket more than a few millimetres, it is toast.
Do I need to replace the sprockets at the same time?
I always do. A new chain on worn sprockets wears out fast, because the hooked teeth load the rollers unevenly. Front and rear sprockets plus a chain is a set. Skipping the sprockets is false economy.

Related Articles

Motorcycle Chain Keeps Getting Loose? Why It Happens and How I Finally Fixed It
Motorcycle chain keeps getting loose no matter how often you adjust it? I break down the causes, from worn sprockets…
Jake Miller
10 min read

Loose Motorcycle Chain Symptoms: 9 Warning Signs I Learned the Hard Way
Loose motorcycle chain? I walk through the symptoms I've felt and heard, how to measure slack in 5 minutes, and…
Jake Miller
11 min read

Motorcycle Clutch Problems Symptoms: 9 Warning Signs I Wish I’d Caught Sooner
Slipping, dragging, or a mushy lever? I break down the real motorcycle clutch problems symptoms I've found on my own…
Jake Miller
10 min read