
How I Prep My Motorcycle Engine for Paint: The Complete Guide That Actually Works
 Jake Miller
14 min read
Jake Miller
14 min read
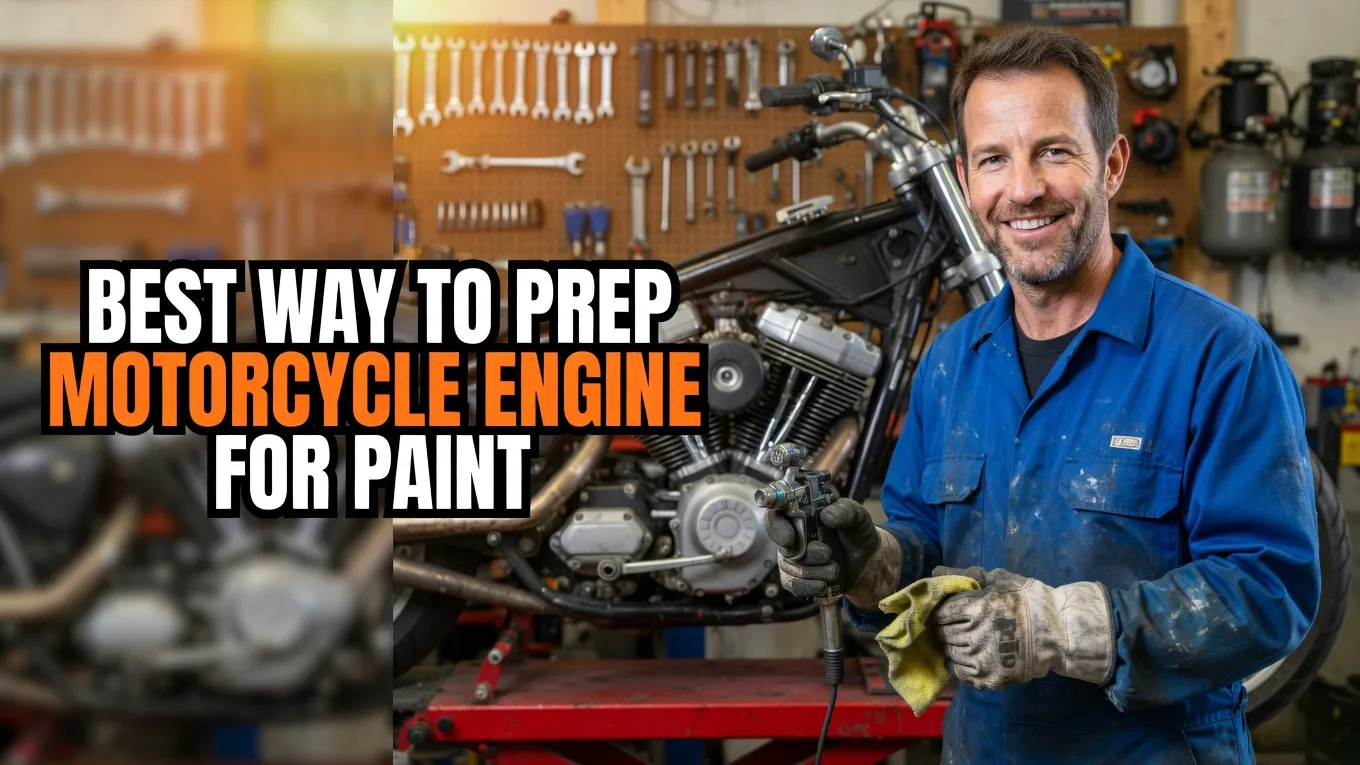
I’ve learned the hard way that painting a motorcycle engine isn’t just about choosing the right color and spraying. The prep work determines whether your paint job looks professional for years or starts peeling after a few heat cycles.
Over the years, I’ve refinished more than a dozen engines, and I can tell you that 90% of paint failures trace back to poor preparation. The surface prep process I’m sharing today is what finally gave me results that rival factory finishes.
- Thorough degreasing with multiple solvents is non-negotiable for paint adhesion
- Proper surface scuffing (320-600 grit) creates mechanical bond for primer and paint
- High-temp primer is essential, not optional, for any engine painting project
- Masking precision and final solvent wipe determine professional vs. amateur results
- Patience between steps prevents contamination and ensures durability
Why Engine Prep Makes or Breaks Your Paint Job
I used to think I could cut corners on prep work. My first engine paint job looked great for about two weeks before it started bubbling near the cylinder head. That failure taught me an expensive lesson.
Motorcycle engines operate in one of the harshest environments imaginable. They cycle between cold starts and operating temperatures that can exceed 300°F. Oil residue, road grime, and old gasket material create barriers that prevent paint adhesion.
When I finally committed to proper preparation, my results transformed completely. The paint stayed glossy, didn’t chip off easily, and actually bonded to the metal instead of sitting on top of contamination.
Gathering Your Prep Materials First
Before I touch the engine, I gather everything I need. Running to the store mid-project invites dust contamination and wasted time. Here’s my complete prep kit that I’ve refined over multiple projects.
Cleaning supplies form the foundation. I use dedicated engine degreaser, acetone, lacquer thinner, and clean lint-free rags. I also keep paper towels handy, though lint-free shop towels work better for final wipes.
Surface prep tools include various sandpaper grits (320, 400, and 600), sanding blocks for flat surfaces, and Scotch-Brite pads for curved areas. I prefer wet-dry sandpaper because I can use it with solvent for better cutting action.
Masking materials matter more than most people realize. I invest in quality automotive masking tape, not cheap painter’s tape. I also use aluminum foil for heat-sensitive areas and plastic sheeting for larger coverage zones.
The Tools That Actually Make a Difference
A wire brush becomes invaluable for removing baked-on carbon deposits, especially around exhaust ports. I use brass brushes because they won’t gouge aluminum surfaces like steel brushes can.
Dental picks and small scrapers help me get into recessed areas and bolt holes where gasket material hides. These tiny contamination spots can cause paint failure even if everything else is perfect.
Finally, compressed air is essential for blowing out debris from cooling fins and bolt holes. If you don’t have a compressor, canned air works but gets expensive quickly on larger engines.
My Step-by-Step Engine Prep Process
I follow the same sequence every time now. Consistency eliminates variables and gives me predictable results. This process works whether you’re using best black engine paint for motorcycle or any other finish.
Initial Degreasing: The Foundation Stage
I start with heavy-duty engine degreaser while the engine is still installed if I’m working in-frame. The degreaser needs direct contact with every surface, so I spray liberally and let it sit for 10-15 minutes.
During this dwell time, the chemicals break down years of accumulated oil film. I can actually see the grease lifting off the surface. After the dwell period, I scrub with a stiff brush to agitate stubborn deposits.
The first rinse always looks disgusting, which tells me the degreaser is working. I repeat this process until the runoff water looks relatively clear. For extremely dirty engines, I’ve done this step three or four times.
Removing Old Paint and Gasket Material
If there’s old paint, I need to decide whether to strip it completely or scuff it for overcoating. I strip if the existing paint is flaking or if I’m changing colors dramatically. Otherwise, scuffing saves time.
For paint removal, I use a combination of chemical stripper and mechanical methods. Chemical stripper does the heavy lifting, but I finish with 180-grit sandpaper to remove any remaining residue and smooth rough spots.
Gasket material removal requires patience. I scrape carefully with plastic or brass scrapers to avoid gouging the mating surfaces. Old gasket maker comes off easier after hitting it with gasket remover spray and letting it soften.
Surface Sanding: Creating the Right Texture
This step confused me initially because I wasn’t sure how smooth was too smooth. I’ve learned that paint needs a slightly textured surface to grip mechanically. A perfectly polished surface actually reduces adhesion.
I start with 320-grit sandpaper to level any surface imperfections and remove minor corrosion. On aluminum engines, I pay special attention to areas where the factory coating has worn through, creating uneven surfaces.
After the initial sanding, I step up to 400 or 600-grit for the final pass. This creates a uniform, slightly matte surface texture. When choosing best paint for aluminum motorcycle engine, proper surface texture ensures the paint has something to grip.
I sand in overlapping circular motions rather than straight lines. This prevents creating directional scratches that can telegraph through the final paint. Consistent pressure matters more than aggressive sanding.
The Secondary Cleaning Phase
After sanding, the surface looks ready but it’s actually covered in invisible contaminants. Sanding residue, skin oils from handling, and airborne dust all need removal before painting.
I start this phase with soap and water to remove the bulk of sanding dust. A dedicated automotive wash soap works better than dish detergent because it doesn’t leave residue. I scrub every surface and rinse thoroughly.
Once dry, I wipe down with acetone using clean, lint-free rags. I fold the rag frequently to expose fresh surfaces and avoid spreading contamination around. This step removes any remaining oils or silicones.
The final wipe uses lacquer thinner or a dedicated pre-paint solvent. I apply it liberally and wipe while still wet. If the rag shows any color or residue, I repeat until the rag stays clean.
Masking: Where Precision Really Counts
I used to rush through masking because I wanted to start painting. Now I spend more time on masking than any other single step. Overspray cleanup is way harder than careful masking.
I mask in layers, starting with the tightest areas around gasket surfaces and bolt holes. For areas that need to remain bare metal for gasket sealing, I use high-quality masking tape pressed down firmly with a finger or plastic tool.
Cooling fins and complex curves get special attention. I cut small pieces of tape to follow contours precisely rather than stretching a single long piece that creates gaps. Aluminum foil works beautifully for three-dimensional shapes.
Protecting Critical Components
Certain areas absolutely cannot get painted. I stuff clean rags into intake and exhaust ports, then secure them with tape. For oil galleries and threaded holes, I use appropriately sized bolts or rubber plugs.
Electrical connectors and sensors get covered with plastic bags secured with tape. I learned this lesson after accidentally painting over a temperature sensor and having to replace it. That mistake cost more than all my masking materials combined.
If I’m painting with the engine in-frame, I create a protective tent around the surrounding bike components. Plastic sheeting taped to the frame keeps overspray off chrome, painted bodywork, and rubber components.
The Final Pre-Paint Steps That Separate Pros from Amateurs
Right before I’m ready to prime, I do one more inspection. I run my fingers over every surface checking for rough spots, tape edges lifting, or areas I might have missed during cleaning.
I blow out all bolt holes, cooling fins, and recessed areas with compressed air. You’d be surprised how much dust hides in these spots even after thorough cleaning. This debris will turn into surface defects if left behind.
My final solvent wipe happens just 10-15 minutes before spraying primer. I use a tack cloth to pick up any dust that settled during my earlier prep work. The tack cloth is slightly sticky and grabs particles without leaving residue.
Primer Application: The Crucial Foundation Layer
I never skip primer, regardless of what paint system I’m using. High-temperature engine primer creates the foundation that both adheres to the metal and gives the topcoat something to grab onto.
I apply primer in thin, even coats rather than trying to build thickness quickly. My first coat is extremely light, almost a dust coat, that just tints the surface. This gives subsequent coats something to bite into.
After the first coat flashes off (usually 10-15 minutes), I apply a medium wet coat. I hold the can 8-10 inches from the surface and use smooth, overlapping passes. Three thin coats work better than one heavy coat that runs and sags.
Between primer coats, I watch for any contamination that might appear. If I see fish eyes or areas where the primer pulls away, I know there’s still oil contamination. In that case, I stop, clean that area again with solvent, and restart.
Dealing with Common Prep Challenges I’ve Faced
Not every engine prep goes smoothly. I’ve encountered situations that required creative solutions or modified approaches. These experiences taught me valuable lessons worth sharing.
Working with Heavily Corroded Aluminum
Some engines I’ve prepped had significant corrosion pitting. Light surface corrosion comes off with aggressive sanding, but deep pits present a challenge. I’ve found that filling these with high-temperature aluminum epoxy before sanding creates a smooth surface.
After filling and sanding smooth, I treat the area with an aluminum etching primer specifically designed for difficult surfaces. This extra step ensures paint adhesion even on previously corroded metal.
Managing Paint Prep on an Assembled Engine
Sometimes full engine removal isn’t practical. I’ve successfully painted engines in-frame, but it requires extra masking diligence and creative positioning. A motorcycle lift becomes essential for accessing all angles.
I work in sections when painting in-frame, focusing on one side completely before moving to another. This prevents accidentally rubbing against freshly painted surfaces while reaching other areas.
When selecting best spray paint for motorcycle engine for in-frame work, I prefer products with faster flash-off times so I can work more efficiently without long waiting periods between sides.
Temperature and Humidity Considerations
I learned about environmental conditions after having paint dry rough and chalky during a humid summer day. Now I check weather conditions before starting any paint prep work.
Ideal conditions are 60-80°F with humidity below 60%. I avoid painting on extremely hot days because solvents flash off too quickly, and I skip rainy or humid days when moisture can contaminate the surface.
If I must work in less-than-ideal conditions, I adjust my technique. In cold weather, I warm the engine gently with a heat gun before painting. In humidity, I use a moisture-displacing solvent for my final wipe.
Choosing the Right Paint After Perfect Prep
All this prep work deserves quality paint that can withstand engine heat cycles. I’ve tested various options over the years, and the paint quality matters just as much as the preparation.
For black finishes, I gravitate toward high-temperature engine enamels that cure fully only after heat cycling. These products actually get tougher after the engine reaches operating temperature several times.
When working on best paint for motorcycle engine case projects, I look for products rated to at least 500°F. Lower-rated paints might work on periphery components but won’t hold up on cylinder heads or exhaust-adjacent areas.
Silver and aluminum finishes present unique challenges. The metallic particles need to lay flat for a smooth appearance, which requires perfect surface prep and steady spray technique. I always use best silver paint for motorcycle engine formulations specifically designed for high-heat applications rather than general-purpose metallic paints.
Post-Paint Curing and Break-In
After painting, the curing process determines long-term durability. I follow the paint manufacturer’s curing instructions religiously because improper curing causes premature failure.
Most high-temp engine paints need heat to fully cure. I let the paint air dry for the recommended time (usually 24-48 hours), then start the engine and let it idle for 10-15 minutes for the first heat cycle.
Over the next few rides, I gradually increase the heat load. Short rides at moderate RPM for the first tank of gas allows the paint to cure progressively. I avoid hard acceleration or sustained high RPM during this break-in period.
Inspecting for Issues After Initial Heat Cycles
After the first few rides, I carefully inspect the painted surfaces for any problems. Bubbling indicates trapped moisture or contamination. Discoloration around hot spots is normal, but excessive yellowing suggests the paint isn’t heat-rated properly.
If I find minor imperfections, I can usually spot-fix them by lightly sanding the affected area and applying touch-up paint. Major failures require stripping and starting over, which is why I’m so particular about prep work now.
My Biggest Prep Mistakes and How to Avoid Them
I’ve made every mistake possible during engine prep, so you don’t have to. These failures taught me what really matters and what corners can never be cut.
Rushing the degreasing process is my most common early mistake. I thought I’d cleaned the engine thoroughly, but hidden oil in cooling fins or around fasteners would weep out during painting, creating fish eyes and adhesion problems.
Using worn-out sandpaper seems like a minor issue, but loaded paper just burnishes the surface instead of cutting it. Fresh paper costs pennies compared to redoing an entire paint job.
Skipping the final solvent wipe because I was eager to start painting caused several early failures. That last wipe removes the invisible contamination that ruins everything else you’ve done right.
Inadequate masking of gasket surfaces created massive headaches when reassembling engines. Paint on gasket surfaces prevents proper sealing and can cause leaks. Removing paint from gasket surfaces after the fact is extremely difficult.
Time Investment: How Long Proper Prep Actually Takes
New engine painters always ask me how long the process takes. My honest answer is that proper prep takes significantly longer than the actual painting, but it’s time well invested.
For a typical motorcycle engine, I budget a full day for complete prep work. That includes initial degreasing, paint removal, sanding, secondary cleaning, masking, and final solvent wipes. Rushing this process to save a few hours inevitably costs much more time in corrections later.
If I’m working on an extremely dirty or corroded engine, I add another half day. The worst engine I ever prepped took almost three full days because every cooling fin needed individual attention to remove years of baked-on oil and road grime.
When to Consider Professional Engine Painting Instead
I love DIY projects, but I recognize when professional services make more sense. Complex engine designs with intricate cooling fins or difficult-to-mask components can test even experienced painters.
Professional powder coating offers durability that’s hard to match with spray paint. If your engine cases are off the bike already and you want a finish that will last the bike’s lifetime, powder coating is worth considering despite the higher cost.
However, for straightforward engine painting where you want control over the process and finish, proper prep work enables DIY results that rival professional spray jobs. The key difference between amateur and professional results isn’t talent—it’s the discipline to follow proper preparation steps without shortcuts.
My Current Prep Routine After Years of Experience
These days, my prep process is systematic and repeatable. I’ve refined the sequence to eliminate wasted motion while ensuring nothing gets skipped. This final routine is what I follow on every engine now.
I start by photographing and documenting the engine before disassembly so I remember where everything goes. Initial degreasing happens while components are still assembled when practical. After disassembly, each piece gets individual attention for thorough cleaning.
My sanding progression goes from 320 to 400 to 600-grit, with solvent cleaning between each grit change. This removes contamination introduced during sanding and lets me assess my progress. I mask carefully, prime in three thin coats, and plan my topcoat timing around ideal weather conditions.
The entire process feels meditative now rather than stressful. I know each step serves a purpose, and I trust that following the sequence will deliver excellent results. That confidence came from experience, mistakes, and ultimately committing to doing the prep work properly every single time.
Your engine prep determines whether your paint job becomes a source of pride or a source of frustration. Take the time to do it right the first time, and you’ll enjoy a professional-looking finish that endures countless heat cycles and miles of riding.
Frequently Asked Questions
Do I need to remove the engine to prep it for paint?
Not necessarily. I’ve painted engines both on and off the bike. Removing it gives better access and cleaner results, but you can mask heavily and prep in-frame if removal isn’t practical.
What grit sandpaper should I use for engine prep?
Start with 320-grit to remove old paint and rough spots, then progress to 400 or 600-grit for final smoothing. Bare aluminum needs light scuffing with 400-grit to help paint adhesion.
How long should I wait between degreasing and painting?
After the final solvent wipe, wait just 10-15 minutes for flash-off, then paint immediately. Waiting too long allows oils to resurface or contaminants to settle.
Can I skip primer when painting motorcycle engines?
I never skip primer. High-temp engine primer creates the foundation for paint adhesion and heat resistance. It’s the difference between paint that lasts years versus paint that flakes off in months.

Related Articles
7 Best Batteries for Motorcycles I’ve Tested and Trust in 2026
I've tested dozens of motorcycle batteries to find the best performers. From AGM to lithium, here are my top picks…
Jake Miller
15 min read

The Perfect Battery for Your Harley Davidson Softail: A Rider’s Complete Guide
Discover the perfect battery for your Harley Davidson Softail. I've tested multiple options and share real-world performance data, maintenance tips,…
Jake Miller
14 min read

The Best Battery for Your Harley Davidson: My Complete Guide After Years of Testing
Discover which battery truly performs best for Harley Davidson motorcycles. Real rider experience with AGM, lithium, and OEM options to…
Jake Miller
12 min read