
DIY Motorcycle Seat Rebuild: The Foam, Pan, Adhesive and Tools I’d Choose
 Jake Miller
15 min read
Jake Miller
15 min read
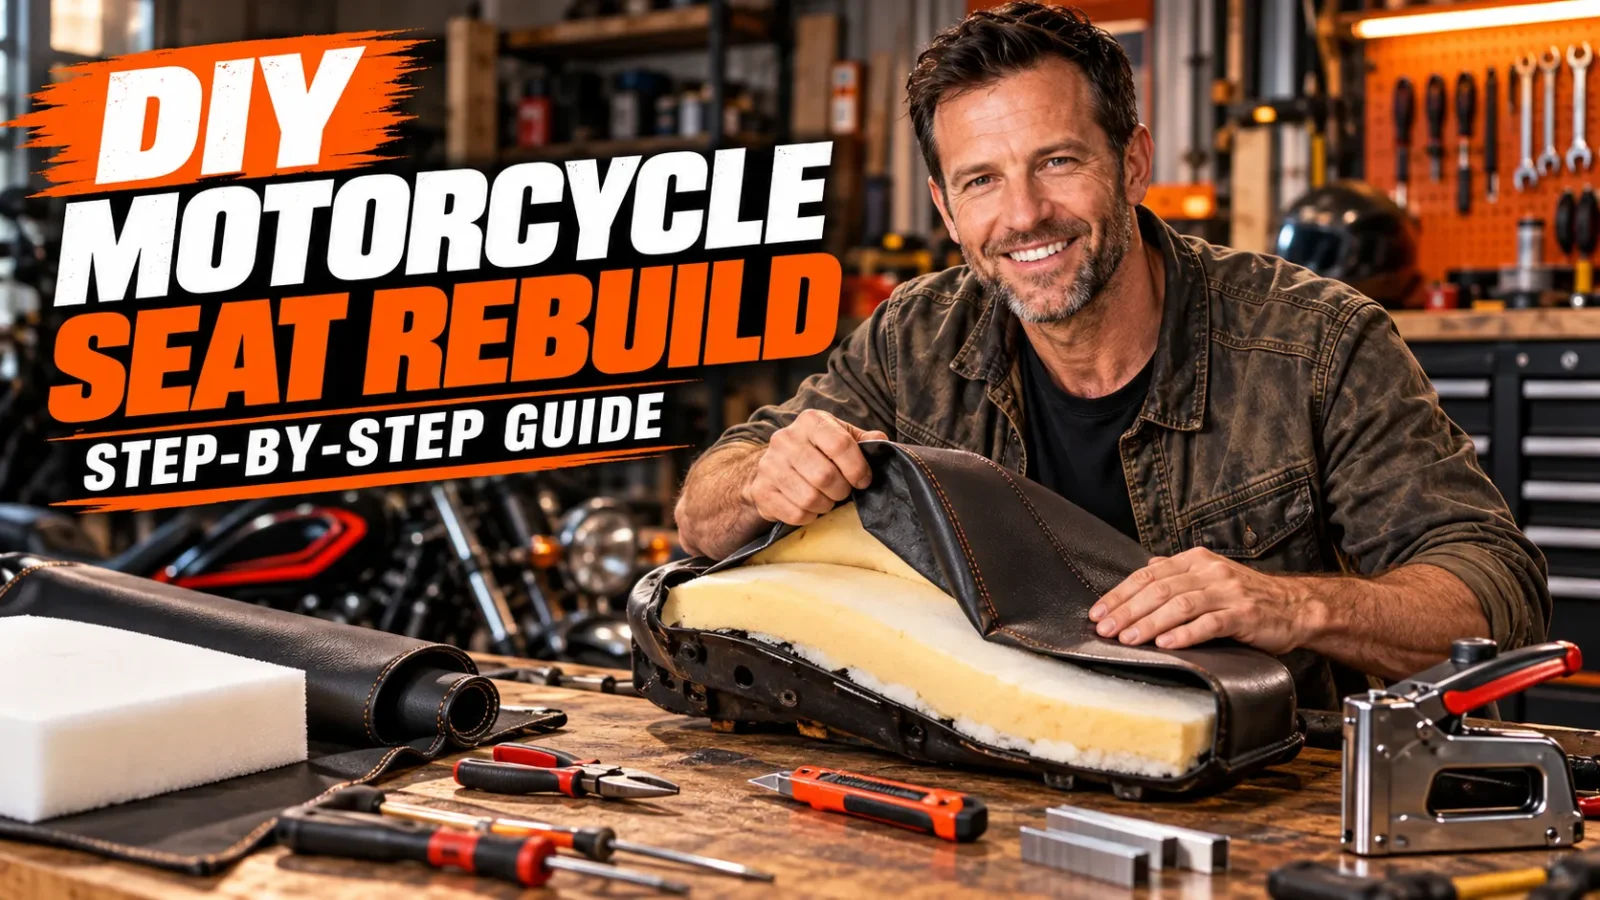
A flat, cracked seat doesn’t mean a new seat. With the right foam and a free weekend, you can rebuild it better than it came, and learn exactly what your bike’s seat is made of.
This post is part of my seat series. If you’d like to understand how a seat works before you take one apart, read my complete guide to the best motorcycle seat and then come back here to build.
- A seat has four parts you can rebuild: the pan, the foam, the cover and the fasteners. Check the pan first, because everything sits on it.
- For foam, use dense, motorcycle-appropriate foam. Closed-cell foam resists water but can be firm, and a firm base with a slightly softer top layer is a common approach.
- Use a contact adhesive meant for foam and upholstery, in a ventilated space, and follow the maker’s safety instructions.
- Use stainless staples where possible, and a strong, UV-resistant thread for any sewing.
- Take photos and measurements before you strip the seat. The old cover is your pattern.
- If you’d rather not rebuild, see my main seat guide and my cushion guide for simpler options.
[IMAGE PLACEHOLDER 1: Featured image] Alt text: Motorcycle seat stripped to the pan on a workbench with foam, staple gun and tools laid out AI image prompt: Photorealistic top-down photo of a motorcycle seat pan on a garage workbench with a sheet of dense foam, a staple gun, a spray adhesive can, upholstery scissors, a measuring tape and a roll of thread neatly laid out, warm workshop lighting, no visible brand logos, 16:9.
Why I Rebuild Seats (and When You Shouldn’t)
The first seat I ever rebuilt was on an old bike with a cover that had split and foam that had turned to something like stale bread. A new seat would have cost far more than the bike was worth. So I stripped it, found a rusty pan, cleaned it up, replaced the foam and recovered it. It wasn’t pretty. The stitching was crooked and I stapled the corners badly. But it was more comfortable than any seat that bike had ever had, and I learned how a seat works in a way no article could have taught me.
That’s the case for rebuilding: you learn, you save money and you can tailor the seat to your body.
But I’m also going to be honest about when you shouldn’t:
- If the pan is badly cracked or damaged and you can’t repair it safely.
- If your seat includes complex electronics, heating or airbags (check your bike).
- If you’re not comfortable with the tools and materials.
- If a good used seat or a proper aftermarket one costs about the same.
A seat is the one part of the bike you’re in constant contact with. If you do rebuild, take your time.
I haven’t rebuilt every kind of seat, so use this as a general guide and adjust for your bike.
Understand What You’re Working With
A motorcycle seat has four main layers.
- The seat pan is the rigid base. It holds the shape and mounts to the bike.
- The foam is the padding that sits on the pan.
- The cover is the skin you see and touch.
- The fasteners (staples, rivets, clips or trim) hold the cover to the pan.
Fix a problem at the wrong layer and it’ll come back. A flat seat often needs foam, a leaking seat needs a cover repair, and a wobbly seat may need a new pan.
Step One: Inspect Before You Strip
Before you spend any money, work out what’s wrong.
- Is the foam flat? Press it. If it’s hard, crumbly or has holes, replace it.
- Is the cover torn or cracked? Check seams, corners and folds.
- Is there water inside? A soggy seat smells and rots the foam.
- Is the pan damaged? Look for cracks, rust or bent mounting points.
- Is it a shape problem? If the seat’s shape is wrong for you, new foam won’t fix it unless you reshape it.
Take photos from every angle. Measure the seat. Note how the cover is stapled and where the seams run. The old cover is your pattern, so keep it intact if you can.
Choosing the Seat Pan Material
The pan is the foundation, and the material matters. If you’re asking about the best material for a motorcycle seat pan, here’s the honest answer: it depends on your bike and your budget, and most riders keep the original pan if it’s sound.
Common Pan Materials
- Molded plastic (such as ABS or similar). Common on modern bikes. Lightweight and rust-proof. Can crack with age or impact.
- Fiberglass. Stiff and can be shaped and repaired, popular in custom work. It needs proper handling and safety gear.
- Steel. Strong and repairable but can rust, so it needs protection. Heavier than plastic.
- Aluminium. Lighter than steel and resists rust, though it can be more expensive and harder to repair.
What I’d Do
- If the original pan is sound, clean it and reuse it. It fits your bike.
- If it’s cracked, consider repair with a material suited to the pan type, or replace it.
- If it’s rusty, remove the rust, treat it and paint it, then check it’s still strong.
- If it’s bent at the mounts, be careful. Mounting points are safety-critical because they keep the seat attached.
If you’re not sure whether a pan is safe, ask someone who knows, or choose a proper replacement.
Choosing the Foam
This is where comfort is won or lost. Searches like best foam for a motorcycle seat and best closed cell foam for a motorcycle seat are common for a reason.
Open-Cell vs Closed-Cell Foam
- Open-cell foam has connected air pockets. It’s soft and comfortable, but absorbs water like a sponge.
- Closed-cell foam has sealed pockets. It resists water and holds its shape, but can feel firmer.
For a motorcycle, water resistance matters. Many riders use a firm closed-cell or dense foam as a base layer, and a thin softer layer on top for comfort.
Density and Firmness
Foam is described by density and firmness (often called ILD or a similar measure, depending on the supplier). In plain terms:
- Too soft and you bottom out within an hour.
- Too hard and you get pressure points and numbness.
- Medium-firm is a good starting point for most riders.
Heavier riders usually need firmer foam. Lighter riders can use slightly softer foam. A layered approach (firm base, softer top) is common.
Memory Foam
Memory foam molds to you and can feel great at first. The drawbacks are heat, a tendency to sink too far, and stiffness in the cold. If you’re looking for the best memory foam for a motorcycle seat, I’d use it as a thin top layer over denser foam, not as the whole seat.
Gel Layers
Some riders add a thin gel layer for pressure relief. It adds weight and can be warm, but it can help. See my cushion guide for how gel behaves.
What I’d Choose
For a typical road bike, I’d start with:
- A dense, medium-firm base foam.
- A thin comfort layer on top, if I wanted more cushioning.
- A water-resistant approach overall, including a good cover.
Buy foam from a supplier that sells it for upholstery or motorcycle seats, and ask about density and use. Don’t guess.
[IMAGE PLACEHOLDER 2: Foam layers] Alt text: Cross-section of a motorcycle seat showing base foam, comfort layer and cover AI image prompt: Clean technical cutaway illustration of a motorcycle seat on a white background showing a rigid pan, a dense base foam layer, a thin soft comfort foam layer and a cover on top, each layer labeled, muted colors, no brand logos, 3:2.
Choosing the Adhesive
If you’re wondering about the best adhesive for gluing foam to a motorcycle seat, here’s what matters.
What to Look For
- Made for foam and upholstery. Not all glues work on foam, and some melt it.
- Heat resistant. A seat sits in the sun and can get hot.
- Water resistant. Rain and washing are part of life.
- Flexible when cured. A rigid glue cracks as the seat flexes.
Most riders use a spray contact adhesive designed for foam and upholstery. Contact adhesive usually works by coating both surfaces, letting them become tacky and then pressing them together. Read and follow the maker’s instructions.
Safety
Adhesives release fumes and are often flammable.
- Work in a well-ventilated area, ideally outdoors or with open doors.
- Keep away from flames, sparks and heaters.
- Wear gloves and a suitable respirator if the label recommends it.
- Protect surfaces nearby from overspray.
Always check the product’s safety data and instructions. Some adhesives suit certain foams and not others, so test on a scrap piece first.
Choosing the Staple Gun and Staples
You’ll see queries for the best staple gun for a motorcycle seat, and the right choice depends on how much you’re doing.
Manual vs Electric vs Pneumatic
- Manual staple gun. Cheap and fine for a one-off, but tiring and sometimes underpowered for a hard pan.
- Electric staple gun. More power and consistency for occasional work.
- Pneumatic staple gun. Strong and fast, great if you do a lot, but needs a compressor.
Staples Matter More Than the Gun
- Use stainless steel staples where possible. Regular steel rusts and stains the cover.
- Pick the right length. Too short won’t hold. Too long can pierce the pan or poke through.
- Check the pan. Some pans don’t take staples well. Plastic pans often do, but metal may need a different method. Know what your pan is made of.
If you have a hard pan, you might need pilot holes or a different fastening system. Check what the original used.
Choosing the Thread
If your cover needs sewing, the best thread for motorcycle seat sewing is a strong, UV-resistant, rot-resistant thread. Bonded nylon or polyester upholstery thread is the usual choice. Cotton thread rots and isn’t suited to outdoor use.
- Match the thread weight to the cover material.
- Use a needle suited to the material (leather needles for leather, for example).
- Test stitch on scraps first.
- Consider a sewing machine rated for heavy upholstery if you’re doing a lot.
If sewing isn’t your thing, a local upholstery shop can sew a new cover to your pattern while you handle the foam.
Choosing the Cover
The cover affects grip, heat, water resistance and looks. See my full seat cover materials guide for the details, but here are the basics.
- Marine-grade vinyl is popular for its water and UV resistance.
- Leather looks great and ages beautifully with care, but needs maintenance.
- Synthetic leather is a lower-cost alternative with varying quality.
- Textured or grippy covers help you stay put but can wear clothing.
Buy a little more material than you need. Mistakes happen.
Tools and Materials Checklist
Here’s what I’d gather before starting.
- Replacement foam (base, plus optional comfort layer)
- Replacement cover or cover material
- Foam and upholstery contact adhesive
- Staple gun and stainless staples
- Upholstery thread and suitable needles (if sewing)
- Screwdrivers, pliers and a staple remover
- Sharp scissors or a fabric knife
- Marker, tape measure and camera
- Gloves, eye protection and a respirator if needed
- A clean, well-lit, ventilated workspace
Step-by-Step: How I Rebuild a Seat
This is a general process. Your bike may differ.
1. Remove the Seat
Follow your bike’s manual. Take photos of how it’s mounted. Don’t force anything.
2. Document Everything
Take photos of the cover from every side. Note where the seams and staples are, and mark orientation on the cover and pan with tape or a marker.
3. Remove the Cover
Carefully remove staples with a staple remover or pliers. Keep the cover as intact as possible. Wear gloves, because old staples are sharp.
4. Inspect and Prepare the Pan
Remove old foam and adhesive. Clean the pan. Repair cracks, treat rust and check the mounting points. Let any paint or repair cure completely.
5. Cut and Shape the Foam
Use the old foam as a template if it’s still usable. Cut the new foam slightly oversized, then trim. Use a sharp blade and a steady hand. An electric carving knife is a common tool for shaping foam, though a sharp utility knife works too. Shape gradually. You can always remove more, but you can’t put it back.
6. Check Shape and Fit
Before gluing, place the foam on the pan and check how it feels. Sit on it (carefully) and think about whether the shape works for you.
7. Glue the Foam
Follow the adhesive instructions. Usually this means spraying both surfaces, letting them become tacky, then pressing the foam into place. Work in a ventilated space.
8. Fit the Cover
Stretch the cover over the foam. Start by fixing one side, then pull gently and fix the opposite side, working outward. Even tension prevents wrinkles. Don’t over-stretch, or the cover will tear.
9. Staple Carefully
Staple from the center outward, alternating sides. Space staples evenly, and fold corners neatly. Check from the top to make sure there are no wrinkles.
10. Trim and Finish
Trim excess cover, check the edges and ensure nothing sharp is exposed.
11. Refit and Test
Refit the seat, check it’s secure and test ride gently. Check again after a few rides.
[IMAGE PLACEHOLDER 3: Stapling the cover] Alt text: Hands stapling a motorcycle seat cover to the pan with even tension AI image prompt: Photorealistic close-up of gloved hands stretching black vinyl over a foam-padded motorcycle seat pan and stapling it with a staple gun, workbench with tools in the background, shallow depth of field, warm workshop light, no visible brand logos, 3:2.
Common Mistakes (I’ve Made Most of These)
- Skipping the inspection. If the pan is damaged, new foam is wasted.
- Cutting foam too thin or too soft. You’ll bottom out quickly.
- Using the wrong glue. Some adhesives melt foam, and some fail in heat.
- Using cheap staples. They rust and stain the cover.
- Over-stretching the cover. It tears or leaves wrinkles.
- Rushing the shaping. A seat that’s the wrong shape can’t be fixed with a cover.
- Ignoring ventilation. Fumes are a real risk.
- Forgetting to photograph. You’ll want those photos when you put it back together.
Care After the Rebuild
A rebuilt seat deserves protection.
- Clean and protect the cover. See my guide on how to clean, protect and waterproof a motorcycle seat.
- Check staples and seams regularly. Fix small issues before they become big ones.
- Store the bike properly. My winterizing guide covers storage.
- Include the seat in your routine checks. It’s part of the maintenance mix. See my T-CLOCS pre-ride inspection guide and my overview of maintenance on a motorcycle.
Rebuild or Replace? How I Decide
| Situation | My choice |
|---|---|
| Flat foam, sound pan, cover okay | Rebuild the foam |
| Cover cracked, foam okay | Recover |
| Pan damaged or unsafe | Replace or professionally repair |
| Wrong shape for my body | Reshape foam or buy a better seat |
| Rare or custom seat I can’t replace | Rebuild carefully |
| Cheap used seat available that fits | Consider replacing |
If you’d rather not rebuild, there are other routes. Check my full seat guide, or for specific bikes, my guides to Harley touring seats, Sportster seats and KLX250 seats.
Methodology: How I Approached This Guide
- I’ve described general materials and methods, because pans, foams and covers differ between bikes.
- I haven’t rebuilt every kind of seat, and I haven’t tried to rank brands or products.
- I’ve avoided prices, because they vary.
- I’ve focused on safety because adhesives, tools and seat mounting all matter.
- My advice comes from my own projects, from conversations with riders who rebuild seats and from common practice in upholstery.
If you’ve rebuilt a seat and learned something I haven’t covered, I’d love to hear about it.
Frequently Asked Questions
What is the best foam for a motorcycle seat?
A dense, medium-firm foam suited to your weight, often with a thin softer layer on top. Closed-cell foam resists water but can feel firm. Ask your supplier about density and intended use.
Is closed-cell foam good for a motorcycle seat?
It resists water and holds its shape, which is useful for bikes ridden outdoors. It can feel firm, so many riders pair it with a thin softer layer.
Can I use memory foam in a motorcycle seat?
Yes, but usually as a thin top layer. Thick, soft memory foam can sink too far and run warm.
What is the best adhesive for gluing foam to a motorcycle seat?
A contact adhesive made for foam and upholstery that is heat and water resistant and stays flexible. Follow the instructions and work in a ventilated area.
What staples should I use?
Stainless steel staples where possible, in a length suited to your pan. Regular steel can rust and stain.
What thread is best for sewing a seat cover?
Bonded nylon or polyester upholstery thread, because it’s strong and resists UV and rot. Avoid cotton for outdoor use.
Can I reuse my old seat pan?
If it’s sound, yes. Clean it, repair any damage and check the mounting points.
Is rebuilding a seat cheaper than buying a new one?
Often, but not always. Costs vary, and a good used or aftermarket seat may be similar. Rebuilding also teaches you a lot and lets you tailor the shape.
Should I get a professional to do it?
If you’re not comfortable, yes. A good upholstery shop can do the cover, or the whole job, to your pattern.
Final Thoughts
A rebuilt seat can feel better than a new one, because it’s shaped for you and your bike. Inspect first, choose the right foam, use the right glue and fasteners, and take your time with the cover.
And if the project looks like more than you want, there’s no shame in handing it to a pro or choosing a good aftermarket seat.
Keep Reading in the Seat Series

Related Articles

Best Motorcycle Seats for Tailbone and Back Pain Relief: What Helps and What Doesn’t
Riding hurts? Here's what I look for in a motorcycle seat for tailbone pain, a bad back and pressure problems,…
Jake Miller
13 min read

Best Motorcycle Seat for Tall Riders: Room to Stretch, Support That Lasts
Tall, big or riding two-up? Here's how I choose a motorcycle seat with enough reach, support and room, from seat…
Jake Miller
13 min read

Best Motorcycle Seat for Short Riders: How I Get Both Feet Down Without Giving Up Comfort
Short rider and tired of tiptoeing at red lights? Here's how I choose a lower, narrower motorcycle seat, including solo…
Jake Miller
17 min read