
How to Clean, Protect and Waterproof a Motorcycle Seat (Without Making It Slippery)
 Jake Miller
14 min read
Jake Miller
14 min read
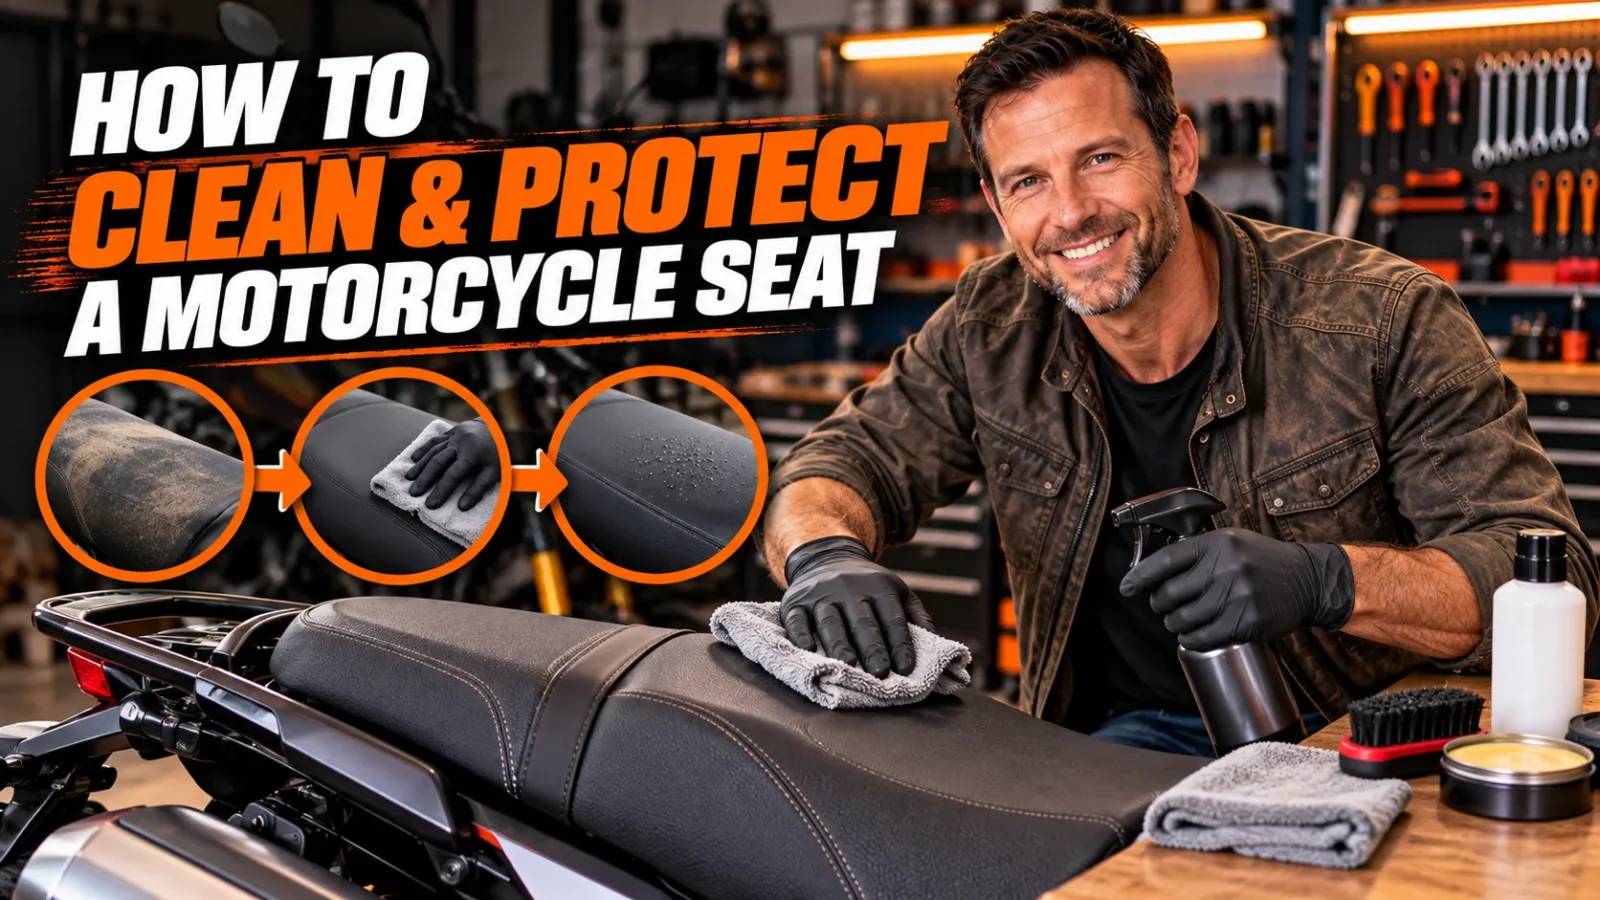
Your seat takes sun, rain, sweat and road grime every ride, and most riders only notice when it cracks. Fifteen minutes of care every few weeks is the difference between a seat that lasts years and one that needs replacing.
This post is part of my seat series. If you want to understand the whole seat first, including foam, pan and cover, read my complete guide to the best motorcycle seat, then use this page to keep it in shape.
- Clean first, protect second. Protectant over dirt just seals the grime in.
- Use a cleaner suited to the cover. Vinyl and leather need different products, and harsh solvents can damage both.
- Never leave the top of the seat slick. Avoid heavy silicone or shiny dressings where you sit, because a slippery seat is a safety problem.
- Waterproofing means protecting the cover and keeping water out of the foam. Check seams, staples and tears, then use a protectant or a seat cover.
- Test any product on a hidden spot first, and follow the label instructions.
- A seat cover or a bike cover does as much for longevity as any product. See my seat cover materials guide for what lasts.
[IMAGE PLACEHOLDER 1: Featured image] Alt text: Rider wiping a clean black motorcycle seat with a microfiber cloth in a garage AI image prompt: Photorealistic image of a gloved hand wiping a clean black vinyl motorcycle seat with a folded microfiber cloth in a tidy garage, a spray bottle and soft brush nearby, soft natural window light, close-up, no visible brand logos, 16:9.
Why Seat Care Is Part of Maintenance
When we talk about motorcycle maintenance, we talk about oil, chains, brakes and tyres. Seats rarely make the list. But a seat is a part of the bike, and like any part it wears out faster when it’s neglected.
A few years ago I left a bike parked outside through a wet, then sunny, then wet stretch of weather. By the time I got back to it, the seat cover had a small split along a seam, and the foam underneath had soaked up water like a sponge. It took weeks to dry, and it never felt the same. The split was tiny. The damage wasn’t.
That experience changed how I treat seats. I now fold seat checks into my regular routine, alongside the checks in my T-CLOCS pre-ride inspection guide. A quick look at the seat, seams and mounting takes seconds, and it can save you a lot of money.
I haven’t tested every product on the market, and I won’t pretend to rank brands I haven’t used. What I can offer is a routine that works, and an explanation of what to look for in each type of product.
First, Know Your Seat
The right care depends on what the cover is made of. Most seats are one of these:
- Vinyl or synthetic leather. Common, durable and easy to clean.
- Genuine leather. Needs conditioning and more careful handling.
- Fabric or mesh. Needs different cleaning and drying.
- Textured or perforated covers. Hold dirt in the texture and need a soft brush.
If you’re not sure, check the maker’s care instructions or ask the seller. Using the wrong product can stain, dry or damage a cover.
What You’ll Need
Here’s my basic kit.
- Two or three clean microfiber cloths
- A soft brush (a soft detailing brush or an old, soft toothbrush for seams)
- A bucket of lukewarm water
- A mild soap or a cleaner suited to your cover
- A cleaner or conditioner for leather, if your seat is leather
- A protectant suited to your cover
- Gloves, if you’re sensitive to products
- A bike cover or seat cover
I keep it simple. Complicated routines get skipped.
How to Clean a Motorcycle Seat: Step by Step
1. Let the Seat Cool
Don’t clean a seat that’s hot from the sun. Products dry too quickly and can leave streaks or stains. Work in the shade if you can.
2. Remove Loose Dirt
Wipe or brush off dust and grit. Grit acts like sandpaper if you rub it into the cover.
3. Test Your Product
Try any new cleaner on a hidden spot, such as underneath or at the back. Wait for it to dry and check for staining or damage.
4. Clean Gently
For vinyl, a mild soap and water solution or a vinyl-safe cleaner works well. Apply with a cloth or soft brush, working in small sections. For stubborn grime in textures or seams, use a soft brush with light pressure.
For leather, use a cleaner made for leather. Avoid soaking it. Work in small areas and wipe off residue.
For fabric, use a cleaner suited to the fabric and blot rather than scrub.
5. Rinse and Wipe
Wipe off soap or cleaner residue with a damp cloth. Don’t flood the seat, because water can get through seams to the foam.
6. Dry Thoroughly
Pat dry with a clean microfiber cloth and let it air dry fully. Don’t apply protectant to a damp seat.
[IMAGE PLACEHOLDER 2: Cleaning steps] Alt text: Three-step visual showing brushing, wiping and drying a motorcycle seat AI image prompt: Three-panel instructional photo-style illustration: left a soft brush cleaning a vinyl motorcycle seat seam, middle a microfiber cloth wiping soapy residue, right a dry cloth buffing the seat, simple clean style, light neutral background, no brand logos, 16:9.
Choosing a Vinyl Cleaner
If you’re after the best vinyl cleaner for a motorcycle seat, here’s how I’d choose, rather than naming a single product.
- Made for vinyl or marine use. These are designed for outdoor exposure.
- pH-balanced and mild. Harsh cleaners can dry vinyl and speed cracking.
- Free of strong solvents. Strong solvents can damage the surface.
- Non-greasy. A greasy residue can attract dirt and make the seat slippery.
- Works with your cover texture. Textured vinyl needs a cleaner that gets into grooves.
For light dirt, a mild soap and water solution is often enough. For heavier grime, a dedicated vinyl cleaner can help. Always follow the label.
Caring for Leather Seats
Leather is a different animal. If you’re looking for the best product for motorcycle leather seats, the principle is the same: choose products made for leather and use them sparingly.
Clean
Use a leather-safe cleaner. Avoid household cleaners, strong detergents or anything that strips oils.
Condition
Leather dries out and cracks without conditioning. Apply a conditioner made for leather in a thin layer, working it in with a clean cloth, and wipe off excess. How often depends on your climate and how much the bike is exposed, but every few months is a common starting point. Check the product instructions.
Avoid Over-Conditioning
Too much conditioner can leave the surface greasy and slippery, and can soften leather too much. Less is more.
Watch for Water
Leather absorbs water. Dry it gently if it gets wet, and don’t use direct heat, which can crack it.
If you ride in a leather jacket too, similar care applies. See my guides on cleaning a leather jacket and breaking in a new leather jacket.
Protecting the Seat: Protectants Without the Slip
Protectants shield the cover from UV, drying and staining. They’re useful, but there’s a catch: many dressings leave a glossy, slippery finish.
What to Look For
If you’re searching for the best protectant for motorcycle seats, look for:
- UV protection. Sun is the main enemy of covers.
- A non-greasy, matte or satin finish. Shiny finishes can be slippery.
- Compatibility with your cover. Vinyl, leather and fabric need different products.
- Instructions that say it’s suitable for seats or surfaces you touch. Some products are meant for trim and tyres, not seats.
How to Apply
- Make sure the seat is clean and dry.
- Apply a small amount to a cloth, not directly to the seat.
- Wipe on a thin, even layer.
- Let it sit as directed.
- Buff off any excess with a clean cloth.
- Check the surface. If it feels slippery, wipe it again or use less next time.
Safety First
A slippery seat is a real risk, especially at stops, in corners and in the wet. After you protect a seat, sit on it and check it feels secure. If it doesn’t, clean it again.
Some riders avoid protectants on the top of the seat altogether and apply them only to the sides and edges. That can be a sensible compromise if you’re worried about grip.
How to Waterproof a Motorcycle Seat
When people ask about the best product for waterproofing motorcycle seats, there’s an important point: most of the protection comes from keeping water out of the foam, not from a spray.
1. Inspect for Damage
- Check seams for gaps or split stitching.
- Look for tears, cuts or cracked areas.
- Check staples and edges for lifted cover.
- Feel the seat for damp spots.
Water gets in through small gaps. Fix them first.
2. Repair Small Damage
Small tears can sometimes be repaired with a vinyl repair kit or professional help. Larger damage may need a new cover. If the foam is already wet or smells musty, it may need drying or replacing. My DIY seat rebuild guide explains how.
3. Use a Suitable Sealant or Protectant
Some products are designed to add water resistance to vinyl, leather or fabric. Read the label to make sure it suits your cover, and test on a hidden spot. Follow the application and curing instructions.
For fabric covers, a fabric waterproofing treatment may help. For leather, use products designed for leather, since the wrong one can stiffen or discolour it.
4. Think About Seams
Seams are the weak point. Some riders use a seam sealer designed for the material, or choose seats with sealed seams. If you have a leaky seam, a professional upholsterer can advise.
5. Use a Cover
The best waterproofing I know is a decent bike cover or seat cover when you park. It takes seconds and stops water, UV and dirt in the first place.
Cleaning and Care Schedule I Use
Here’s a simple rhythm. Adjust it for your climate and how much you ride.
| When | What I do |
|---|---|
| Before rides | Quick glance at seat, seams and mounting |
| After wet or dirty rides | Wipe down and let dry |
| Every few weeks | Proper clean with suitable cleaner |
| Every few months | Apply protectant (or condition leather) |
| Before storage | Clean, protect and cover |
| After storage | Check for mould, cracks and damp |
For storage tips, see my winterizing guide. For washing the whole bike, see my guide to washing your motorcycle.
Common Seat Problems and What to Do
Cracking
Usually caused by UV and drying. Light cracks may be improved with the right conditioner (for leather) or protectant, but deep cracks mean the cover is failing. A new cover is the real fix.
Fading
Sun exposure. A UV protectant and shade help. Faded covers don’t usually recover fully.
Mould or Mildew
Caused by moisture and poor airflow. Clean with a mild, suitable cleaner, dry thoroughly and fix the source of moisture. If the foam is affected, replace it.
Stickiness
Some vinyl becomes tacky with age or heat. Clean it with a suitable cleaner. If it stays sticky, the cover is degrading.
Soggy Seat After Rain
Water has entered through a gap. Dry the seat as much as you can, find the entry point and fix it. Don’t just sit on a wet seat and hope.
Slippery Surface
Often from heavy dressings or silicone products. Clean the top again with a suitable cleaner and use less protectant next time.
Stains
Try a mild soap first. For stubborn stains, use a cleaner suited to your material and test first. Avoid harsh solvents.
What Not to Use
A few cautions.
- Harsh solvents and strong detergents. They can dry and damage covers.
- Household cleaners not designed for vinyl or leather. Some leave residue or stain.
- Heavy silicone or shiny dressings on the riding surface. They make seats slippery.
- High-pressure water on seams. It can force water into the foam.
- Direct heat to dry a wet seat. It can warp or crack covers.
- Anything you haven’t tested on a hidden spot.
When in doubt, check the maker’s recommendations.
Seat Care and Seat Choice Go Together
If your seat constantly gets wet, dirty or sun-baked, think about the cover you choose. My seat cover materials guide explains which materials handle which climates. If you ride a bike where the seat takes a beating, such as a dual-sport, see my KLX250 seat guide.
And if you’ve added a gel or sheepskin cushion, check underneath regularly. Moisture can get trapped. My seat cushion guide covers cushion care.
Common Mistakes
- Protecting a dirty seat. You seal in grime.
- Using too much dressing. The seat becomes slippery.
- Ignoring small tears. Water gets in and ruins the foam.
- Using the wrong product. Leather and vinyl are not the same.
- Skipping testing. A hidden-spot test saves a ruined cover.
- Soaking the seat. Water through seams causes lasting damage.
- Forgetting the cover. Sun and rain do more damage than you’d think.
Methodology: How I Approached This Guide
- I focused on materials and methods rather than ranking specific products I haven’t tested.
- I haven’t used every cleaner or protectant, and I’ve tried not to imply otherwise.
- I’ve avoided prices, because they change.
- I emphasised safety, because a slippery seat is more than a cosmetic problem.
- My advice comes from my own routine, from conversations with riders and detailers and from the care instructions makers commonly give.
If you’ve found a product that works well on your seat, I’d love to hear what it was, what the cover is, and how it held up.
Frequently Asked Questions
What is the best cleaner for a motorcycle vinyl seat?
A mild, vinyl-safe cleaner or a gentle soap and water solution. Avoid harsh solvents, and test on a hidden spot first.
What is the best protectant for motorcycle seats?
One made for your cover material that offers UV protection and a non-greasy finish. Avoid heavy, shiny dressings on the riding surface because they can make the seat slippery.
How do I waterproof a motorcycle seat?
Fix any tears or gaps first, then use a suitable protectant or sealant, and use a bike or seat cover when parked. Keeping water out of the foam is the key.
How often should I clean my motorcycle seat?
Wipe it down after dirty or wet rides, and do a proper clean every few weeks. Protect it every few months, depending on your climate.
Can I use household cleaners on my seat?
I’d avoid them unless they’re designed for your cover. Some leave residue or damage the material.
How do I care for a leather motorcycle seat?
Clean it with a leather-safe cleaner, condition it lightly every few months, and keep it dry. Avoid over-conditioning, which can make it greasy.
Why is my seat slippery after protecting it?
You may have used too much, or a product that leaves a glossy finish. Wipe it with a suitable cleaner and apply less next time.
What do I do about a soggy seat?
Dry it as much as you can, find where the water is getting in and repair it. If the foam stays wet or smells, it may need replacing.
Does a bike cover really help?
Yes. It protects against sun, rain and dirt, and it’s one of the cheapest ways to extend a seat’s life.
Final Thoughts
A little regular care keeps a seat comfortable, safe and good-looking for years. Clean first, protect lightly, keep water out of the foam, and make sure the top stays grippy.
It isn’t glamorous maintenance, but it’s some of the cheapest and most effective maintenance you’ll do.
Keep Reading in the Seat Series

Related Articles

Best Motorcycle Seats for Tailbone and Back Pain Relief: What Helps and What Doesn’t
Riding hurts? Here's what I look for in a motorcycle seat for tailbone pain, a bad back and pressure problems,…
Jake Miller
13 min read

Best Motorcycle Seat for Tall Riders: Room to Stretch, Support That Lasts
Tall, big or riding two-up? Here's how I choose a motorcycle seat with enough reach, support and room, from seat…
Jake Miller
13 min read

Best Motorcycle Seat for Short Riders: How I Get Both Feet Down Without Giving Up Comfort
Short rider and tired of tiptoeing at red lights? Here's how I choose a lower, narrower motorcycle seat, including solo…
Jake Miller
17 min read