
8 Best Motorcycle Handlebar Paints for a Durable, Clean Finish
 Jake Miller
12 min read
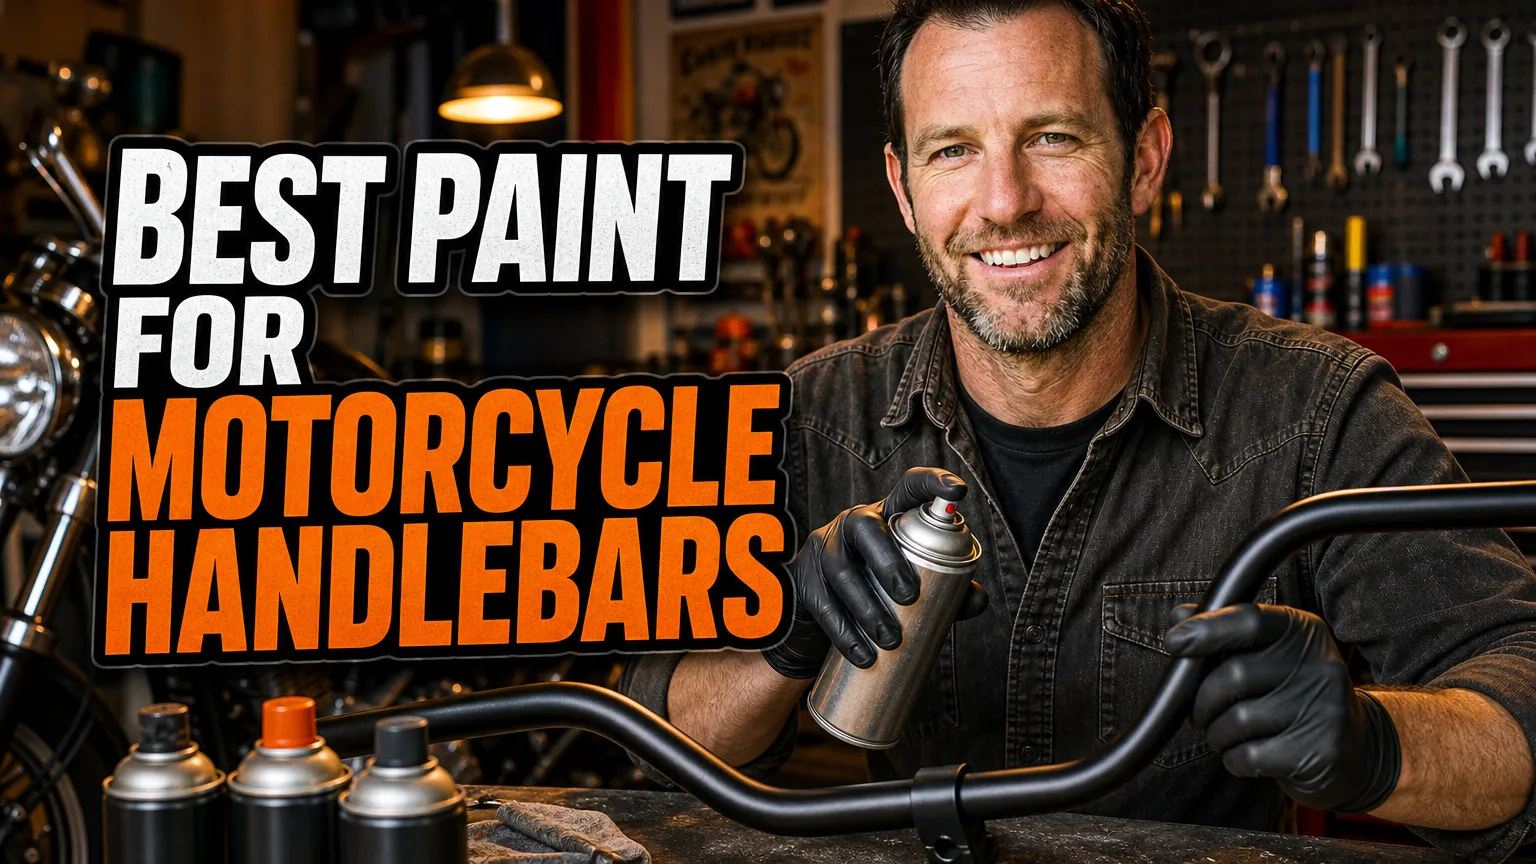
I’ve learned that painting handlebars is less about finding the hardest-sounding finish and more about matching the coating to the bar material, preparing the surface carefully, and keeping paint away from areas that need a precise fit. Hands, gloves, grips, and control clamps all put wear on a handlebar finish, so even a good paint job needs sensible expectations.
Disclosure: some links in this article are affiliate links. As an Amazon Associate I earn from qualifying purchases, and I may also earn a commission from RevZilla at no extra cost to you.
When I’m choosing a coating, I compare its material compatibility, application process, finish, and cure time. For a broader look at aerosol options and paint systems, I also use this guide to best spray paint for motorcycle projects. Below are the products I’d consider for handlebars, along with the situations where each makes the most sense.
- I’d choose a coating made for metal or bicycle frames, then follow its specific prep and cure instructions.
- VHT Roll Bar & Chassis Paint is my practical pick for a straightforward satin-black finish.
- I mask the grip, control, and clamp areas carefully, or remove the bars before painting.
- I treat dry-to-touch and fully cured as two different things, and wait for the full cure before reinstalling parts.
How I Choose Paint for a Handlebar
I start by identifying what I’m painting. Steel and aluminum bars have different preparation needs, and a coating that bonds well to one surface may not behave the same way on another. I also check whether the bar is bare, painted, plated, or anodized before I decide whether to scuff it, prime it, or leave the existing finish intact.
I pay particular attention to where the paint will go. I keep coatings off the handlebar clamp area, grip seating area, threads, and control mounting surfaces because added film thickness can affect fit or contribute to slipping. If I’m not certain about a coating’s compatibility with a particular finish, I test a small, hidden spot or consult the manufacturer’s instructions first.
Finally, I remember that no paint is immune to friction. A carefully applied finish can look great on exposed sections, but constant contact from grips, hands, and controls can wear it down. I’d rather set realistic expectations than promise a permanent finish in a high-contact area.
1. VHT Roll Bar & Chassis Paint Satin Black — My Practical Black Finish

When I want a clean, understated black finish, VHT Roll Bar & Chassis Paint is one of the first products I consider. It’s an automotive coating intended for chassis and similar metal components, and its satin-black version gives handlebars a subdued look without the shine of a gloss enamel.
VHT describes this product as resistant to chemicals, corrosion, and chipping, and rates it for temperatures up to 250°F. I see that temperature rating as more than sufficient for a handlebar, but I don’t mistake it for a guarantee against scratches from tools, gloves, or rubbing grips.
Where I’d use it
I’d choose VHT Roll Bar & Chassis Paint for exposed steel bars or prepared metal where I want a durable-looking satin finish. I clean and degrease the surface, remove loose coatings and rust, and follow the can’s directions for coats and curing rather than spraying on one heavy layer.
For me, the main limitation is that it’s an automotive chassis paint, not a coating specifically formulated for constant hand contact. I’d keep it off the grip and clamp interfaces, and I’d inspect those high-wear spots periodically.
2. Dupli-Color Metalcast Anodized Color — My Pick for a Colored Metallic Effect
When I want a colored, metallic appearance rather than ordinary opaque paint, I look at Dupli-Color Metalcast Anodized Color. This coating is designed to create a translucent, anodized-style effect over a reflective base, so the final look depends heavily on the surface beneath it.
I would not expect Metalcast to hide scratches, stains, or uneven preparation. I’d first make sure the underlying surface is suitable and use the ground coat specified by Dupli-Color when the instructions call for it. On a well-prepared, reflective surface, the transparent color can give a distinctive custom look that solid black paint can’t replicate.
What I keep in mind
I treat this as a decorative finish that needs careful prep, not a shortcut to an actual anodized handlebar. I also check the current product label for application and compatibility details before starting, particularly if the bars have an existing finish or are made from a metal I haven’t painted before.
If I’m also refreshing the tank, I keep the projects separate and choose a product intended for that surface; my guides to the best paint for motorcycle gas tank and best spray paint for motorcycle tank cover those different requirements.
3. Spray.Bike Frame Builder’s Edition — My Bicycle-Style Frame Paint Option
Spray.Bike Frame Builder’s Edition is a bicycle-frame paint range, which makes it a natural option for riders who want a purpose-made bike finish rather than a general hardware-store enamel. I like that it’s sold as a coating for bicycle projects and comes in a range of colors, so it gives me more room to match a custom build.
Because a motorcycle handlebar can have different materials, geometry, and use demands from a bicycle frame, I don’t assume that the product will perform identically on every set of bars. I follow the current Spray.Bike instructions closely and confirm that the specific finish is appropriate for my handlebar substrate before coating it.
Why I’d consider it
I’d consider Spray.Bike when color choice and a frame-paint aesthetic matter more to me than choosing an automotive chassis coating. I still prepare the surface carefully, apply light, even coats, and allow the stated cure time before reinstalling grips or controls.
I’d avoid painting the bar in a way that changes the fit of a clamp or grip. If the bars are valuable, heavily used, or a safety-critical part of my setup, I’d first ask the paint maker or a professional finisher whether that finish is suitable for the exact material and use.
4. Rust-Oleum Automotive Enamel — My Familiar Aerosol Option

Rust-Oleum Automotive Enamel is an accessible aerosol option I’d consider for a simple color refresh on properly prepared metal. It’s sold as an automotive enamel, and I like that it’s widely available in common colors and finishes, making it relatively easy to find a close match or buy enough for a small project.
With this paint, I pay special attention to surface preparation and application conditions. I remove dirt, grease, and loose paint, then use the primer recommended for the surface and product system if one is needed. I apply several light coats rather than trying to build the entire finish in one pass.
My trade-off
I see Rust-Oleum Automotive Enamel as a convenient general-purpose option, not a specialized coating for constant abrasion from hands and grips. I would use it on visible sections of the bar and accept that it may need a touch-up sooner in areas that see frequent contact.
If I’m painting other parts of the bike, I choose each coating for that component rather than using one can everywhere. My guide to the best paint for motorcycle frame explains why frame coatings and handlebar finishes can call for different priorities.
5. Krylon Fusion All-In-One — My Convenient Choice for Mixed Materials

Krylon Fusion All-In-One is marketed for adhesion to a range of surfaces, including metal and plastic, and its all-in-one format can be convenient for small projects. I’d consider it when I’m working with a compatible metal bar and want an easy-to-source spray paint with multiple color options.
I still don’t interpret “all-in-one” as “no preparation needed.” I clean and scuff the surface as directed, protect nearby parts from overspray, and check the label for the correct application method. If the handlebar has a factory coating, I confirm that the new paint can be applied over it without a compatibility problem.
When I’d choose it
I like Krylon Fusion All-In-One for straightforward cosmetic work where convenience matters. I wouldn’t choose it solely because the product also adheres to plastic; the main question for my bars is whether the specific surface is clean, sound, and approved by the product instructions.
For painted motorcycle plastic parts, I use a coating selected for that job instead of assuming a handlebar paint will transfer well. I cover that separate use case in my guide to the best spray paint for motorcycle plastics.
6. POR-15 Top Coat — My Option for a Carefully Prepared Metal Surface
POR-15 Top Coat is a specialized protective coating I’d consider only after reading the product instructions for the exact surface and preparation system. POR-15 products are often used in restoration work, and the Top Coat is intended to provide a protective, UV-resistant finish in compatible applications.
I wouldn’t treat it as a casual, spray-and-go handlebar paint. I’d check whether the Top Coat is appropriate for my substrate and whether it should be applied over a particular primer or base coating. If the instructions require a specific preparation or undercoat, I follow that system instead of improvising.
Why it may not suit every rider
For a small, visible handlebar area, I may find POR-15 more involved than I need. I’d choose it only when its protection and application system fit the project, and I’d take extra care to keep the coating off precision-fit areas and surfaces that need to remain bare.
I also wouldn’t use a tank sealer as a substitute for exterior paint: it’s a different product with a different job. I explain that distinction in my guide to the best paint for motorcycle tank sealer.
7. Dupli-Color Engine Enamel with Ceramic — My Heat-Resistant Alternative

Dupli-Color Engine Enamel with Ceramic is formulated for engine applications, with the manufacturer advertising heat resistance up to 500°F. That temperature capability is far beyond what I need for a typical handlebar, but I’d consider this product if I already use it elsewhere on a compatible motorcycle component and want a coordinated finish.
I don’t choose it because I expect handlebars to get hot. I choose it only if its finish, color, and substrate compatibility make sense for my project. I follow the manufacturer’s instructions for preparing the metal and curing the coating, since engine paints may have specific curing requirements.
My caution about the category
A heat rating doesn’t automatically mean a paint is the most abrasion-resistant choice for a hand-contact area. I still keep the coating away from the grip and clamp locations, and I compare the product’s intended use with the demands of the bars before I commit.
If I’m painting a tank as well, I don’t assume engine enamel is the right match for the fuel-exposed exterior. I choose a coating made for that surface and follow its compatibility requirements.
8. SprayMax 2K Glamour High Gloss Clear Coat — My Optional Clear Finish

SprayMax 2K Glamour High Gloss Clear Coat is a clear coat, not a color paint, so I use it only as a possible finishing layer over a compatible base coat. A two-component clear can add a glossy, polished look, but I first confirm that the color paint’s manufacturer allows that clear coat over its finish.
I take the safety requirements seriously. Two-component aerosol products can contain hazardous isocyanates, so I read the safety data sheet and product label before use and don’t spray them casually in a garage. If I can’t provide the required protective equipment and ventilation, I leave the 2K application to a properly equipped professional.
When I skip the clear coat
I skip clear when the base paint system doesn’t call for it, when I can’t meet the safety requirements, or when I’m painting a high-contact area where the added layer won’t solve the underlying wear problem. A clear coat is a finish choice, not a substitute for good preparation or careful handling.
How I Prepare and Paint My Bars
I begin by removing the handlebars when that’s practical. It makes it easier to protect the motorcycle and gives me better access to the entire part. If removal isn’t practical, I mask the grips, switches, levers, cables, wiring, and surrounding painted surfaces thoroughly.
Next, I clean the bars and inspect the existing finish. I remove rust and loose paint, then scuff only as much as the selected product requires. I avoid sanding blindly through a sound factory finish, especially on aluminum or coated bars, because exposing the substrate changes what preparation and primer may be needed.
I spray in a well-ventilated area, keep the can at the distance stated on its label, and use several light coats. I don’t rush between coats or reinstall parts just because the surface feels dry. I wait for the product’s stated full cure time before fitting grips, tightening controls, or riding.
My Final Recommendation
For an uncomplicated satin-black refresh, I’d start by comparing VHT Roll Bar & Chassis Paint with a suitable automotive enamel and then follow the chosen product’s prep instructions exactly. For a distinctive metallic color, I’d look at Dupli-Color Metalcast, while Spray.Bike Frame Builder’s Edition is worth considering when I want a bicycle-frame-style color selection.
Whatever I choose, I keep paint off the grip seating area, clamp surfaces, and control interfaces, and I remember that a handlebar finish will face regular friction. My best results come from matching the product to the material, applying it patiently, and giving it enough time to cure before the bike goes back on the road.
Frequently Asked Questions
What kind of paint works best on motorcycle handlebars?
I look for an automotive or bicycle-frame coating that suits the handlebar material and can tolerate regular handling. Surface preparation and full curing matter as much as the paint.
Can I paint handlebars without removing them?
I recommend removing them when practical. If I paint them in place, I mask the controls, cables, grips, and nearby parts thoroughly, and keep paint away from clamp and grip-contact areas.
Should I clear-coat painted handlebars?
I use a compatible clear coat only when the color-paint maker allows it. A clear coat can help protect the finish, but it will not prevent wear where hands or grips rub.
How long should handlebar paint cure before riding?
I follow the product label rather than relying on its dry-to-touch time. I wait for the stated full cure before fitting grips or riding, since early handling can mark a fresh coating.

Related Articles

6 Best Motorcycle Fork Paints for a Durable, Clean Finish
I compare six paints for motorcycle fork lowers, with practical notes on durability, finish, prep, cost, and the fork surfaces…
Jake Miller
12 min read

Remove Motorcycle Tank Badges Safely: A Rider’s Paint-Protecting Guide
Learn how I safely remove motorcycle tank emblems, loosen stubborn adhesive, protect paint, clean residue, and spot when pins or…
Jake Miller
11 min read

How I Remove Motorcycle Tank Stickers Without Damaging the Paint
Learn how I safely remove decals and sticky residue from a motorcycle tank without damaging paint, with tools, step-by-step tips,…
Jake Miller
11 min read