
8 Motorcycle Paints That Deliver a Durable, Show-Ready Finish
 Jake Miller
15 min read
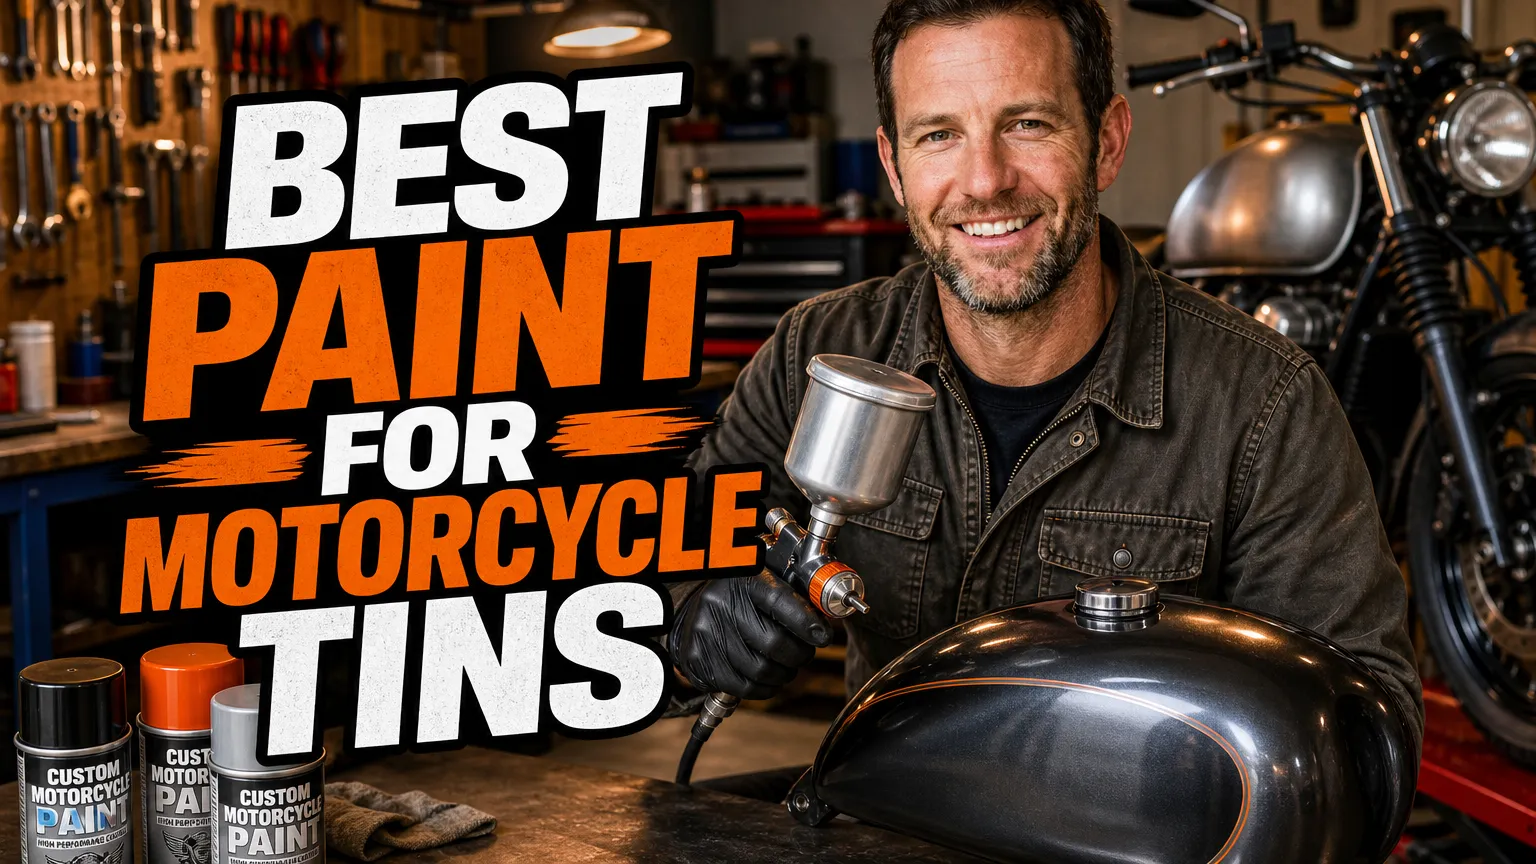
When I repaint motorcycle tins, I want more than a color that looks good in the can. My tank, fenders, and side covers need a coating that suits the material, holds up to regular riding, and works with the primer and clear coat I plan to use. That is why I compare application method, finish, color availability, and durability before I buy.
Disclosure: some links in this article are affiliate links. As an Amazon Associate I earn from qualifying purchases, and I may also earn a commission from RevZilla at no extra cost to you.
Below, I’ve gathered eight real products and paint systems I would consider for a motorcycle project, from convenient color-matched aerosols to professional refinish materials. If you want a broader introduction to application methods, I also recommend my guide to best spray paint for motorcycle.
- I’d choose ColorRite when an accurate factory motorcycle color matters most.
- For a high-gloss finish, I’d pair a compatible color coat with SprayMax 2K Glamour clear.
- Eastwood 2K AeroSpray offers a practical catalyzed option without a conventional spray gun.
- Preparation, compatibility, and safe spraying matter as much as the paint brand.
How I Choose Paint for Motorcycle Tins
I start by identifying what I’m painting. A steel tank, aluminum fender, and plastic side cover may all wear the same color, but each surface can call for a different primer or adhesion promoter. I also check for old coatings, repairs, rust, fuel exposure, and whether the piece has a factory color I want to match.
Next, I decide how I want to apply the finish. Aerosols make sense for small projects and home workshops, while a spray gun gives me more control over larger panels and complex color effects. I look for clear instructions on surface preparation, flash times, recoat windows, and compatible clear coats instead of assuming products from different brands will work together.
Finally, I stay realistic about safety and cost. A budget can of paint is not necessarily a bargain if it reacts with an old finish or cannot tolerate the conditions where I ride. Some two-component coatings also require professional-grade ventilation and respiratory protection, so I never treat them like ordinary hardware-store spray paint.
1. ColorRite Motorcycle Paint — Best for Factory Color Matching

When I want to bring a motorcycle back close to its original color, I’d put ColorRite Motorcycle Paint near the top of my list. ColorRite offers motorcycle-specific colors in products such as its Base Color Aerosol, with color selection based on the make, model, year, and paint code where available. That makes it a more targeted starting point than picking a generic red or black from a shelf.
I like that I can choose an aerosol for a smaller repair or look at other application formats offered for a project. The exact color and product availability vary by motorcycle and finish, so I would confirm the paint code and read the product details before ordering. Prices vary by color and kit size, but I’d budget roughly $30 to $60 or more for an aerosol, before any primer or clear coat.
Why I’d choose it
For me, the biggest advantage is the chance of getting a close factory match without having to formulate a color from scratch. I’d still test the paint on a sample panel, because age, fading, previous repairs, and production variations can make an original code look different from the paint currently on my bike.
I’d also check whether the selected ColorRite color is a basecoat that needs clear, a solid color, or another finish type. If my project centers on the tank, I’d compare the preparation and coating options in this guide to the best paint for motorcycle gas tank before committing to a full system.
2. SprayMax 2K Glamour High Gloss Clear Coat — Best for a Glossy Protective Topcoat

I consider SprayMax 2K Glamour High Gloss Clear Coat a strong option when I need a clear finish over a compatible basecoat. It is a two-component aerosol: the hardener is activated in the can before spraying, so I can apply a catalyzed clear without owning a conventional paint gun. The product is known for its high-gloss appearance and is sold in formats including the 3680061 aerosol.
I would use SprayMax 2K Glamour as the clear stage, not as a color coat. It typically costs around $25 to $40 per can, and the coverage depends on panel size, technique, and the number of coats. I’d check the current product sheet for its exact recoat window, substrate guidance, and recommended application conditions.
What I’d keep in mind
A clear coat can deepen color and add a smooth, polished appearance, but it cannot rescue poor sanding, contamination, or an incompatible basecoat. I’d test the complete primer, color, and clear combination on a sample before spraying my finished tins, especially if the color is metallic or has a special effect.
I take the “2K” label seriously. Some two-component automotive coatings contain isocyanates, so I would follow the safety data sheet and use appropriate professional spray facilities and supplied-air respiratory protection. I would not assume that a disposable mask or a small room is adequate.
3. Eastwood 2K AeroSpray Automotive Paint — Best for a Catalyzed Aerosol Finish

Eastwood 2K AeroSpray Automotive Paint appeals to me when I want a catalyzed coating but do not have a spray gun setup. The aerosol uses a separate activation mechanism to combine the paint components before application. Eastwood sells the product in different automotive paint formulations and colors, so I’d check the precise listing to confirm whether I’m buying a single-stage color or another finish product.
I like the convenience for a one-off panel, a small set of covers, or a home project where buying and cleaning spray equipment would be excessive. Prices commonly fall around $30 to $50 per can, depending on the specific product and color. I’d still plan the job carefully: once activated, a 2K aerosol has a limited usable life, so I would have every part prepared before I trigger it.
My application notes
I would follow Eastwood’s current technical instructions for the exact product rather than treating every AeroSpray formula as interchangeable. Primer type, surface preparation, flash time, and whether a separate clear is appropriate can vary. For a complete color-and-clear plan, I’d also compare the information in my guide to the best spray paint for motorcycle tank.
As with other 2K coatings, I would not spray it casually in a garage with the door cracked open. I’d read the safety data sheet, control overspray, and use the protective equipment and spray environment specified by the manufacturer.
4. House of Kolor Shimrin2 KBC Kosmic Kandy Basecoat — Best for Custom Candy Colors

When I want a dramatic custom finish rather than a simple factory-style repaint, I’d consider House of Kolor Shimrin2 KBC Kosmic Kandy Basecoat. It is a candy basecoat product within a professional refinish system, intended to create a translucent, layered color effect over a suitable groundcoat. The final shade depends on the underlying base, the number of coats, and the application technique.
That layered look is the appeal, but it also makes this a less forgiving choice than a solid-color aerosol. I would buy the compatible products the system calls for, use spray equipment suited to the job, and test the full sequence on a sample panel. Prices depend on the specific color and quantities, and I’d expect a complete custom system to cost substantially more than a single rattle can.
Why the system matters
I would not treat KBC Kosmic Kandy Basecoat as a stand-alone, one-step paint. Candy colors generally rely on a carefully selected groundcoat and a compatible clear, and uneven overlap can create visible shifts in color. If I’m aiming for a show-style finish, I’d plan extra time for practice and keep enough material from the same batch for the entire project.
For my first motorcycle repaint, I’d choose a more straightforward solid color. I’d save House of Kolor Shimrin2 KBC for a project where I can control the process and accept the extra work that comes with a translucent, custom finish.
5. Dupli-Color Paint Shop Finish System — Best for a Straightforward Lacquer Project

Dupli-Color Paint Shop Finish System is a ready-to-spray lacquer line that I’d consider for a relatively simple DIY repaint. Its basecoat colors are designed to be used with the Paint Shop clear coat in the system, and the product line is available in aerosol form. The system is promoted as requiring no mixing, which can make it easier to approach than a multi-component spray-gun setup.
I see it as a convenient choice for smaller tins, side covers, or a project where a basic lacquer finish is acceptable. Depending on the color and seller, a can often costs about $15 to $25. I would check the label for the exact surface instructions and confirm that the lacquer is compatible with any existing coating before spraying.
Where I’d use it
I’d choose Dupli-Color Paint Shop when convenience and easy availability are priorities, rather than expecting a professional-grade finish from a quick, untested application. Lacquer can be sensitive to incompatible underlying finishes and harsh conditions, so I would prepare the surface properly and follow the system’s recoat instructions.
For fuel-exposed areas, I’d be especially cautious about relying on a general assumption that any clear coat will resist gasoline. I’d verify the manufacturer’s guidance for the exact product and let the coating cure fully before putting the bike back into regular use.
6. Rust-Oleum Automotive Acrylic Enamel — Best for a Simple, Accessible Aerosol

Rust-Oleum Automotive Acrylic Enamel is a widely available automotive aerosol that I’d consider for a modest budget or a basic refresh. It is an enamel-style topcoat sold in colors and sheens for automotive use, and it can be a practical option for smaller metal parts when the surface is prepared correctly. I’d expect to pay roughly $10 to $20 per can, depending on the retailer and color.
I like its accessibility, but I would not confuse easy availability with a guaranteed show finish. Before using it on motorcycle tins, I’d confirm the can’s instructions for bare metal, primer, temperature, and recoat timing. I’d also test it over the exact primer and any old paint on a hidden or spare panel.
My expectations
For a rider who wants a clean, uncomplicated color on a side cover or fender, Rust-Oleum Automotive Acrylic Enamel may be a reasonable starting point. I’d be more conservative about using it on a tank or any area regularly exposed to fuel, because the exact product’s resistance and cure requirements matter.
I wouldn’t add a clear coat unless the paint maker says it is compatible. Mixing products from different systems can lead to wrinkling, poor adhesion, or other finish problems, so I’d follow the label instead of improvising.
7. PPG Deltron DBC Basecoat — Best for Professional Refinish Work
PPG Deltron DBC Basecoat is a professional automotive refinish basecoat system I’d consider when color quality and a spray-gun workflow matter more than convenience. The DBC line is used as part of a broader refinish process, with color selection and mixing handled through the paint system. It is not a simple off-the-shelf aerosol, and I’d expect to source it through an automotive paint supplier.
Pricing varies widely with the color, amount, and local supplier, so I would ask for a quote rather than rely on a generic can price. I’d also make sure I understand the recommended primer, reducer, application conditions, and compatible clear coat for the exact DBC formula. For a professional-looking result, the supporting products and controlled spray technique are part of the purchase decision.
Who I’d recommend it to
I’d choose PPG Deltron DBC if I already had access to suitable spray equipment or planned to work with a paint shop. It can make sense for a larger restoration, a high-value motorcycle, or a precise color-matching job where I want a recognized refinish system rather than a quick aerosol repair.
I would not buy professional basecoat without checking the technical data sheets and confirming that I can meet the system’s safety and application requirements. The paint is only one part of the process, and I’d price the complete system before starting.
8. TCP Global Restoration Shop Acrylic Urethane Single Stage Paint — Best for a One-Stage Color Finish
TCP Global’s Restoration Shop Acrylic Urethane Single Stage Paint is a product I’d look at when I want color and gloss in a single-stage urethane coating. It is sold in a range of colors and kit sizes, typically for mixing and application with a spray gun. Unlike a basecoat-and-clear arrangement, a single-stage system is designed to provide the colored topcoat finish without a separate clear layer.
Kit pricing depends on the color, quantity, and included components, but I’d expect to spend more than I would on a couple of retail aerosols. I’d check exactly what a kit contains, including activator or reducer requirements, and follow the instructions for mixing and application. Before spraying motorcycle tins, I’d confirm the product is suitable for the material and intended use.
What I like about single-stage paint
I appreciate the simpler finishing sequence: there is no separate basecoat color layer followed by a clear coat. That can be appealing for solid colors and restorations where a traditional single-stage appearance is the goal. I’d still practice first, because spray-gun setup, overlap, and film thickness all affect the final result.
I would not assume single-stage paint is automatically the best choice for every color or tank. Metallics and special-effect finishes may call for a different system, and any coating near fuel needs careful review of the manufacturer’s resistance and cure guidance.
How I’d Match the Paint to the Job
For a factory color repair, I’d begin with ColorRite and verify the bike’s paint code. For an easy-to-source DIY project, I’d compare Dupli-Color Paint Shop Finish System with Rust-Oleum Automotive Acrylic Enamel, while checking compatibility and intended exposure. If I want a catalyzed aerosol, I’d examine Eastwood 2K AeroSpray and SprayMax 2K products closely.
For a custom candy finish, I’d choose a complete House of Kolor system and practice before touching the motorcycle. If I have spray-gun access and want a professional refinish workflow, I’d ask a supplier about PPG Deltron DBC or look into TCP Global’s Restoration Shop Acrylic Urethane Single Stage Paint for an appropriate solid-color project.
I also keep the rest of the bike’s finish in mind. Tins are not the same as a frame or plastic panel, so I’d use a coating designed for the specific part rather than applying a tank product everywhere. For separate projects, I’d review the guidance on best paint for motorcycle tank sealer, best paint for motorcycle frame, and best spray paint for motorcycle plastics.
My Prep and Application Checklist
I get the surface right before I open a can. I remove or mask hardware, clean away grease and wax, address rust, and sand or strip the old coating as the paint system directs. If I find peeling paint, deep corrosion, or previous repairs, I deal with those issues instead of hoping the new coat will hide them.
I use the primer specified for the substrate and paint system. Bare steel, aluminum, and plastic can call for different preparation, and a primer suitable for one surface may not be right for another. I test the full stack of primer, color, and clear on a sample panel to catch lifting, wrinkling, or color changes before they happen on the tins.
During application, I follow the manufacturer’s temperature, humidity, flash-time, and recoat guidance. I keep the spray distance and movement consistent, and I resist the temptation to lay down one heavy coat to save time. After the final coat, I allow the finish to cure for the recommended period before handling, reassembly, or fuel exposure.
For tank-specific questions, including the extra care required around fuel and tank coatings, I’d read the details in my guide to the best spray paint for motorcycle tank. I would not put a freshly painted tank back into service until the coating maker’s cure instructions say it is ready.
My Final Pick
If I had to choose one starting point for most riders, I’d pick based on the project rather than naming a universal winner. ColorRite is my first place to investigate for a factory match, Eastwood 2K AeroSpray is appealing for a catalyzed aerosol workflow, and SprayMax 2K Glamour is a clear-coat option when the basecoat system allows it.
For custom finishes or professional work, I’d move toward House of Kolor Shimrin2 or PPG Deltron DBC, while a simpler solid-color job may suit Dupli-Color, Rust-Oleum Automotive Acrylic Enamel, or TCP Global’s single-stage urethane. Whichever route I choose, I get the best results by checking compatibility, preparing carefully, and treating safety and curing time as part of the paint job—not as optional extras.
Frequently Asked Questions
What type of paint works best on motorcycle tins?
For a durable finish, I look for automotive-grade urethane or basecoat-and-clear systems designed for metal. The right choice depends on your color match, equipment, and experience.
Can I use ordinary spray paint on motorcycle tins?
You can use automotive-formulated aerosol paint on properly prepared tins, but I would not expect general-purpose paint to match the durability or fuel resistance of a suitable automotive system.
Do motorcycle tins need clear coat?
Many basecoat colors need a compatible clear coat for gloss and protection. I always check the paint maker’s instructions, especially for metallics, candies, and fuel-exposed areas.
Is 2K motorcycle paint safe to spray at home?
I treat 2K paints as professional coatings because some contain isocyanates. I follow the product safety data sheet and use appropriate spray facilities and supplied-air protection.

Related Articles

6 Best Motorcycle Fork Paints for a Durable, Clean Finish
I compare six paints for motorcycle fork lowers, with practical notes on durability, finish, prep, cost, and the fork surfaces…
Jake Miller
12 min read

Remove Motorcycle Tank Badges Safely: A Rider’s Paint-Protecting Guide
Learn how I safely remove motorcycle tank emblems, loosen stubborn adhesive, protect paint, clean residue, and spot when pins or…
Jake Miller
11 min read

How I Remove Motorcycle Tank Stickers Without Damaging the Paint
Learn how I safely remove decals and sticky residue from a motorcycle tank without damaging paint, with tools, step-by-step tips,…
Jake Miller
11 min read